Free Shipping on Domestic Orders $75+

Altair WBP-210 Mini-XLR socket Replacement

What you need

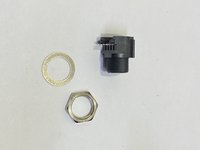
    1. Altair WBP-210 Mini-XLR socket Replacement, Remove nut on mini-xlr connector: step 1, image 1 of 1
      • Remove the nut on the mini-xlr connector.

      Ask FixBot
      Add Comment

    2. Altair WBP-210 Mini-XLR socket Replacement, Remove corner panels: step 2, image 1 of 1
      • Slide off rubber corner panels holding together the case.

      Ask FixBot
      Add Comment

    3. Altair WBP-210 Mini-XLR socket Replacement, Remove case screws: step 3, image 1 of 1
      • If your device has additional screws holding the case together, remove those as well.

      • Not all devices have these screws.

      Ask FixBot

      Add Comment

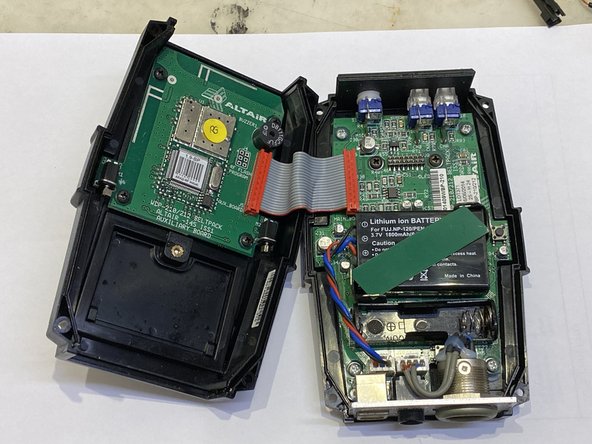
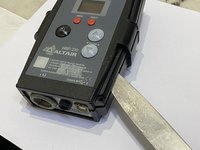
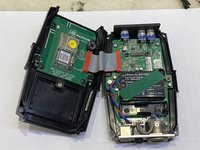
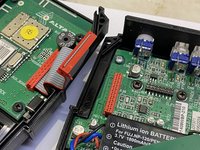
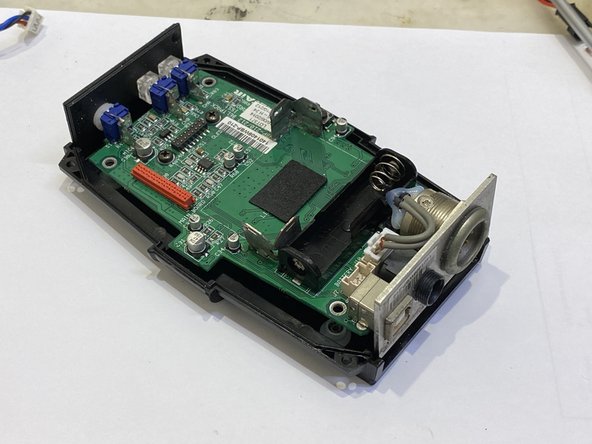
    4. Altair WBP-210 Mini-XLR socket Replacement, Open case: step 4, image 1 of 2 Altair WBP-210 Mini-XLR socket Replacement, Open case: step 4, image 2 of 2
      • Separate the two halves of the case using a suitable tool.

      • Pay attention to the ribbon cable connecting the two halves.

      • The top and bottom panels stay attached to the front of the case.

      Ask FixBot

      Add Comment

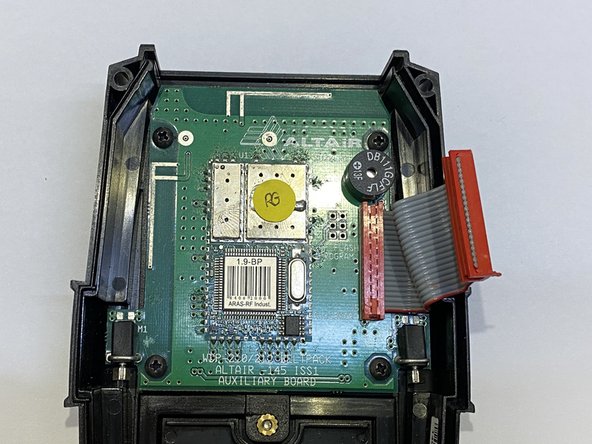
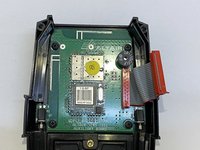
    5. Altair WBP-210 Mini-XLR socket Replacement, Disconnect Auxiliary Board: step 5, image 1 of 2 Altair WBP-210 Mini-XLR socket Replacement, Disconnect Auxiliary Board: step 5, image 2 of 2
      • Disconnect the Auxiliary Board from the Main Board and put it aside.

      Ask FixBot

      Add Comment

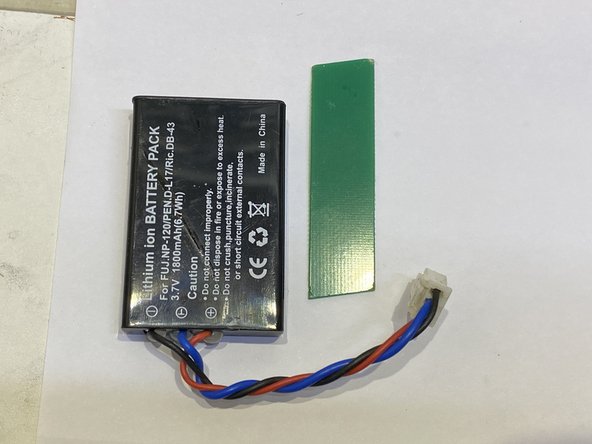
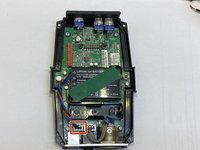
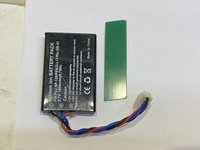
    6. Altair WBP-210 Mini-XLR socket Replacement, Remove battery: step 6, image 1 of 2 Altair WBP-210 Mini-XLR socket Replacement, Remove battery: step 6, image 2 of 2
      • Disconnect the battery connector.

      • Gently remove the strip of PCB holding the battery in place.

      Ask FixBot

      Add Comment

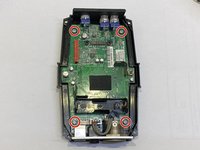
    7. Altair WBP-210 Mini-XLR socket Replacement, Remove Main Board: step 7, image 1 of 3 Altair WBP-210 Mini-XLR socket Replacement, Remove Main Board: step 7, image 2 of 3 Altair WBP-210 Mini-XLR socket Replacement, Remove Main Board: step 7, image 3 of 3
      • The Main Board is held in place by four PH screws.

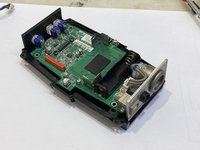
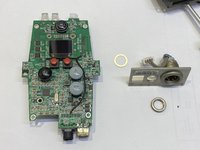
      • After removing the screws, gently slide the Main Board out of the main case, together with the top and bottom plates.

      Ask FixBot

      Add Comment

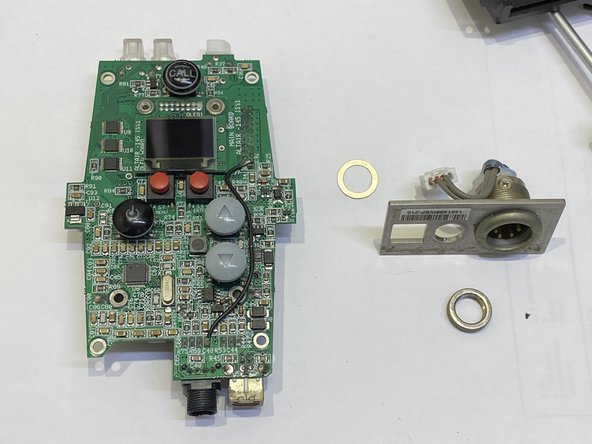
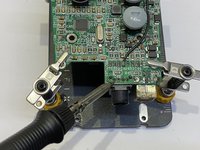
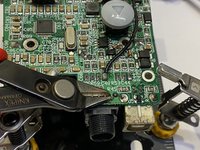
    8. Altair WBP-210 Mini-XLR socket Replacement, Replace Mini-XLR4 connector: step 8, image 1 of 3 Altair WBP-210 Mini-XLR socket Replacement, Replace Mini-XLR4 connector: step 8, image 2 of 3 Altair WBP-210 Mini-XLR socket Replacement, Replace Mini-XLR4 connector: step 8, image 3 of 3
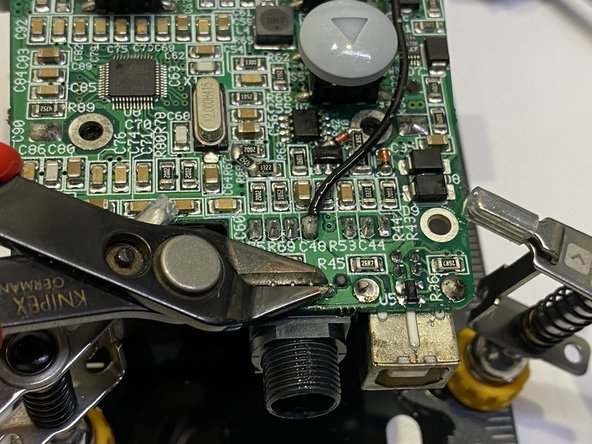
      • Desolder the defective connector.

      • It is held in place by 4 pins, no additional pads.

      • Matching replacement part is Switchcraft TRAPC4MSX

      • Amphenol AG4MPCH and Kuilong YA137-2 might fit too.

      • Re-solder the new connector.

      Ask FixBot

      Add Comment

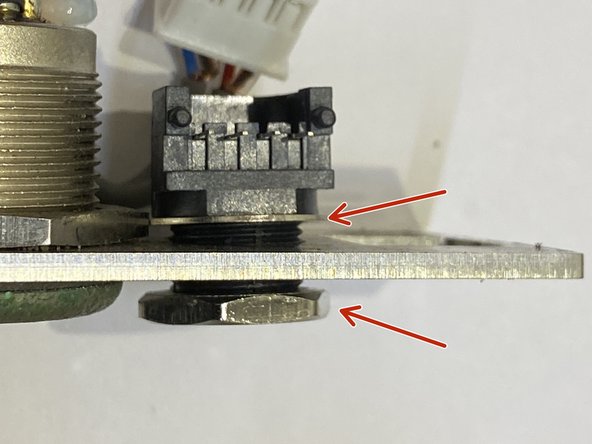
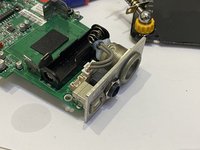
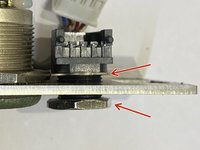
    9. Altair WBP-210 Mini-XLR socket Replacement, Assemble lower cover plate.: step 9, image 1 of 2 Altair WBP-210 Mini-XLR socket Replacement, Assemble lower cover plate.: step 9, image 2 of 2
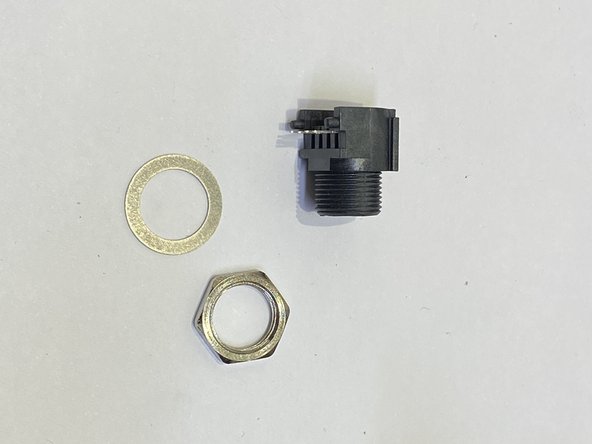
      • Reassemble the lower cover plate.

      • Pay attention to the location of the washer.

      • Tighten the nut on new connector.

      Ask FixBot

      Add Comment

Conclusion

When reassembling, take care to only connect the battery after connecting the Auxiliary Board.

Cancel: I did not complete this guide.

raven

Member since: 09/02/15

1,110 Reputation

4 Guides authored

0 Guide Comments

Add Comment

View Statistics:

Past 24 Hours: 0

Past 7 Days: 5

Past 30 Days: 24

All Time: 280