
AlphaSmart Pro Lithium Coin Battery Replacement

What you need

  1. AlphaSmart Pro Lithium Coin Battery Replacement, Separating Panels: step 1, image 1 of 3 AlphaSmart Pro Lithium Coin Battery Replacement, Separating Panels: step 1, image 2 of 3 AlphaSmart Pro Lithium Coin Battery Replacement, Separating Panels: step 1, image 3 of 3
    • Removing the lithium coin battery will erase existing files. Make sure all important files have been safely transferred to another device before attempting to remove the lithium coin battery.

    • Power off your AlphaSmart Pro device and remove the batteries before beginning disassembly.

    • Remove the eight 1 cm Phillips head screws from the back panel of the AlphaSmart Pro with the Phillips #00 Screwdriver.

    • Carefully separate the front panel from the back panel.

    • Notice that the front and back panels are still connected by a ribbon cable.

  2. AlphaSmart Pro Lithium Coin Battery Replacement, Detaching Ribbon Cable: step 2, image 1 of 2 AlphaSmart Pro Lithium Coin Battery Replacement, Detaching Ribbon Cable: step 2, image 2 of 2
    • To remove the ribbon cable, use the spudger to lift each side of the connector from the socket.

    • Gently pull up on the connector to completely remove the connector from the socket.

  3. AlphaSmart Pro Lithium Coin Battery Replacement, Locate Lithium Coin Battery: step 3, image 1 of 2 AlphaSmart Pro Lithium Coin Battery Replacement, Locate Lithium Coin Battery: step 3, image 2 of 2
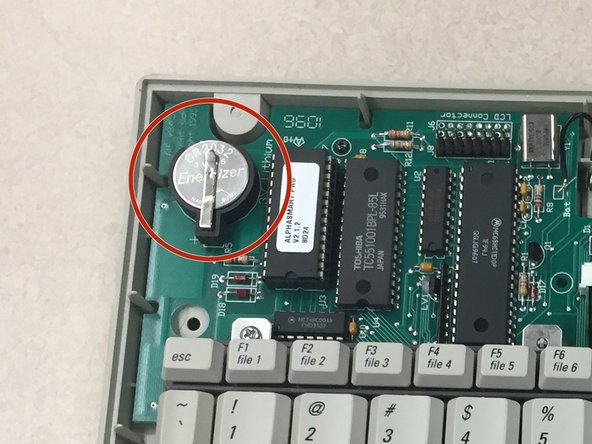
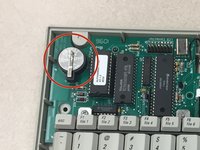
    • With the front panel removed, locate the lithium coin battery at the top left corner of the motherboard.

  4. AlphaSmart Pro Lithium Coin Battery Replacement, Remove Lithium Coin Battery: step 4, image 1 of 2 AlphaSmart Pro Lithium Coin Battery Replacement, Remove Lithium Coin Battery: step 4, image 2 of 2
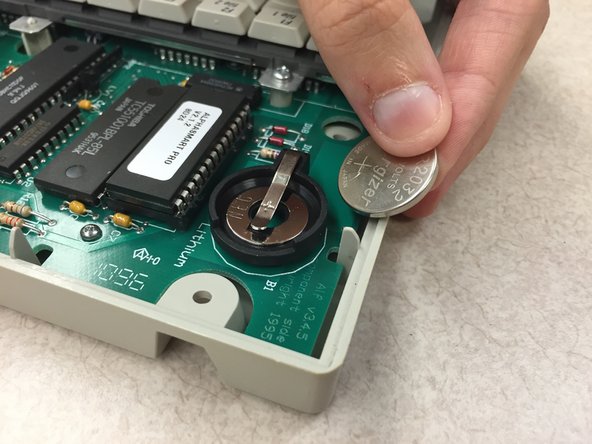
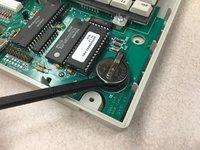
    • Use the spudger, plastic opening tool, or your finger/fingernail to lift up the lithium coin battery.

    • Slide the battery out from underneath the clip that holds it in place.

    • The positive side of the battery is facing up.

Conclusion

To reassemble your device, follow these instructions in reverse order.

Katy Beth Culp

Member since: 10/13/14

1 Reputation

2 Guides authored

Team

Clemson, Team 1-1, Benson Fall 2014 Member of Clemson, Team 1-1, Benson Fall 2014

CLEM-BENSON-F14S1G1

4 Members

16 Guides authored

0 Comments

Add Comment

View Statistics:

Past 24 Hours: 1

Past 7 Days: 9

Past 30 Days: 19

All Time: 815