Introduction
The Alldaymall A88X has an Allwinner A33 Quad Core processor which is soldered onto the motherboard. The motherboard is mounted onto the back panel with three screws. This guide will walk you through the process of removing the existing motherboard and installing a new one.
What you need
-
-
Using a plastic opening tool, carefully pry the device apart. Make your way around the entire perimeter of the device and carefully place the two panels next to each other.
-
-
-
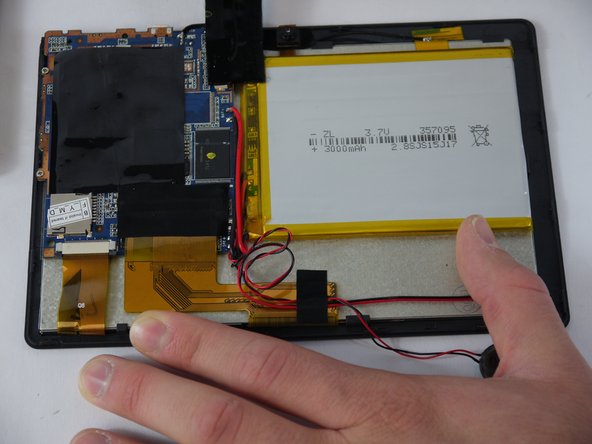
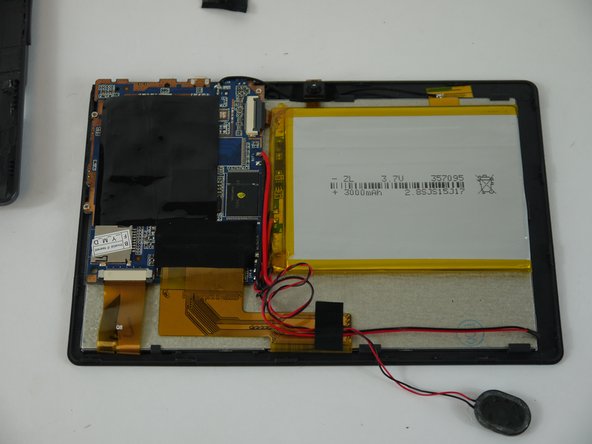
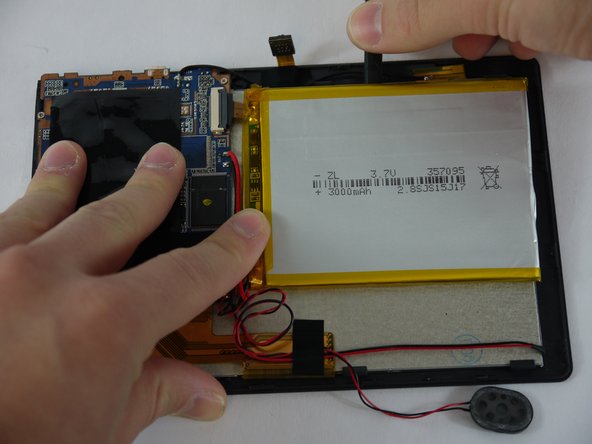
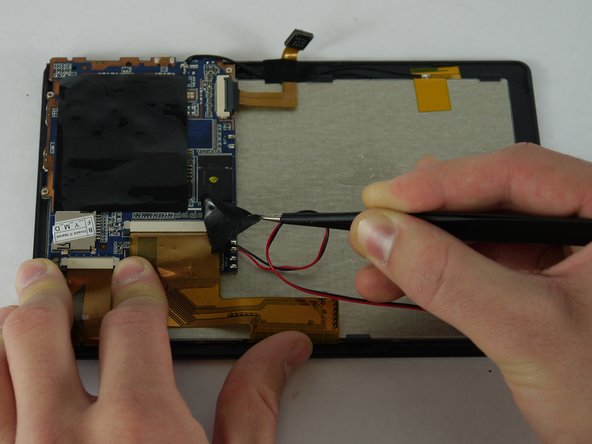
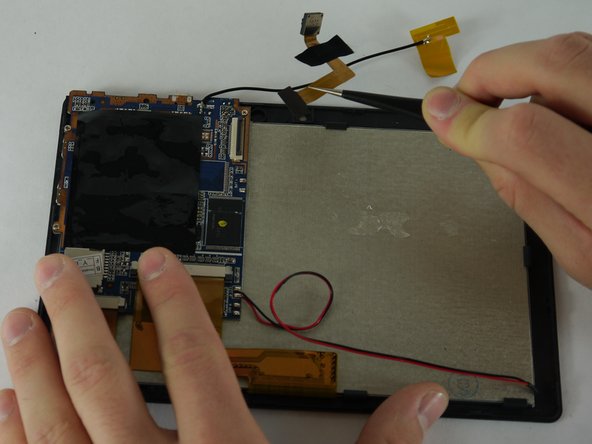
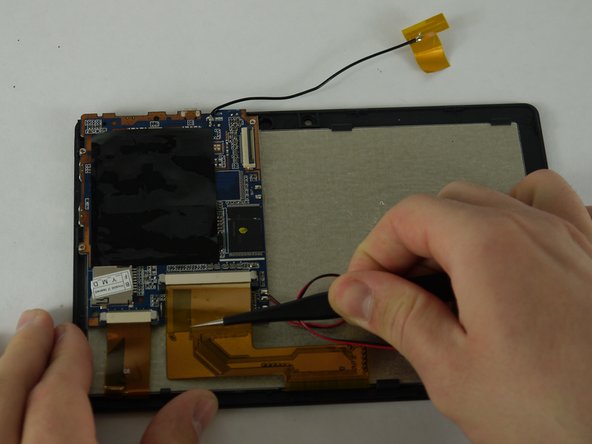
Carefully separate the speaker wire from the tape and proceed to peel the tape off in an upwards direction.
-
-
-
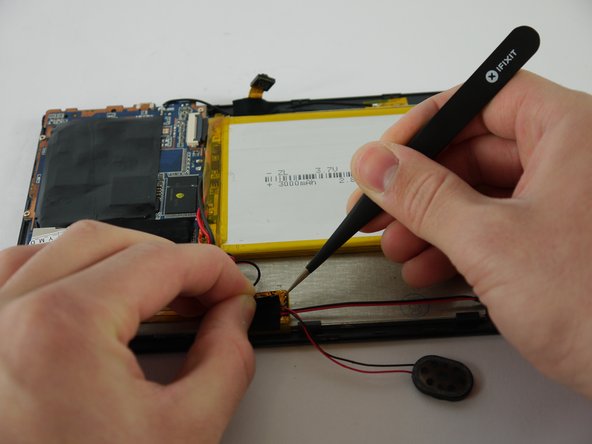
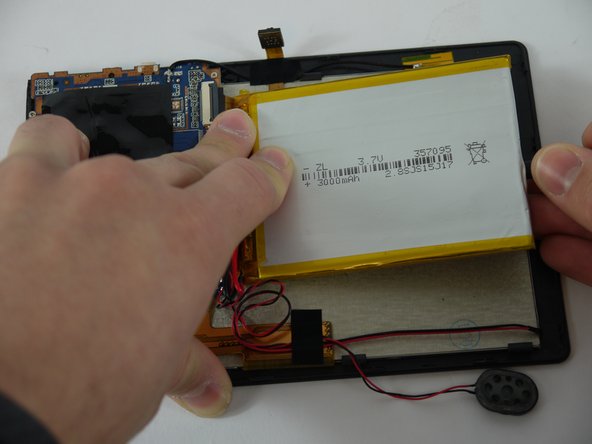
Using a nylon spudger, slowly work your way underneath the battery separating it from the panel beneath.
-
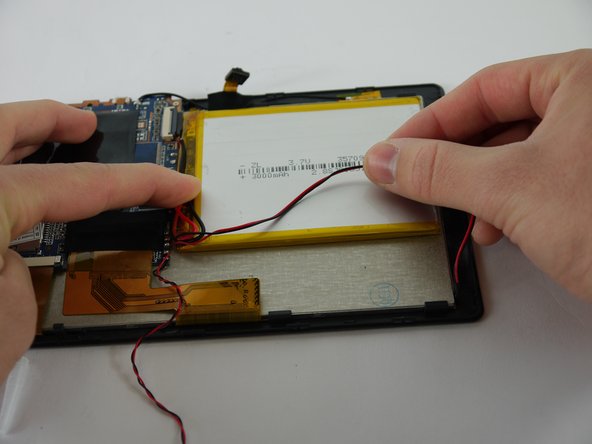
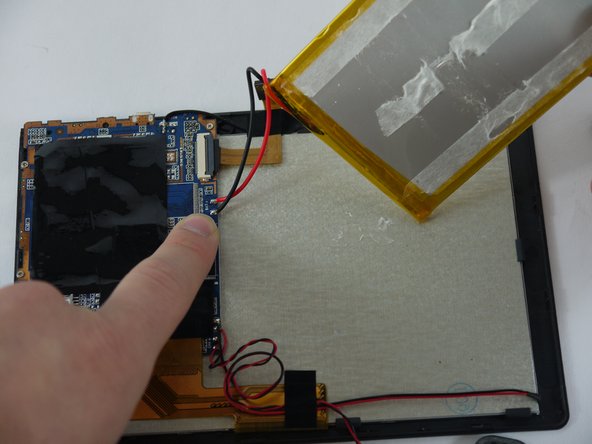
After the battery is separated from the panel make sure to place it face down above the tablet itself.
-
-
-
-
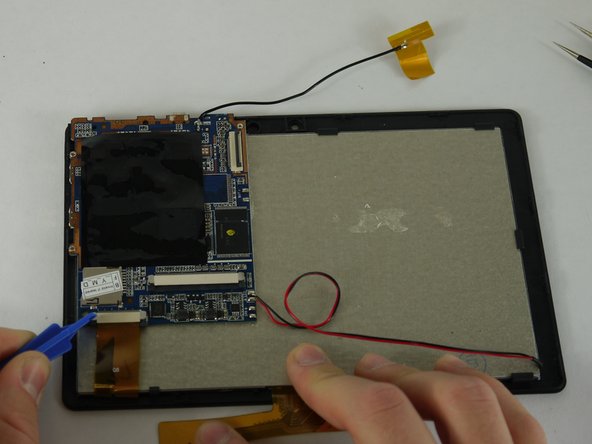
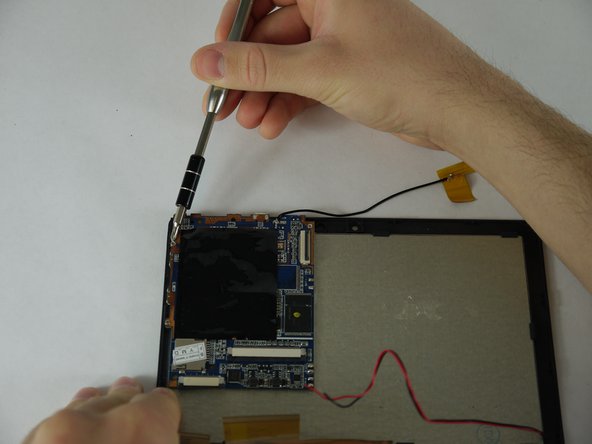
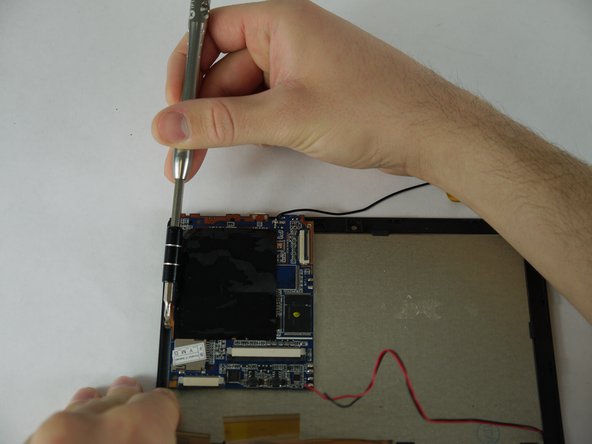
Use a plastic opening tool to pull out the black knobs on both sides of the ribbon cable receptacle.
-
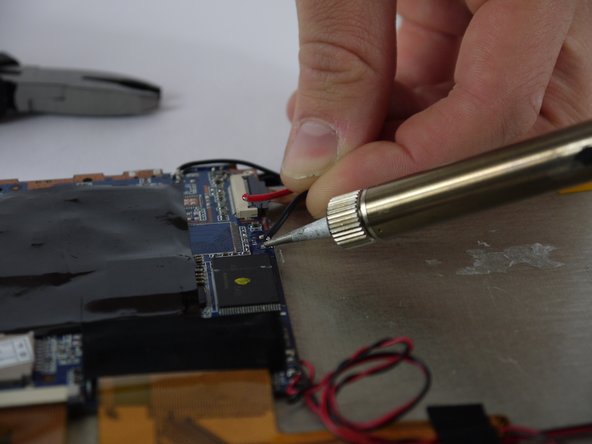
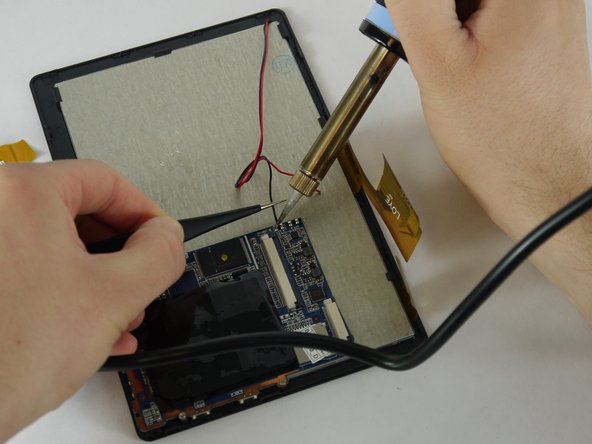
Using a pair of tweezers remove the ribbon cable from its receptacle.
-


To reassemble your device, follow these instructions in reverse order.
To reassemble your device, follow these instructions in reverse order.
Cancel: I did not complete this guide.
One other person completed this guide.

Team

USF Tampa, Team 4-1, Lacy Spring 2016 Member of USF Tampa, Team 4-1, Lacy Spring 2016
USFT-LACY-S16S4G1
4 Members
16 Guides authored