Introduction
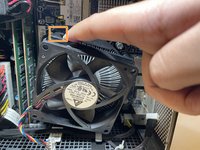
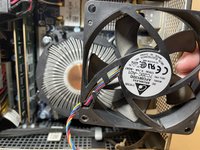
If your Alienware X51 PC begins to freeze up or shut down at random points, you may need to replace the fan (refer to the Troubleshooting Guide for more details). Replacing the fan, which helps with cooling down the processor, is as simple as unscrewing the fan. This replacement can be applied to the Alienware X51 R1, as well as the other models (the R2 or R3).
What you need
-
-
Place the PC so the name "Alienware" is on top and facing you.
-
Slide the front panel towards you and lift up.
-
-
-
-
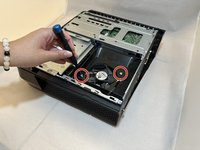
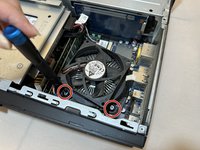
Remove the two 2.0 mm screws holding the fan protector in place using a Phillips #1 screwdriver.
-
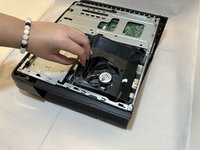
Remove the protector holding the fan in.
-
To reassemble your device, follow these instructions in reverse order.
Cancel: I did not complete this guide.
2 other people completed this guide.


