Introduction
If your hard drive is failing or needs updating, use this guide to remove and replace your hard drive.
What you need
-
-
-
Remove the two 3.5 mm Phillips #0 screws holding the cover in place.
-
Slide cover forward then carefully lift up.
-
-
-
-
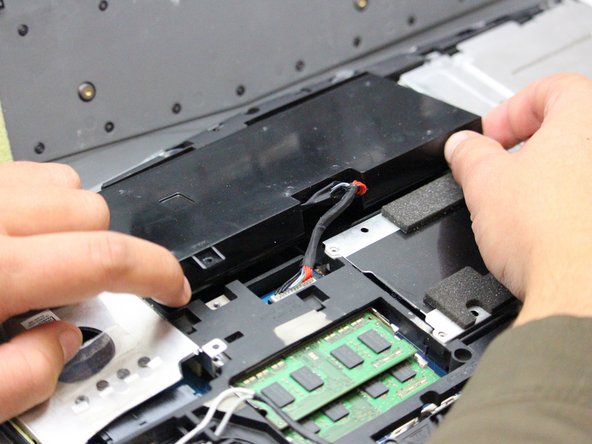
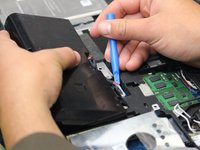
Carefully use the Plastic Opening Tool to unplug the battery.
-
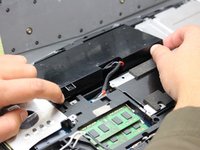
Lift the battery up and out to remove.
-
-
-
-
With the laptop flipped over, cover removed, and battery removed; continue by locating your hard drive(s).
-
-
-
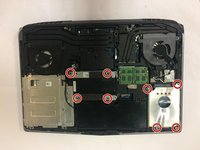
Remove the eight 3.5 mm Phillips #0 screws.
-
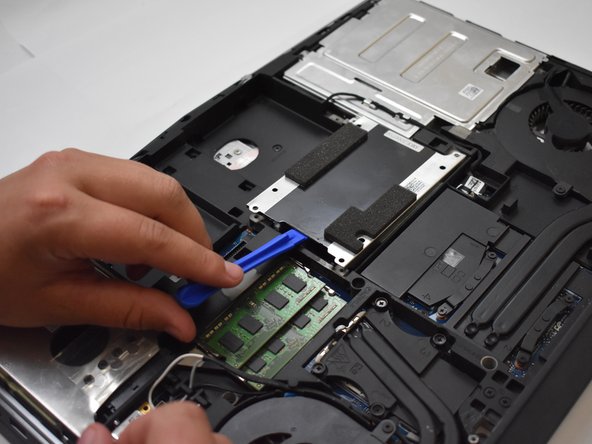
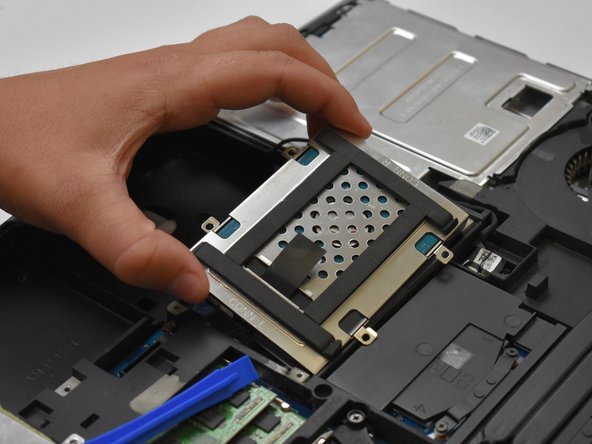
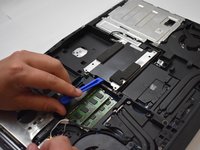
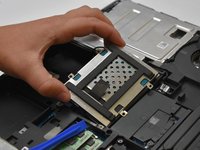
Remove the hard drive(s), using the Plastic Opening Tool by lifting on the edges and pulling the hard drive up and out.
-
-


 Ask FixBot




To reassemble your device, follow these instructions in reverse order.
Cancel: I did not complete this guide.
One other person completed this guide.

Team

Oregon Institute of Technology, Team S1-G2, Lancaster Fall 2018 Member of Oregon Institute of Technology, Team S1-G2, Lancaster Fall 2018
OIT-LANCASTER-F18S1G2
3 Members
60 Guides authored
