Free Shipping on Domestic Orders $75+

Alienware M11xR2 Memory Modules Replacement

Prerequisite Only
This is a prerequisite-only guide! This guide is part of another procedure and isn’t meant to be used alone.

What you need

    1. Alienware M11xR2 Memory Modules Replacement, Removing Screws: step 1, image 1 of 1
      • WARNING: Before working inside your computer, read the safety information that shipped with your computer.

      • CAUTION: To avoid electrostatic discharge, ground yourself by using a wrist grounding strap or by periodically touching an unpainted metal surface (such as a connector on your computer)

      • Remove the two screws that secure the battery pack to the computer base.

      Ask FixBot

      Add Comment

    2. Alienware M11xR2 Memory Modules Replacement, Disconnecting cable: step 2, image 1 of 1
      • Disconnect the battery pack cable from the connector on the system board.

      Ask FixBot

      Add Comment

    3. Alienware M11xR2 Memory Modules Replacement, Lifting Battery Pack: step 3, image 1 of 1
      • Using the pull-tab, lift the battery pack off the computer base.

      Ask FixBot

      Add Comment

    4. Alienware M11xR2 Memory Modules Replacement, Placing New Battery Pack: step 4, image 1 of 1
      • Place the NEW battery pack in the battery bay and replace the two screws that secure the battery pack to the computer base.

      Ask FixBot

      Add Comment

    5. Alienware M11xR2 Memory Modules Replacement, Routing Battery Pack: step 5, image 1 of 1
      • Route the battery pack cable in the routing guide

      Ask FixBot

      Add Comment

    6. Alienware M11xR2 Memory Modules Replacement, Connnecting Battery Pack: step 6, image 1 of 1
      • Connect the battery pack cable to the connector on the system board.

      Ask FixBot

      Add Comment

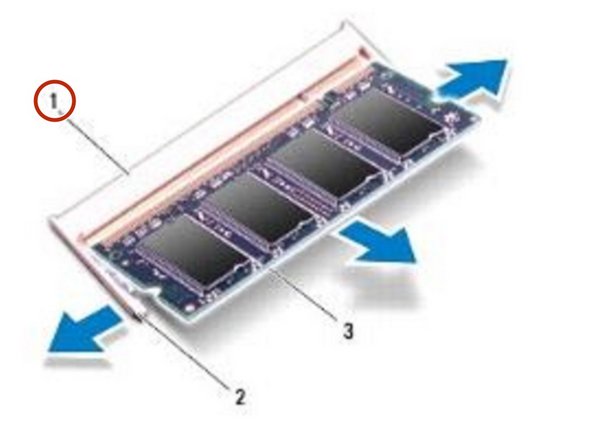
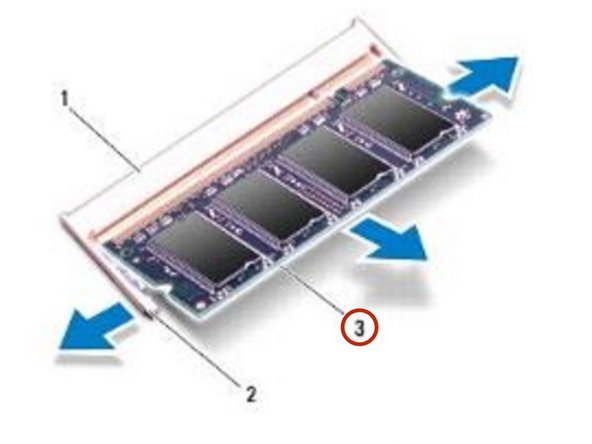
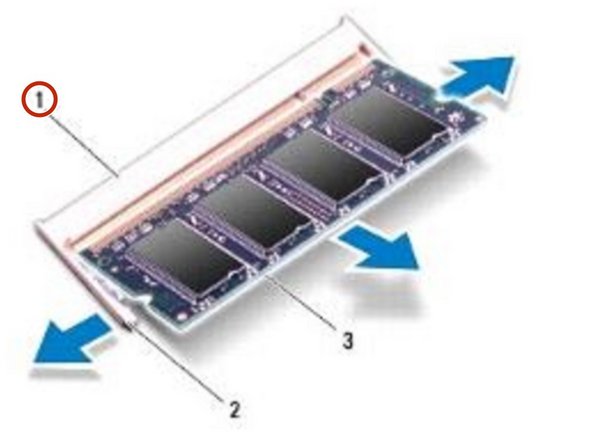
    1. Alienware M11xR2 Memory Modules Replacement, Popping up the Memory Module: step 7, image 1 of 3 Alienware M11xR2 Memory Modules Replacement, Popping up the Memory Module: step 7, image 2 of 3 Alienware M11xR2 Memory Modules Replacement, Popping up the Memory Module: step 7, image 3 of 3
      • WARNING: Before working inside your computer, read the safety information that shipped with your computer.

      • CAUTION: To avoid electrostatic discharge, ground yourself by using a wrist grounding strap or by periodically touching an unpainted metal surface (such as a connector on your computer).

      • CAUTION: To prevent damage to the memory-module connector, do not use tools to spread the memory module securing clips.1memory-module connector2securing clips (2) 3memory moduleNOTE: If you need to install memory modules in two connectors, install a memory module in the lower connector before you install a memory module in the upper connector.

      • Use your fingertips to carefully spread apart the securing clips on each end of the memory-module connector until the memory module pops up.

      Ask FixBot

      Add Comment

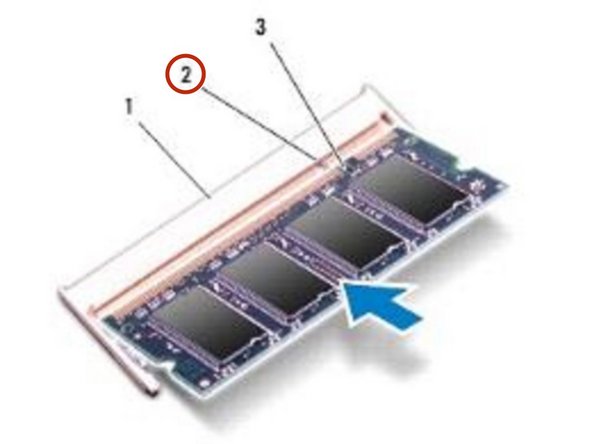
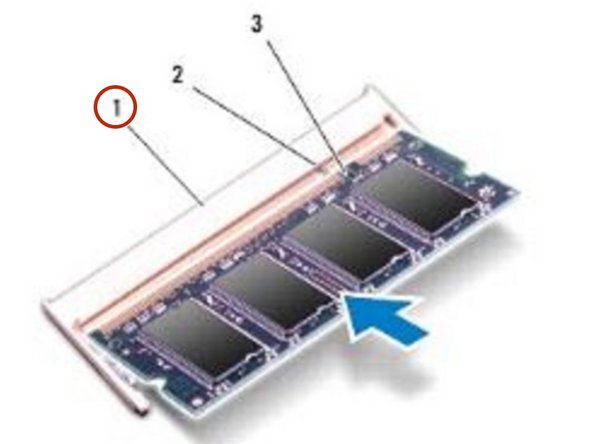
    2. Alienware M11xR2 Memory Modules Replacement, Align the Notch: step 8, image 1 of 3 Alienware M11xR2 Memory Modules Replacement, Align the Notch: step 8, image 2 of 3 Alienware M11xR2 Memory Modules Replacement, Align the Notch: step 8, image 3 of 3
      • NOTE: If you need to install memory modules in two connectors, install a memory module in the lower connector before you install a memory module in the upper connector.

      • Align the notch in the NEW memory module with the tab in the memory-module connector.

      Ask FixBot

      Add Comment

    3. Alienware M11xR2 Memory Modules Replacement, Securing the Memory Module: step 9, image 1 of 2 Alienware M11xR2 Memory Modules Replacement, Securing the Memory Module: step 9, image 2 of 2
      • Slide the memory module firmly into the connector at a 45-degree angle, and press the memory module down until it clicks into place. If you do not hear the click, remove the memory module and reinstall it.

      • NOTE: If the memory module is not installed properly, the computer may not boot.

      Ask FixBot

      Add Comment

Conclusion

To reassemble your device, follow these instructions in reverse order.

Cancel: I did not complete this guide.

Terrence15

Member since: 12/18/17

80,137 Reputation

441 Guides authored

Team

RampUP America, Inc. Member of RampUP America, Inc.

Community

45 Members

12,277 Guides authored

0 Guide Comments

Add Comment

View Statistics:

Past 24 Hours: 1

Past 7 Days: 3

Past 30 Days: 17

All Time: 143