Introduction
This is a step-by-step guide on how to replace the scroll wheel on an Alienware AW610 Mouse. In this guide, I will be showing you how to disassemble the mouse, replace the scroll wheel, and clean any debris without damaging the hardware.
Sometimes you will notice your mouse's scroll wheel getting stuck or the sensitivity being off. This can be caused by debris and dust trapped between the interior of the mouse or by a worn-out scroll wheel. In this scenario, it is helpful to know how to disassemble the mouse, troubleshoot your issue, and reassemble it without risking your device.
Before beginning, power off your mouse and disconnect it from any devices.
What you need
-
-
Turn your mouse over with the scroll wheel facing down.
-
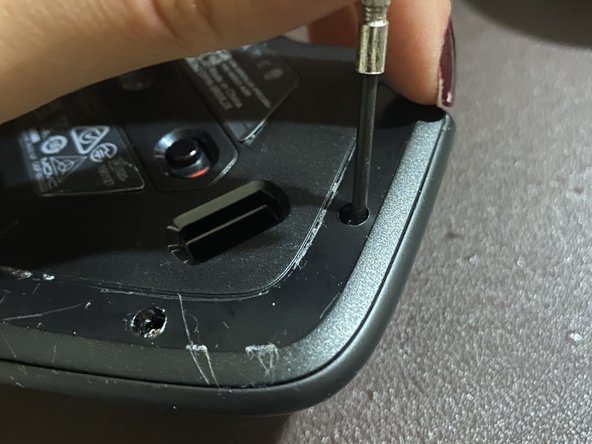
Use a precision blade (I used size 12) to loosen the adhesive surrounding any stickers on the back of the mouse.
 Ask FixBot
-
-
-
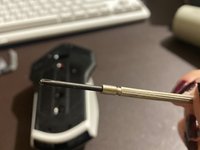
Turn your blowdryer on a low heat setting.
-
Precisely aim the heat on the adhesive sections of the mouse for 5-10 second intervals.
-
Turn off your blowdryer, unplug the device, and set it aside to cool down.
-
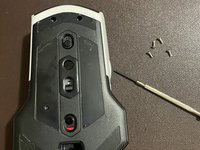
Carefully peel off the stickers, and set aside as well.
-
-
-
-
Gently prop open the back side of the mouse; be careful as to not break any plastic while doing so.
-
-
-
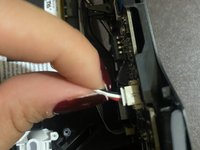
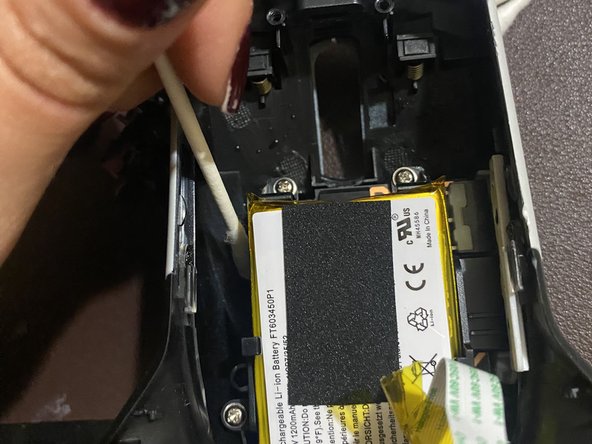
Disconnect any wire connections away from the mouse's circuit board.
-
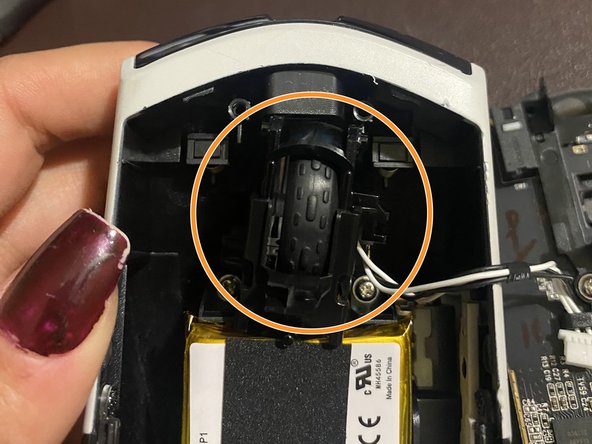
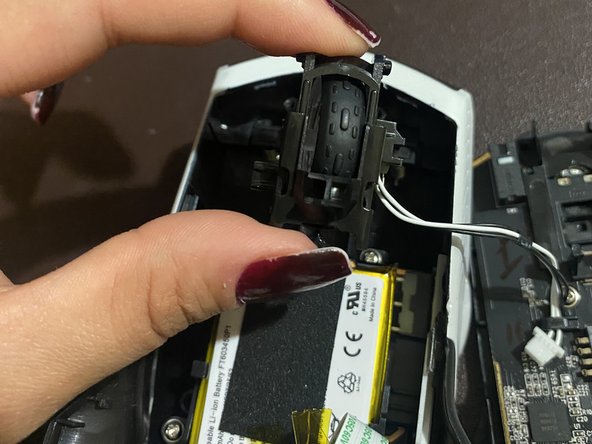
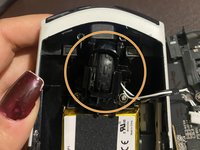
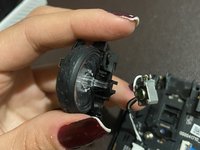
Locate the scroll wheel placed in the gap of the mouse's backing.
-
Gently lift the scroll wheel mechanism out of the mouse's backing.
-
-
-
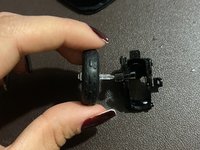
Disconnect the scroll wheel sensor from the mouse backing.
-
Remove the old wheel from the plastic casing, and set it aside.
-
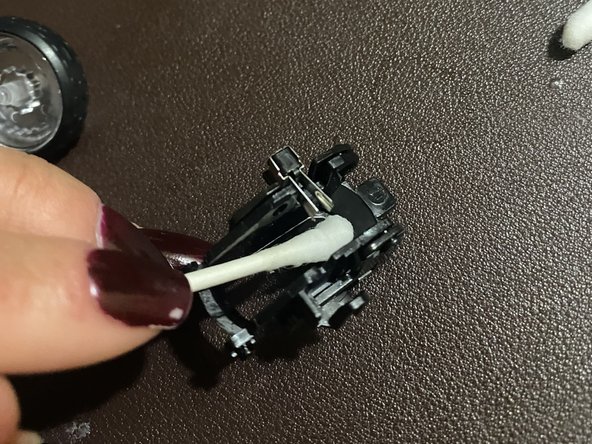
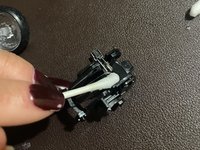
Use a dry cotton swab to wipe off dust or debris in the wheel's plastic casing.
-
-
-
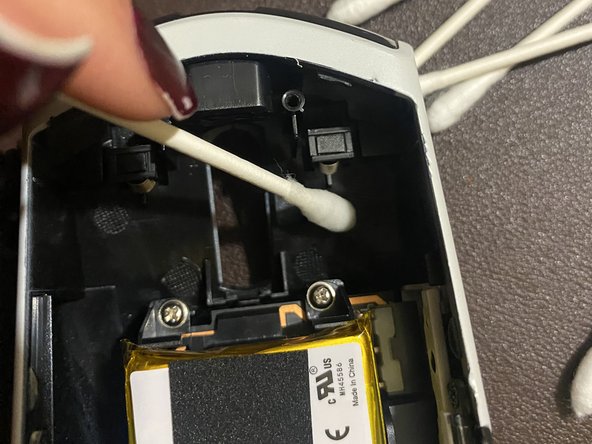
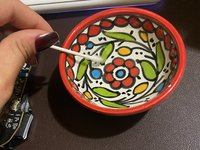
Dip a cotton swab into hydrogen-peroxide.
-
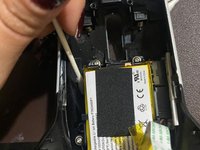
Use a wet cotton swab to clean the mouse backing. Don't hesitate to swipe behind different pieces of plastic as well.
-


To reassemble your device, follow these instructions in reverse order.
Cancel: I did not complete this guide.
4 other people completed this guide.

Team

CSU Los Angeles, Team 2-71, Briggs Spring 2023 Member of CSU Los Angeles, Team 2-71, Briggs Spring 2023
CSULA-BRIGGS-S23S2G71
1 Member
3 Guides authored
3 Guide Comments
Hello, I followed all the steps but I'm left with the two springs that I don't know where to put. I didn't see the two springs in your pictures.
Same, did you find out where it went