Introduction
This guide will show you how to replace the battery in your Alienware 17 R5 (model number: ALW17C-D3748S) in the case that your battery can no longer hold a charge. In cases where an old battery will prevent the computer from being able to power on, it can be solved by allowing it to charge for a few hours or days depending on how depleted the battery is. If the battery can't hold a charge, or it is very quickly losing its charge after you have charged it, then it will need replaced. So if your computer only turns on while plugged in, and can only stay on while plugged in, then a battery replacement will likely solve your problems.
Detailed model of the computer:
Name: Alienware 17(R5) (ALW17C-D3748S)
CPU: i7 8750H. 2.2GHz
Graphics card: NVIDIA GeForce GTX 1070 OC
Memory capacity: 8G. GDDR5
Maximum memory capacity: 32G
Weight: 4.42Kg
Length: 424mm
Width: 332mm
Thickness: 29.9mm
Shell color: Silvery
Before using this guide, please note that the computer needs to be completely powered off. This can effectively ensure that you will not be threatened by static electricity when replacing batteries.
ESD safety tools are also necessary.
What you need
-
-
-
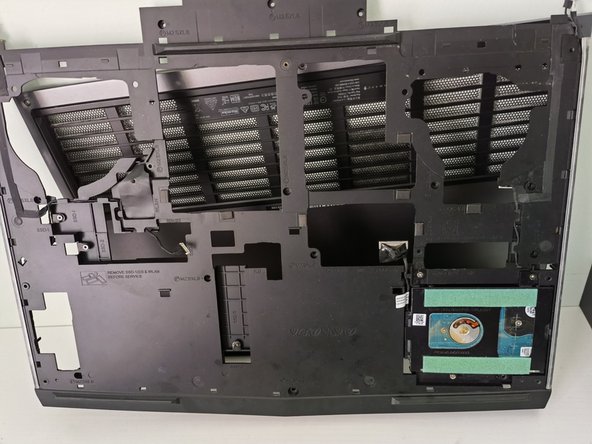
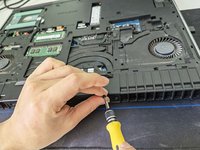
Use a Phillips #0 screwdriver to remove all of the screws in the back cover.
 Ask FixBot
-
-
-
Lift up the flap that covers the network card.
-
Use a spudger to undo the two wires that connect the network card to the motherboard.
-
Undo the screw holding the network card in. It will pop out at an angle.
-
Remove the network card.
-
-
-
Remove the second layer of casing that protects the battery.
-
-
-
-
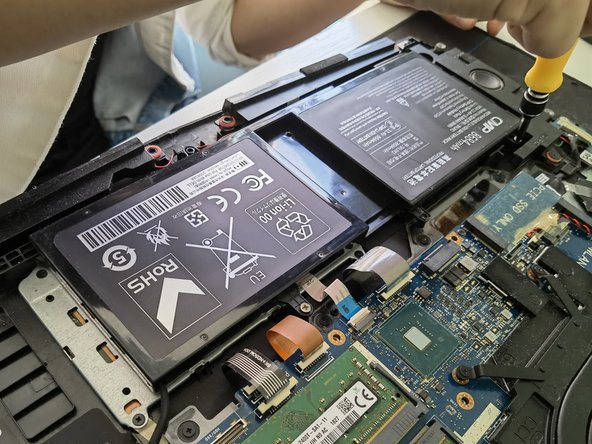
Use a spudger to unplug the battery cable from the motherboard.
-
-
-
Using a Phillips #0 screwdriver, remove the screws holding down the battery.
-
-
-
Place the new battery in the correct position and reinstall the screws that hold the battery in place. Next , connect the cable into the battery connector.
-
-
-
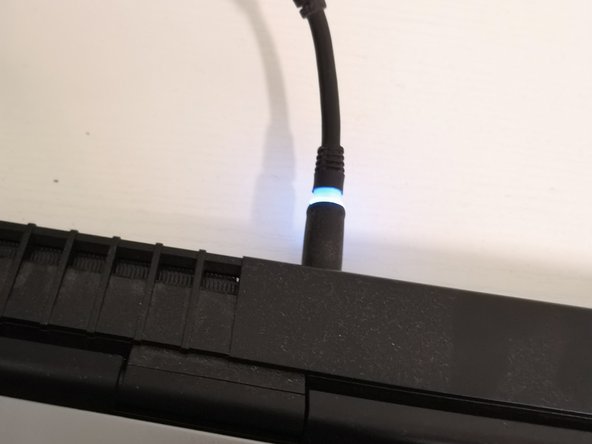
Once the battery is installed, reassemble your laptop completely and test your laptop by turning it on.
-
-
-
Wait for your computer to boot up and then sign in. Once you are signed in, click on the icon that looks like a battery in the bottom right corner of the screen to check the battery.
-
If the new battery can hold a charge, stays charged for a few hours, and re-enables you to use your laptop without the charger plugged in, then the new battery is working properly.
-
-


Cancel: I did not complete this guide.
8 other people completed this guide.
Team

York University, Team S1-G22, O'Regan Winter 2021 Member of York University, Team S1-G22, O'Regan Winter 2021
YORK-O'REGAN-W21S1G22
1 Member
1 Guide authored
1 Guide Comment
This guide needs a lot of work. Step 3 is especially problematic, leaving out the need to remove the panel over the connectors including how to unclip it, also disconnecting the light bars on the sides and the HDD. And how to uncip the plastic panel you are unhooking everything else to do. It needs more than just better pictures. It was enough I didn't feel right giving the credit by saying I'd made the repair (which I did).