
Akaso EK7000 4K Button Replacement

What you need

  1. Akaso EK7000 4K Button Replacement, Battery: step 1, image 1 of 2 Akaso EK7000 4K Button Replacement, Battery: step 1, image 2 of 2
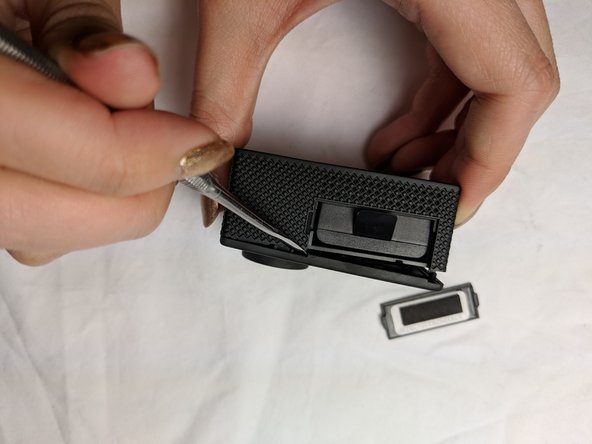
    • Locate the battery cover at the bottom of the camera. Use your fingers to gently pry open the battery cover.

  2. Akaso EK7000 4K Button Replacement: step 2, image 1 of 2 Akaso EK7000 4K Button Replacement: step 2, image 2 of 2
    • Locate the small plastic flap attached to the battery. Pull the battery out towards you.

  3. Akaso EK7000 4K Button Replacement, Front Panel: step 3, image 1 of 2 Akaso EK7000 4K Button Replacement, Front Panel: step 3, image 2 of 2
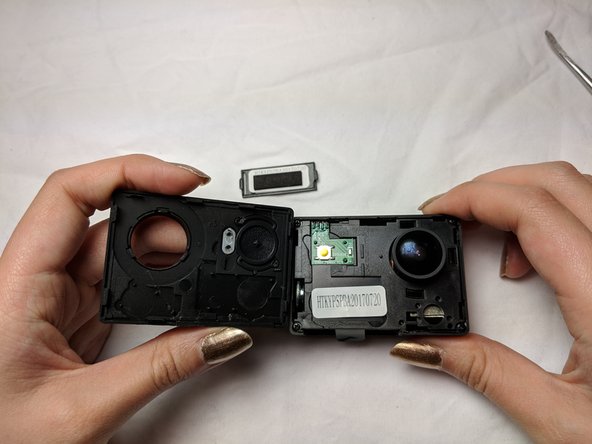
    • Using the metal spudger, gently pry open the front panel from the exposed battery cartridge.

  4. Akaso EK7000 4K Button Replacement: step 4, image 1 of 2 Akaso EK7000 4K Button Replacement: step 4, image 2 of 2
    • Remove the rest of front panel with your fingers or with assistance from the spudger.

  5. Akaso EK7000 4K Button Replacement, Button: step 5, image 1 of 2 Akaso EK7000 4K Button Replacement, Button: step 5, image 2 of 2
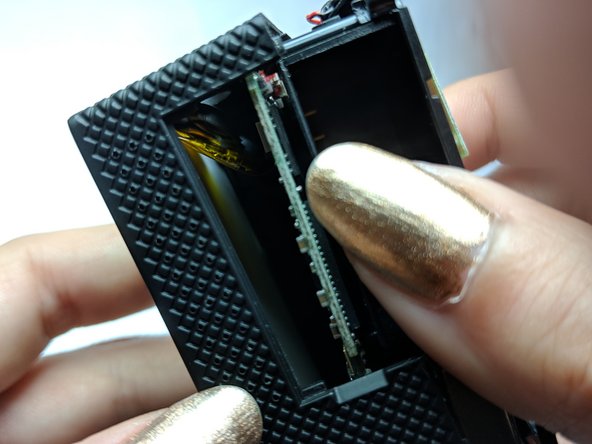
    • Using a Phillips #000 screwdriver, remove the four screws securing the cover plate.

  6. Akaso EK7000 4K Button Replacement: step 6, image 1 of 2 Akaso EK7000 4K Button Replacement: step 6, image 2 of 2
    • Using your thumb or a spudger, gently push up from inside the battery cartridge.

    • Gently lift the cover plate until you can see into the inside of the camera. The cover will not completely come off, so be careful not to damage any of the inner wiring.

  7. Akaso EK7000 4K Button Replacement: step 7, image 1 of 2 Akaso EK7000 4K Button Replacement: step 7, image 2 of 2
    • Using the metal spudger, push down on the up and down button as shown in the picture. Dislodge the button and it should fall to the bottom of the camera.

  8. Akaso EK7000 4K Button Replacement: step 8, image 1 of 2 Akaso EK7000 4K Button Replacement: step 8, image 2 of 2
    • Again, using the metal spudger, gently pull out the button from within the camera.

Conclusion

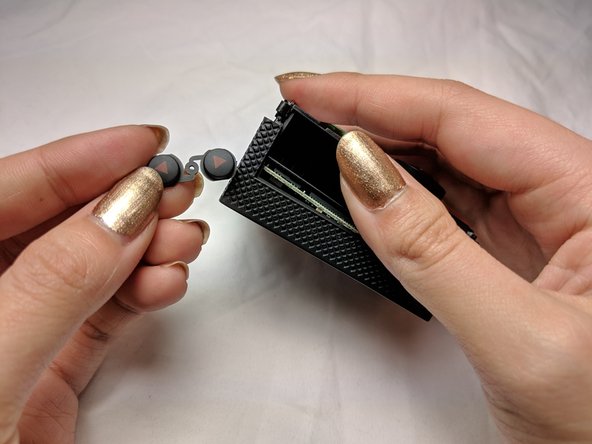
To reassemble your device, follow these instructions in reverse order.

2 other people completed this guide.

Annie Sun

Member since: 02/05/19

436 Reputation

3 Guides authored

Team

UC Davis, Team S20-G2, Lore Winter 2019 Member of UC Davis, Team S20-G2, Lore Winter 2019

UCD-LORE-W19S20G2

3 Members

4 Guides authored

3 Comments

Annie, where do I get the replacemnet bottons for the Akaso 7000 pro?

ecab110544 - Reply

I need a replacement top button. Plastic got messed up but was able to still press the metallic part. But didn't realize it wasn't secure and it fell off at some point. Can start recording by shorting across contacts but looking for a fix.

Mark - Reply

Who is going to answer above questions?

luis - Reply

Add Comment

View Statistics:

Past 24 Hours: 2

Past 7 Days: 7

Past 30 Days: 28

All Time: 2,220