
Air Filter Removal

Prerequisite Only
This guide is only intended to be used as a prerequisite for other guides. It's incomplete by itself.

What you need

  1. Air Filter Removal, Remove the Air Filter Cover: step 1, image 1 of 1
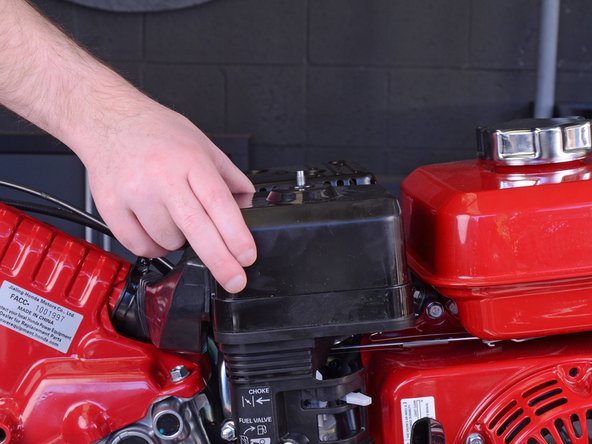
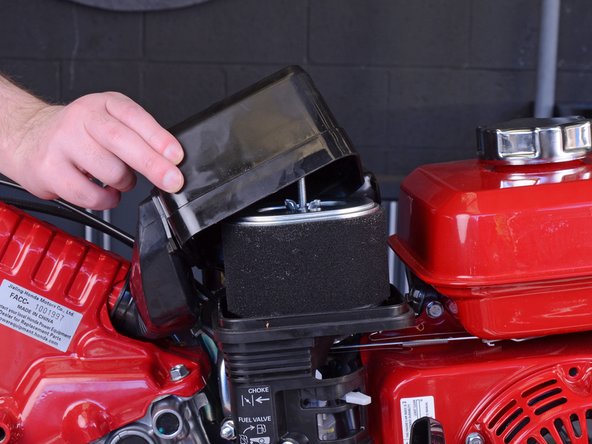
    • Use your fingers to unscrew and remove the wing nut securing the air filter cover to the air filter elbow.

  2. Air Filter Removal: step 2, image 1 of 2 Air Filter Removal: step 2, image 2 of 2
    • Lift up and remove the air filter cover to reveal the air filter.

    • The air filter cover will still be attached to the tiller by a flexible hose. You can push the cover to the side while you continue to work on the tiller, or follow the next two steps to completely remove the cover.

  3. Air Filter Removal, Detach the Air Filter Cover: step 3, image 1 of 2 Air Filter Removal, Detach the Air Filter Cover: step 3, image 2 of 2
    • The next two steps are optional, but they will make it easier to work on the tiller from here on out.

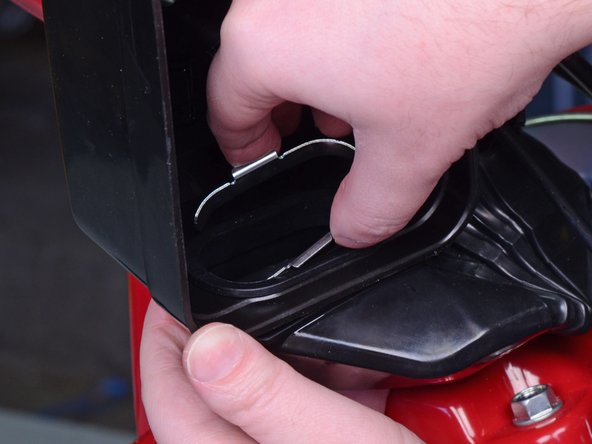
    • Squeeze the metal clip on the inside of the air filter cover and remove it.

  4. Air Filter Removal: step 4, image 1 of 2 Air Filter Removal: step 4, image 2 of 2
    • Hold onto the air filter hose and pull on the air filter cover to remove it.

  5. Air Filter Removal, Remove the Air Filter: step 5, image 1 of 1
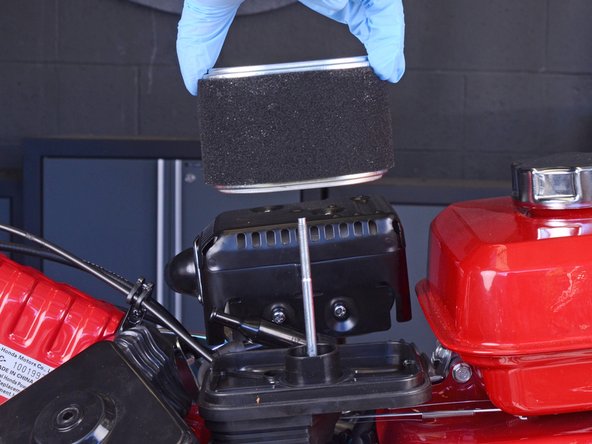
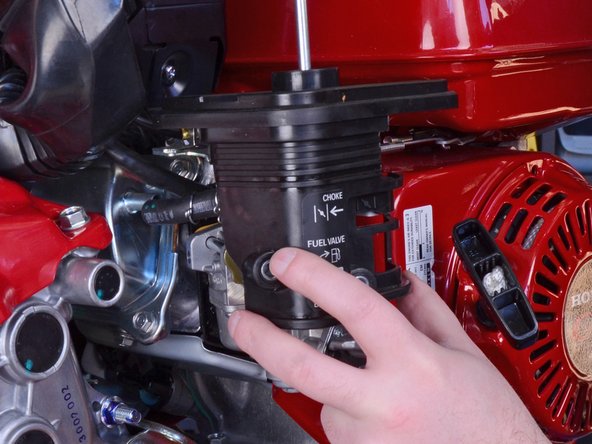
    • Use your fingers to unscrew and remove the wing nut securing the air filter to the air filter elbow.

  6. Air Filter Removal: step 6, image 1 of 2 Air Filter Removal: step 6, image 2 of 2
    • Wear gloves or use a rag during this step, as the air filter is coated with oil.

    • Lift the air filter straight up off the elbow, making sure it clears the threaded rod.

  7. Air Filter Removal, Remove the Air Filter Elbow: step 7, image 1 of 1
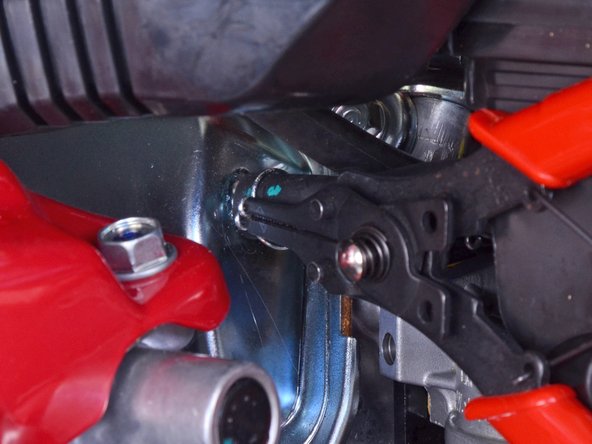
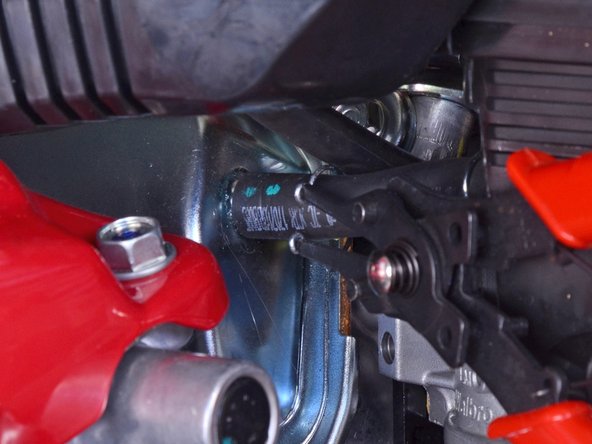
    • Use a 10 mm socket and socket wrench to remove the 25.5 mm-long bolt securing the air filter elbow to the tiller.

  8. Air Filter Removal: step 8, image 1 of 1
    • Use a 10 mm socket and socket wrench to remove the two nuts securing the air filter elbow to the carburetor's threaded rods.

  9. Air Filter Removal: step 9, image 1 of 3 Air Filter Removal: step 9, image 2 of 3 Air Filter Removal: step 9, image 3 of 3
    • Use a pair of snap ring pliers to loosen the spring hose clamp on the breather tube, pulling it out 2-3 cm so it's not clamping onto the end of the tube.

  10. Air Filter Removal: step 10, image 1 of 2 Air Filter Removal: step 10, image 2 of 2
    • Pull the air filter elbow straight off, making sure it clears the carburetor's threaded rods.

    • As you remove the elbow, you may need to use your other hand to remove the breather tube from the engine's valve cover.

Conclusion

To reassemble your device, follow these instructions in reverse order.

Craig Lloyd

Member since: 02/10/16

35,418 Reputation

82 Guides authored

0 Comments

Add Comment

View Statistics:

Past 24 Hours: 0

Past 7 Days: 0

Past 30 Days: 0

All Time: 4