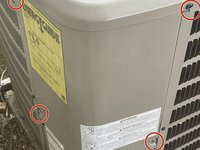
What you need
-
-
Turn on the A/C
-
If the unit turns on but does not spin, use a screwdriver to spin the fan blade.
-
If the blade spins freely, the capacitor is bad. If the blade does not spin freely, there is another issue, and a professional should be called.
 Ask FixBot
-
-
-
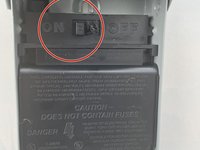
Turn off the power to the unit. This may mean flipping a switch or pulling a plug.
-
If the disconnect is not located next to the unit you will have to locate the breaker. You can make sure power is removed by trying to turn the unit on. If the unit does not turn on power has been removed and it is safe to work.
-
-
-
Remove the door screws and door from the A/C.
-
It is only necessary to remove the bottom screws, but it is easier if the top screws are removed as well.
-
-
-
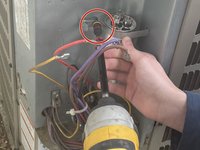
To displace energy stored in the capacitor, take a screwdriver and place the tip of the screwdriver against the wall
-
Tap the rod of the screwdriver against the metal connector that connects the wire and the capacitor
-
-
-
-
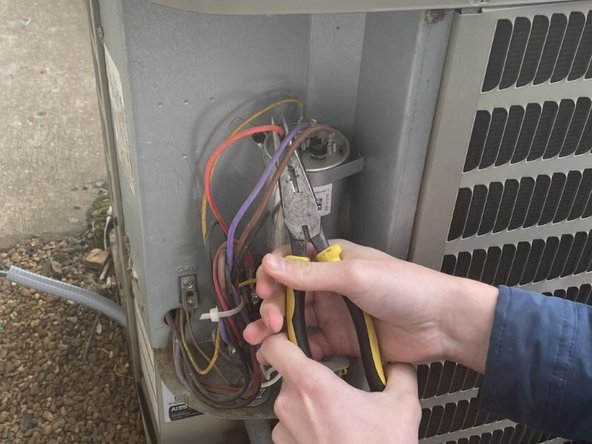
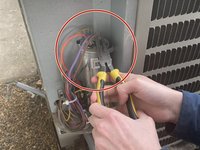
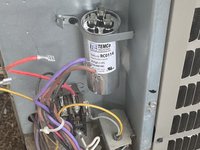
Take a pair of needle nose pliers and place the tip around one of the wire connections to the capacitor.
-
Pull the wire upwards until the wire comes loose from the capacitor. It may help to use leverage against the capacitor.
-
Repeat for all 4 wires
-
-
-
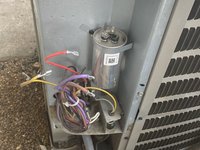
Unscrew the screw on the bracket holding the capacitor in place.
-
Remove the capacitor from the unit.
-
-
-
Find a new capacitor that matches the size of the old capacitor. (Ex: 45/5 or 70/10)
-
-
-
Hold the capacitor in position with the bracket around it.
-
Screw in the screw holding the bracket in place. Make sure the capacitor is held tightly onto the A/C
-
-
-
Reconnect the wires to the capacitor prongs in the same position they were located on the previous capacitor.
-
This can be done with pliers or by hand.
-
The most common setup is to have the brown wire on "FAN," the yellow wire on "HERM," and the red and purple wires on "C."
-
-
-
Slide the door onto the A/C the way it originally was, and hold in place.
-
Screw in the door screws with drill or screwdriver.
-
-
-
Turn on the Power by flipping the switch in the disconnect box to on, or pushing the pull plug back into place.
-
If the A/C is turned on, then the unit should turn on as usual.
-


To reassemble your device, follow these instructions in reverse order.