Introduction
Hitting an acrylic nail on an object often comes with pain, and the full process of applying acrylic nails can take hours. Thankfully, there is no need to go to a nail shop or start the full process of applying nails over. This guide demonstrates how to repair a broken nail in a timely manner.
If you are sensitive to strong odors, opening a window, using a fan, or wearing a mask may be helpful; liquid monomer odor is extremely strong. Having a glass bowl with a lid also helps reduce odor.
Before starting, make sure you have all of the tools prepared, as the process requires you to move quickly. Step 6 requires you to collect the acrylic powder onto the brush after dipping it in the liquid monomer. From there, you have to quickly place the acrylic onto the nail and smooth it out before it hardens too much for you to maneuver and shape it.
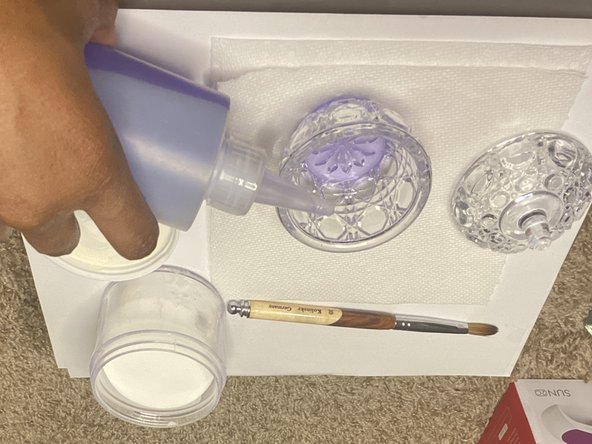
What you need
-
-
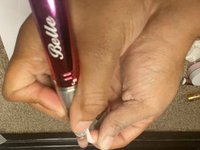
File the nail in a back-and-forth motion with the nail file on the accessible part of the natural nail until it is no longer smooth.
 Ask FixBot
-
-
-
Carefully place a drop of nail glue on the natural nail and let the glue sit for about 5 seconds.
-
-
-
Place a nail tip in its original position and hold it in place for about 20 seconds, or until it is fully dry.
-
-
-
-
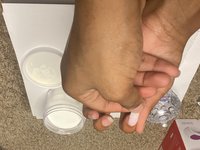
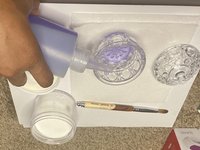
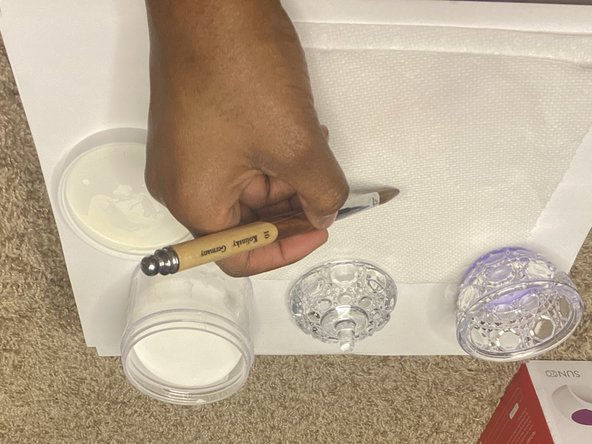
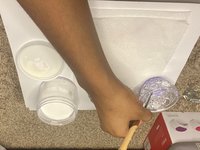
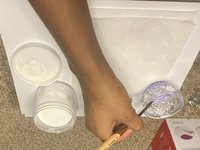
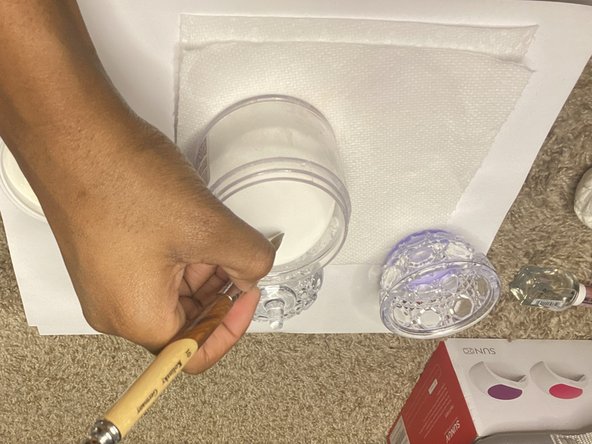
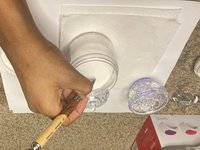
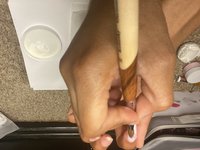
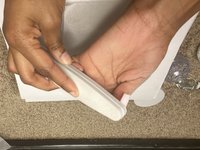
Dip the brush in the monomer and lightly tap it on the paper towel to remove the excess.
-
-
-
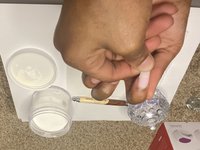
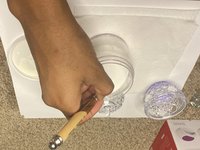
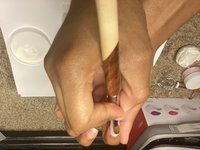
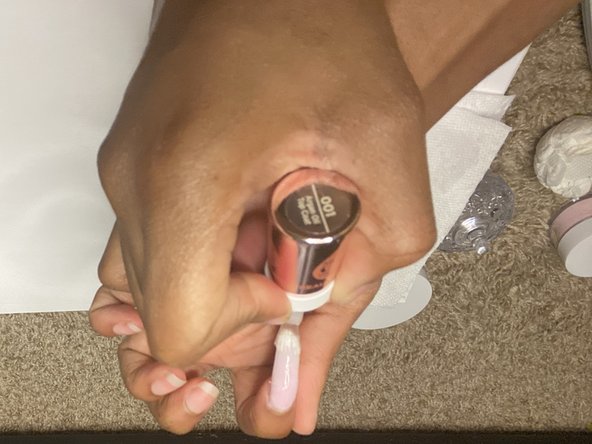
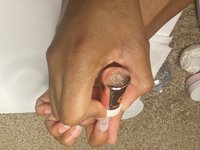
Place the tip of the brush in clear acrylic powder at about an 80-degree angle; collect it on one side of the brush.
-
-
-
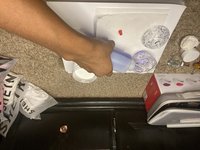
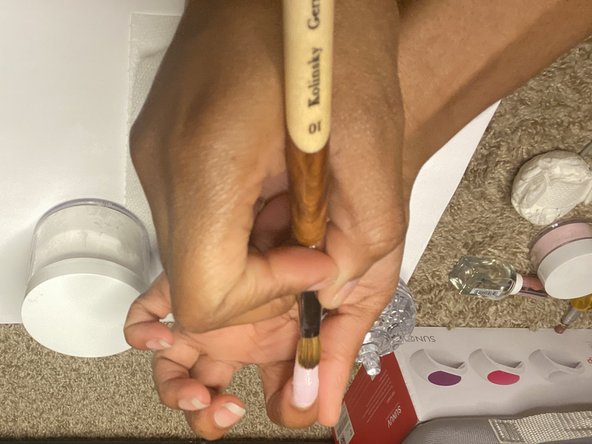
Apply the acrylic powder to the nail, and in a dabbing, downward motion, smooth the acrylic over the nail from top to bottom.
-
-
-
Use a nail drill to file the nail to achieve an even acrylic coat by drilling in a side-to-side motion, working your way from top to bottom.
-
-
-
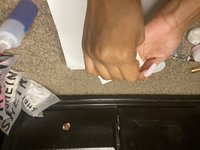
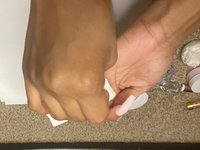
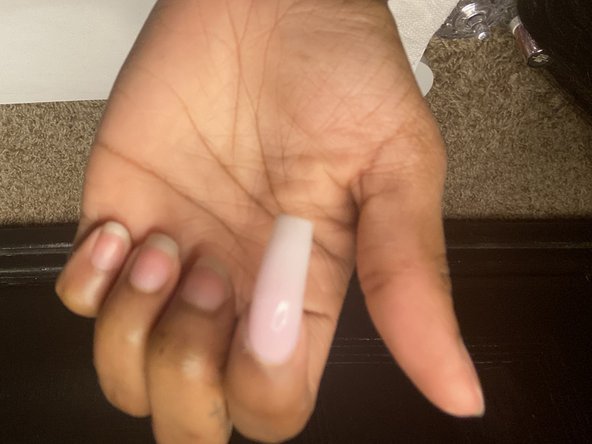
Buff the nail until it is smooth, and use a paper towel to wipe off excess powder.
-


Cancel: I did not complete this guide.
One other person completed this guide.

Team

University of Memphis, Team 2-5, Willis Spring 2022 Member of University of Memphis, Team 2-5, Willis Spring 2022
UM-WILLIS-S22S2G5
1 Member
1 Guide authored