Introduction
Replace the display assembly from your Acer X191 monitor. The display assembly includes the front plastic frame, the LCD screen, and some metal armature on the back of the LCD screen.
What you need
-
-
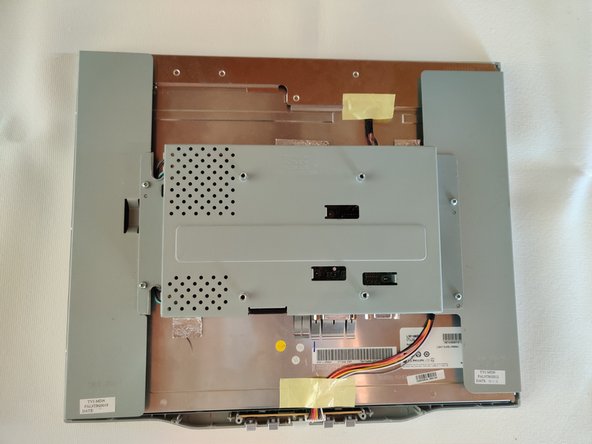
Lay the monitor on a flat surface, facedown.
-
Use a #1 Phillips screwdriver to remove the 4x 10.2mm screws securing the stand to the back panel.
-
Remove the stand from the back panel by pulling it up.
 Ask FixBot
-
-
-
Remove the 2x 9.8mm Phillips #1 screws securing the back cover to the monitor.
-
-
-
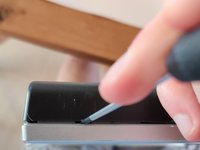
Work your way around the monitor, putting the flathead screwdriver into the space between the front and back covers, and prying up.
-
Ideally you want to pry at the locations that have the little gaps, which are locking mechanisms.
-
-
-
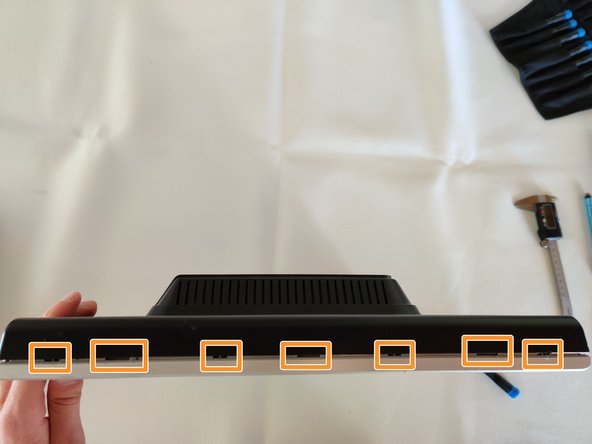
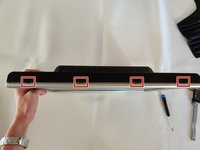
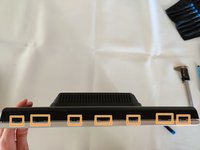
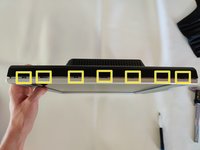
I've highlighted the locations of the locking mechanisms for the back cover, try prying in these locations for the best results.
-
Right side of the monitor.
-
Top of the monitor.
-
Left side of the monitor.
-
-
-
-
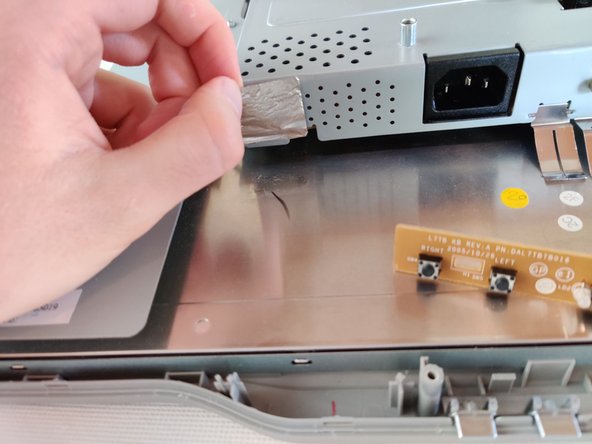
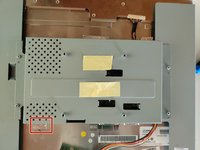
Remove the 2 pieces of yellow tape.
-
The bottom one have a thin sheet a metal on the underside which you need to take off too, if it does not come off with the tape.
-
-
-
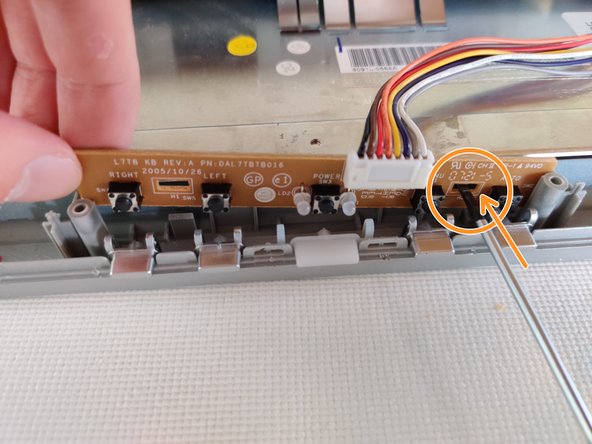
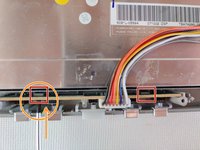
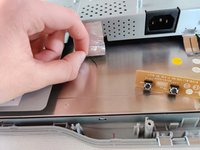
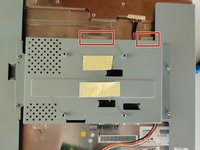
The button board is secured to the front frame by 2 plastic locking mechanisms.
-
To remove, insert a Flathead screwdriver into the gap to push the locking mechanism back a little, while pulling up on the board.
-
-
-
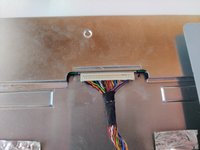
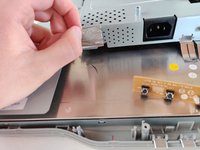
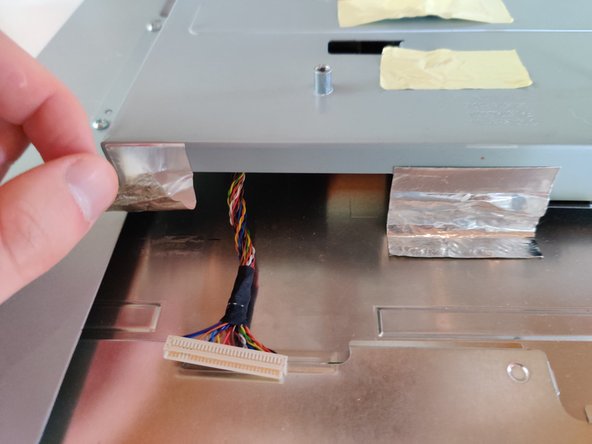
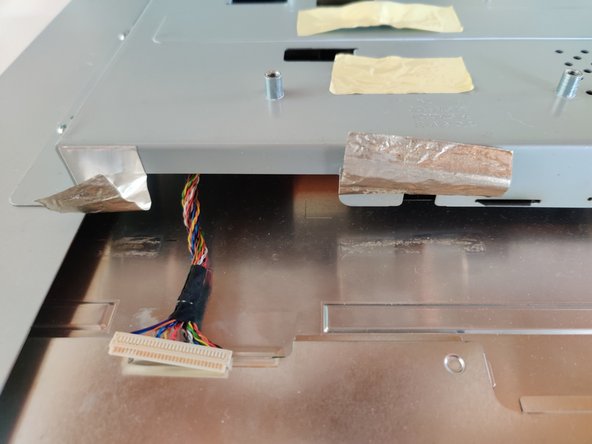
Remove the bundled cable connector that is going to the top of the monitor. Grab the black tape that holds all the individual wires together, and pull gently.
-
-
-
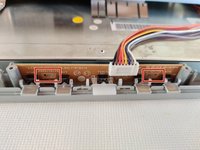
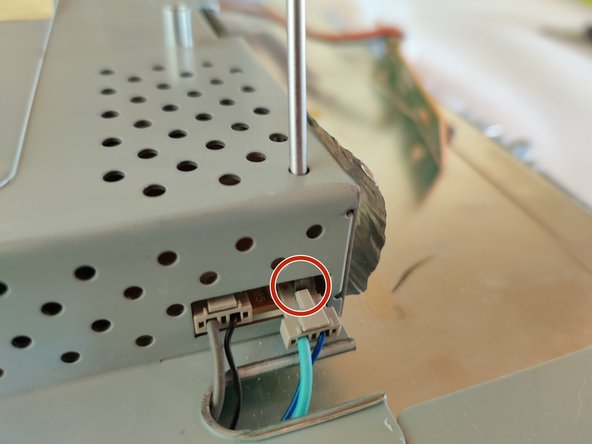
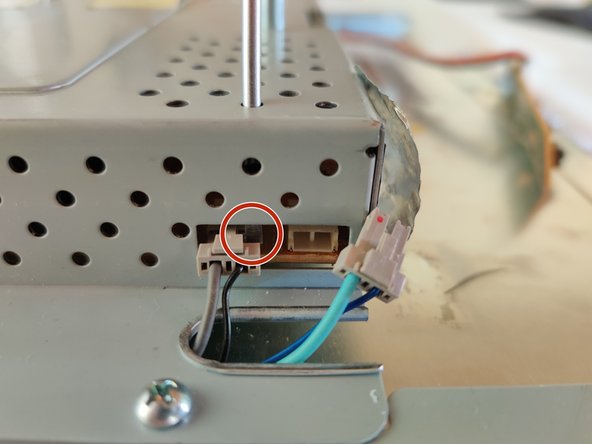
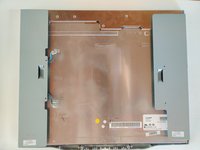
Remove the 4 connectors that bring power from the powerboard to the LCD.
-
The connectors have a plastic locking tab on them, and the available space make them very difficult to pull out.
-
-
-
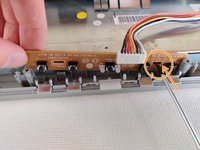
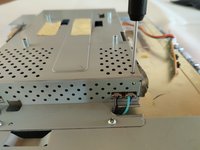
Insert a Flathead screwdriver into the holes on the top of the shield. Lodge the tip between the socket and the connector and slowly push the connector out of it's socket.
-
-
-
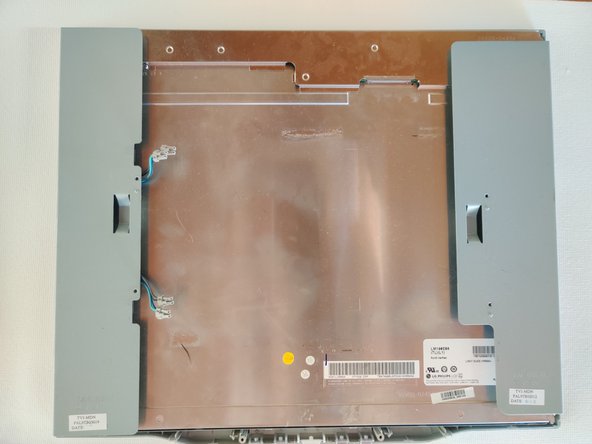
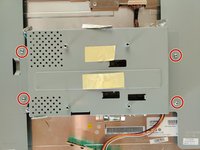
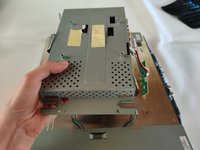
Use a Phillips #1 to remove the 4x 8.5mm screws that are securing the shield to the display assembly.
-
Pull the shield up carefully.
-


To reassemble your device, follow these instructions in reverse order.