Introduction
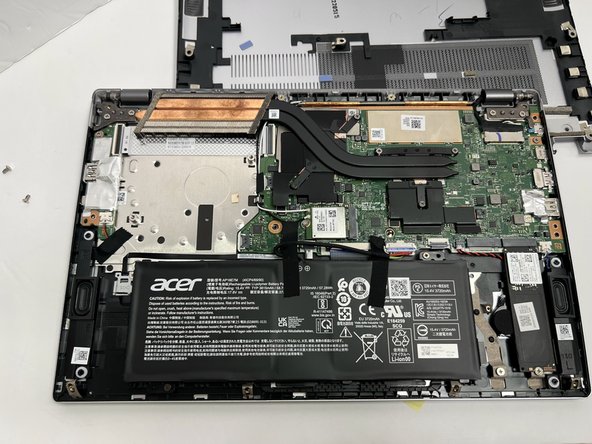
If your computer has been acting up recently. Every time you turn it on, it shuts down after just a minute or two, and we've noticed there's no sound during this process. We suspect the fan might not be working properly, causing the system to overheat. Let's explore this issue further, to keep our computer running smoothly you should follow the guide to replace the heat sink/fan.
What you need
-
-
Use a Torx T5 screwdriver to remove the eleven screws that secure the lower case.
-
-


To reassemble your device, follow these instructions in reverse order.
To reassemble your device, follow these instructions in reverse order.
Team

Gateway, Team 1-2, Pee Fall 2023 Member of Gateway, Team 1-2, Pee Fall 2023
GCC-PEE-F23S1G2
5 Members
5 Guides authored