Introduction
Acer Swift 3 2022 Model Number: N20C12
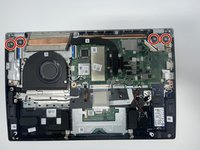
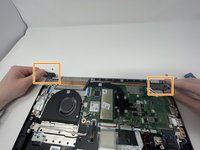
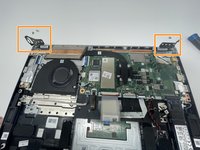
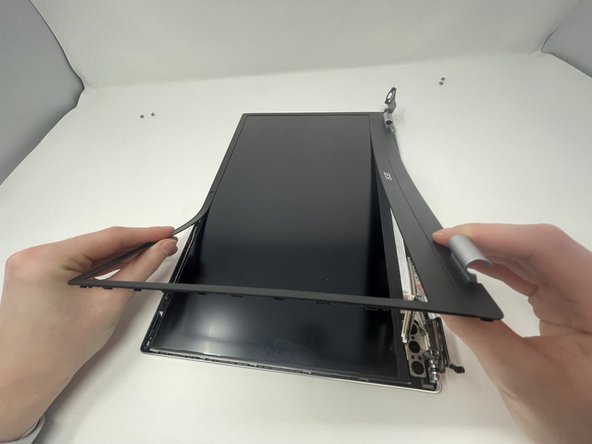
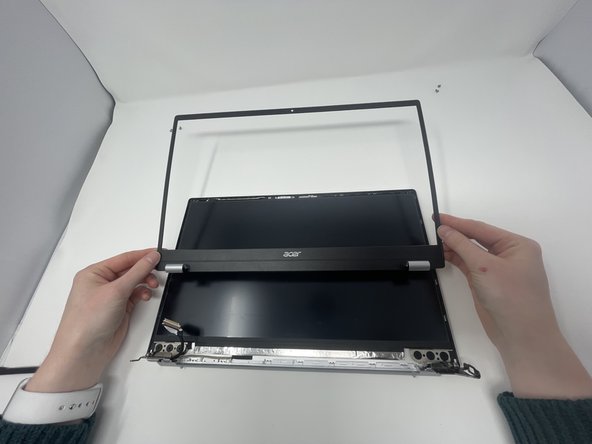
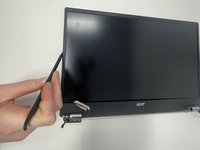
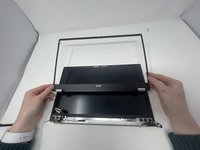
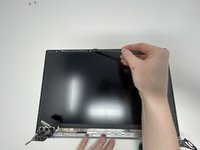
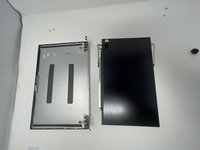
If your screen is cracked, doesn't turn on, or has any other issues, use this guide to help replace the screen. The screen is the piece of hardware that displays the graphics. Before attempting to replace it, try restarting your computer. Broken screens are a nightmare for anyone. Sending them in can put you in an unnecessary predicament, so fix it at home with the simple steps below. For more information view our troubleshooting page.
Problem: You can only do it once.
What you need


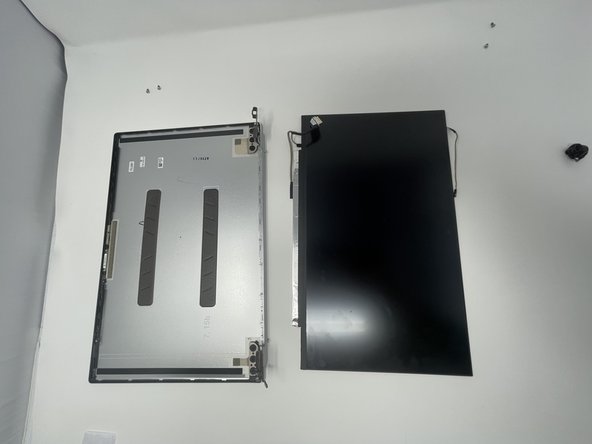


To reassemble your device, follow these instructions in reverse order.
Cancel: I did not complete this guide.
One other person completed this guide.

Team

Utah Tech University, Team 1-2, McMurrin Fall 2022 Member of Utah Tech University, Team 1-2, McMurrin Fall 2022
UTAHTECH-MCMURRIN-F22S1G2
2 Members
6 Guides authored
1 Guide Comment
really good i just followed the instructions and it was easy to do.