Acer P446 Hard Drive Replacement

What you need

  1. Acer P446 Hard Drive Replacement, Removing the Rear Cover: step 1, image 1 of 1
    • Using a Phillips head screw-driver remove all the screws from the rear casing of the Acer P446 Unit.

    • Side note: when lifting the rear cover away from the unit lift away from the VGA/HDMI Ports as the case slides into these and although you can lift it straight off you may damage the plastic

  2. Acer P446 Hard Drive Replacement: step 2, image 1 of 2 Acer P446 Hard Drive Replacement: step 2, image 2 of 2
    • You now have access to the RAM, Hard Drive, Batteries etc. from removing this cover to remove the hard drive simply lift UP the cable that connects to the Motherboard as shown and LIFT the Hard Drive right out

  3. Acer P446 Hard Drive Replacement: step 3, image 1 of 2 Acer P446 Hard Drive Replacement: step 3, image 2 of 2
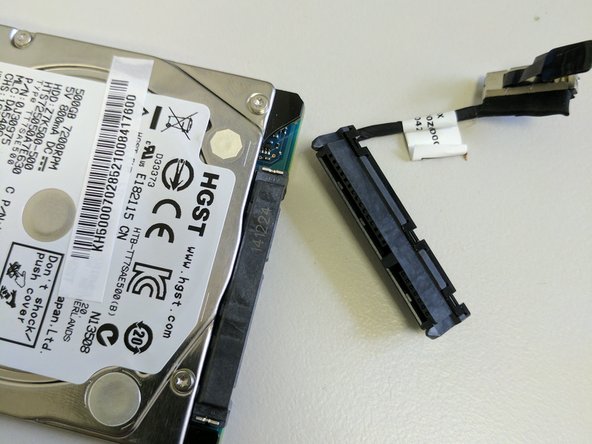
    • If you wish to connect the Hard Drive to an external Caddy or install it in a new machine simply remove the SATA Adapter by pulling it away from the Hard Drive

Conclusion

To reassemble your device, follow these instructions in reverse order.

3 other people completed this guide.

Troy McGarry

Member since: 07/27/16

161 Reputation

1 Guide authored

0 Comments

Add Comment

View Statistics:

Past 24 Hours: 0

Past 7 Days: 0

Past 30 Days: 6

All Time: 1,033