Shop the Holiday Gift Guide
Free Shipping on Domestic Orders $75+

Acer Nitro 5 AN515-53-52FA CMOS Replacement

Views: 14K

View statistics:

Past 24 Hours:
13
Past 7 Days:
66
Past 30 Days:
288
All Time:
13,690
Comments: 4

4 comments on steps.

Completed: 1

1 person has marked this guide "completed." Will you be next?

Favorites: 0

No one has favorited (and subscribed to) this guide. Will you be the first?

Time Required: 20 minutes
Difficulty: Easy
Acer Nitro 5 AN515-53-52FA CMOS Replacement

Introduction

Go to step 1 ↓

Use this guide to replace the CMOS in the Acer Nitro 5 AN515-53-52FA laptop. Before doing this guide please make sure there is no external power connected and that nothing is on.

The CMOS battery is a separate small battery that keeps track of time regardless if things are powered on or off. A great indicator to when it needs a replacement is when the clock on your PC falls behind. When disposing the broken CMOS please dispose it by trusted source and not a false company.

What you need

Tools

    1. Acer Nitro 5 AN515-53-52FA CMOS Replacement, Battery: step 1, image 1 of 1
      • Before starting the replacement, make sure the laptop is turned off and unplugged.

      • Flip the laptop upside down so that the bottom is facing up.

      Ask FixBot
      Add Comment

    2. Acer Nitro 5 AN515-53-52FA CMOS Replacement: step 2, image 1 of 2 Acer Nitro 5 AN515-53-52FA CMOS Replacement: step 2, image 2 of 2
      • Use the Phillips #0 screwdriver to unscrew the sixteen 9 mm screws holding the back cover in place.

      Ask FixBot
      Add Comment

    3. Acer Nitro 5 AN515-53-52FA CMOS Replacement: step 3, image 1 of 2 Acer Nitro 5 AN515-53-52FA CMOS Replacement: step 3, image 2 of 2
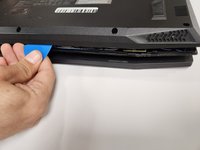
      • Use the opening pick to work your way around the edges to remove the bottom case carefully.

      • Do not try to put too much force on the shell off as you may damage it.

      Ask FixBot
      Add Comment

    4. Acer Nitro 5 AN515-53-52FA CMOS Replacement: step 4, image 1 of 1
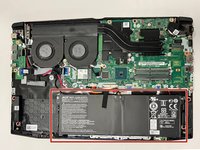
      • Use the Phillips #0 screwdriver to unscrew the four 9 mm screws holding the battery in place.

      Ask FixBot

      Add Comment

    5. Acer Nitro 5 AN515-53-52FA CMOS Replacement: step 5, image 1 of 2 Acer Nitro 5 AN515-53-52FA CMOS Replacement: step 5, image 2 of 2
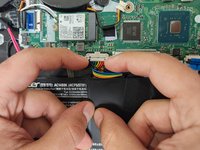
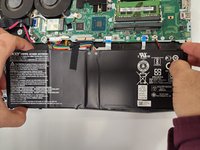
      • Disconnect the battery's motherboard connector with your fingers.

      Ask FixBot

      Add Comment

    6. Acer Nitro 5 AN515-53-52FA CMOS Replacement: step 6, image 1 of 2 Acer Nitro 5 AN515-53-52FA CMOS Replacement: step 6, image 2 of 2
      • Lift the battery up and out of the laptop.

      Ask FixBot

      Add Comment

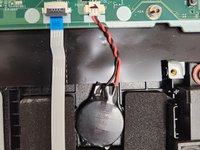
    1. Acer Nitro 5 AN515-53-52FA CMOS Replacement, CMOS: step 7, image 1 of 2 Acer Nitro 5 AN515-53-52FA CMOS Replacement, CMOS: step 7, image 2 of 2
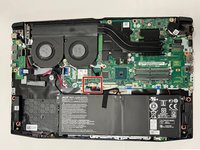
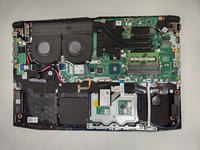
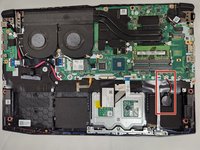
      • Locate the CMOS that is under the battery.

      Ask FixBot

      Add Comment

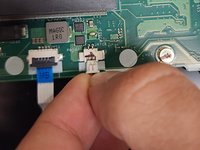
    2. Acer Nitro 5 AN515-53-52FA CMOS Replacement: step 8, image 1 of 2 Acer Nitro 5 AN515-53-52FA CMOS Replacement: step 8, image 2 of 2
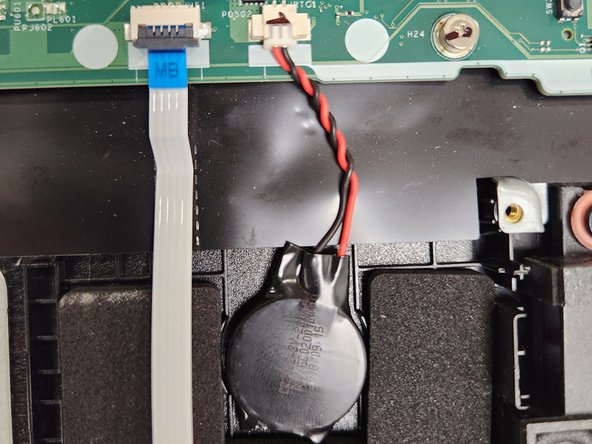
      • Gently unplug the port.

      Ask FixBot

      Add Comment

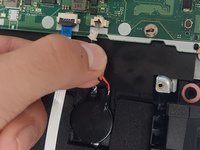
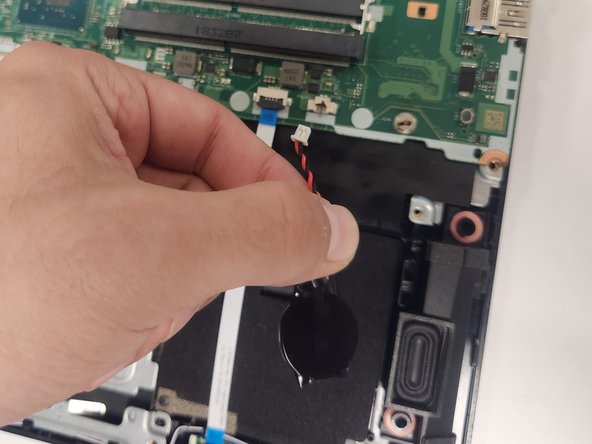
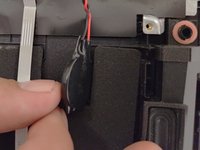
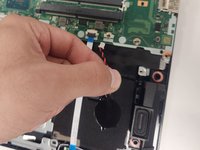
    3. Acer Nitro 5 AN515-53-52FA CMOS Replacement: step 9, image 1 of 2 Acer Nitro 5 AN515-53-52FA CMOS Replacement: step 9, image 2 of 2
      • Carefully pull the CMOS Battery, as there is adhesive keeping it attached.

      Ask FixBot

      Add Comment

Conclusion

To reassemble your device, follow these instructions in reverse order.

Cancel: I did not complete this guide.

One other person completed this guide.

Author

with

Alfredo Prieto

Member since: 09/01/22

971 Reputation

5 Guides authored

Team

Gateway, Team 1-3, Pee Fall 2022 Member of Gateway, Team 1-3, Pee Fall 2022

GCC-PEE-F22S1G3

4 Members

60 Guides authored

0 Guide Comments

Add Comment

View Statistics:

Past 24 Hours: 13

Past 7 Days: 66

Past 30 Days: 288

All Time: 13,690