Free Shipping on Domestic Orders $75+

Acer Iconia One 8 Front Camera Replacement

What you need

    1. Acer Iconia One 8 Front Camera Replacement, Screen: step 1, image 1 of 2 Acer Iconia One 8 Front Camera Replacement, Screen: step 1, image 2 of 2
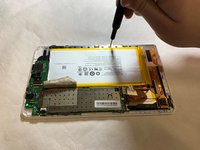
      • Begin by opening the back panel.

      • Wedge a plastic opening tool in between the front and back shell and gently separate.

      Ask FixBot

      Add Comment

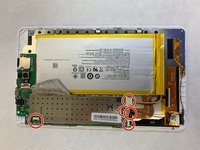
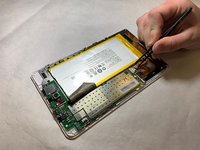
    2. Acer Iconia One 8 Front Camera Replacement: step 2, image 1 of 3 Acer Iconia One 8 Front Camera Replacement: step 2, image 2 of 3 Acer Iconia One 8 Front Camera Replacement: step 2, image 3 of 3
      • Peel back all pieces of tape indicated in picture.

      • There are three pieces of tape total (2 Black and 1 Silver).

      Ask FixBot

      Add Comment

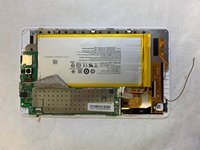
    3. Acer Iconia One 8 Front Camera Replacement: step 3, image 1 of 3 Acer Iconia One 8 Front Camera Replacement: step 3, image 2 of 3 Acer Iconia One 8 Front Camera Replacement: step 3, image 3 of 3
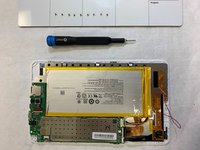
      • Disconnect all cables from the device.

      • There should be 5 total.

      Ask FixBot

      Add Comment

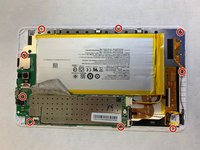
    4. Acer Iconia One 8 Front Camera Replacement: step 4, image 1 of 3 Acer Iconia One 8 Front Camera Replacement: step 4, image 2 of 3 Acer Iconia One 8 Front Camera Replacement: step 4, image 3 of 3
      • Remove the nine 3mm screws using the Phillips #000 screwdriver.

      Ask FixBot

      Add Comment

    5. Acer Iconia One 8 Front Camera Replacement: step 5, image 1 of 1
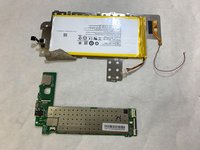
      • Remove and separate the back plating (top) from the glass screen (bottom).

      Ask FixBot

      Add Comment

    1. Acer Iconia One 8 Front Camera Replacement, Motherboard: step 6, image 1 of 2 Acer Iconia One 8 Front Camera Replacement, Motherboard: step 6, image 2 of 2
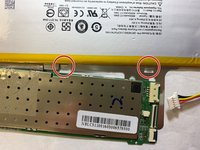
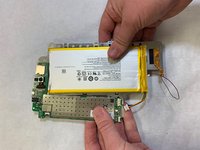
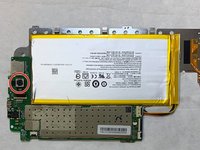
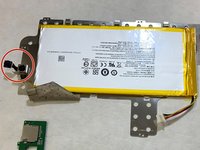
      • Disconnect the metal tabs connecting the battery to the motherboard frame.

      Ask FixBot

      Add Comment

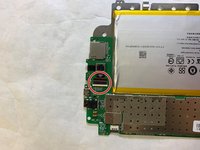
    2. Acer Iconia One 8 Front Camera Replacement: step 7, image 1 of 2 Acer Iconia One 8 Front Camera Replacement: step 7, image 2 of 2
      • Disconnect the cable for the back camera.

      Ask FixBot

      Add Comment

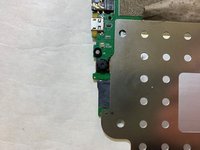
    3. Acer Iconia One 8 Front Camera Replacement: step 8, image 1 of 1
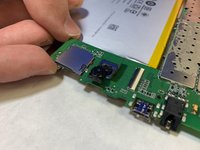
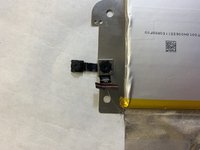
      • Flip the metal plating to reveal the front camera.

      Ask FixBot

      Add Comment

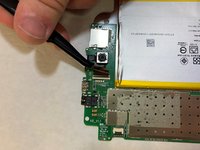
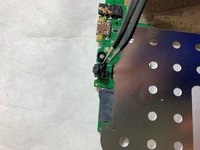
    4. Acer Iconia One 8 Front Camera Replacement: step 9, image 1 of 2 Acer Iconia One 8 Front Camera Replacement: step 9, image 2 of 2
      Tool used on this step:
      Tweezers
      $4.99
      Buy
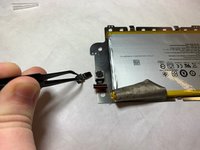
      • Use tweezers to carefully remove the front camera from the adhesive on the motherboard.

      Ask FixBot

      Add Comment

    5. Acer Iconia One 8 Front Camera Replacement: step 10, image 1 of 3 Acer Iconia One 8 Front Camera Replacement: step 10, image 2 of 3 Acer Iconia One 8 Front Camera Replacement: step 10, image 3 of 3
      • Flip the device back over.

      • Remove the motherboard from the metallic frame by feeding the back camera and front camera cable through the port.

      • Remove the front camera from the device.

      Ask FixBot

      Add Comment

    1. Acer Iconia One 8 Front Camera Replacement, Front Camera: step 11, image 1 of 3 Acer Iconia One 8 Front Camera Replacement, Front Camera: step 11, image 2 of 3 Acer Iconia One 8 Front Camera Replacement, Front Camera: step 11, image 3 of 3
      • Separate the front-facing camera from the back camera.

      • The two cameras are connected by glue and can be pulled apart.

      Ask FixBot

      Add Comment

Conclusion

To reassemble your device, follow these instructions in reverse order.

Cancel: I did not complete this guide.

Dustin Newland

Member since: 11/06/19

343 Reputation

3 Guides authored

Team

IUPUI, Team S1-G2, Stella Fall 2019 Member of IUPUI, Team S1-G2, Stella Fall 2019

IUPUI-STELLA-F19S1G2

3 Members

3 Guides authored

0 Guide Comments

Add Comment

View Statistics:

Past 24 Hours: 1

Past 7 Days: 6

Past 30 Days: 12

All Time: 271