Free Shipping on Domestic Orders $75+

Acer Iconia B1-710 Tablet Camera Replacement

What you need

    1. Acer Iconia B1-710 Tablet Camera Replacement, Battery: step 1, image 1 of 3 Acer Iconia B1-710 Tablet Camera Replacement, Battery: step 1, image 2 of 3 Acer Iconia B1-710 Tablet Camera Replacement, Battery: step 1, image 3 of 3
      • Open the back cover by prying the casing off with an opening tool.

      • Be careful to not pull pieces apart aggressively. There is a wire that could break.

      Ask FixBot
      Add Comment

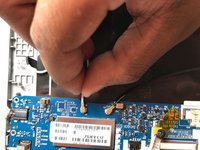
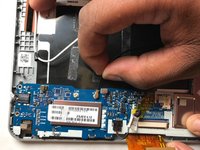
    2. Acer Iconia B1-710 Tablet Camera Replacement: step 2, image 1 of 3 Acer Iconia B1-710 Tablet Camera Replacement: step 2, image 2 of 3 Acer Iconia B1-710 Tablet Camera Replacement: step 2, image 3 of 3
      • Unplug the battery from the motherboard.

      Ask FixBot
      Add Comment

    3. Acer Iconia B1-710 Tablet Camera Replacement: step 3, image 1 of 1
      • Remove the battery.

      • The battery is lightly glued in, so there may be some difficulty getting it out.

      Ask FixBot
      Add Comment

    1. Acer Iconia B1-710 Tablet Camera Replacement, Camera: step 4, image 1 of 2 Acer Iconia B1-710 Tablet Camera Replacement, Camera: step 4, image 2 of 2
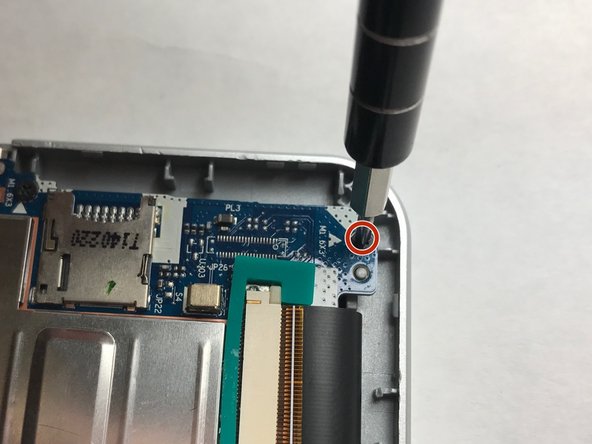
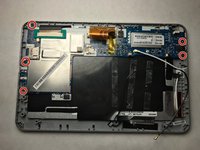
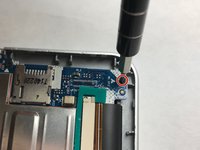
      • Remove the five 3mm Phillips #000 screws. The location of the screws are shown in the above picture, circled in red.

      • Keep the removed screws in a safe place so they can be used later.

      Ask FixBot
      Add Comment

    2. Acer Iconia B1-710 Tablet Camera Replacement: step 5, image 1 of 2 Acer Iconia B1-710 Tablet Camera Replacement: step 5, image 2 of 2
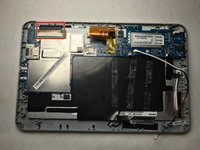
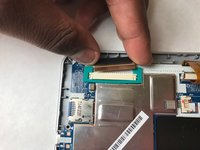
      • Unplug the LCD by lifting the LCD plug from the white board. The location of the LCD plug is shown in the above picture, circled in red.

      • If you are having difficulty removing the LCD plug, use a spudger to gently lift it.

      Ask FixBot

      Add Comment

    3. Acer Iconia B1-710 Tablet Camera Replacement: step 6, image 1 of 2 Acer Iconia B1-710 Tablet Camera Replacement: step 6, image 2 of 2
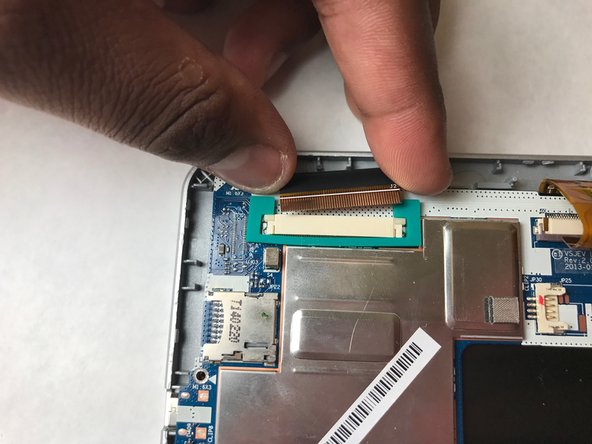
      • Next, unplug the orange strip from the motherboard by gently lifting it. The location of the orange strip is shown in the above picture, circled in red.

      • The orange strip is delicate; be careful when unplugging it and make sure it doesn't tear.

      Ask FixBot

      Add Comment

    4. Acer Iconia B1-710 Tablet Camera Replacement: step 7, image 1 of 3 Acer Iconia B1-710 Tablet Camera Replacement: step 7, image 2 of 3 Acer Iconia B1-710 Tablet Camera Replacement: step 7, image 3 of 3
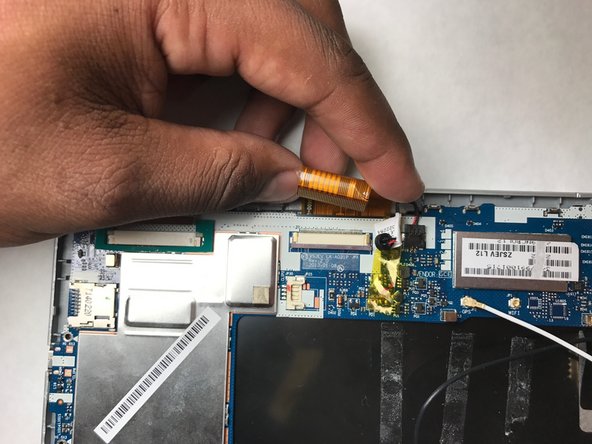
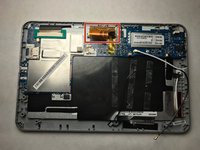
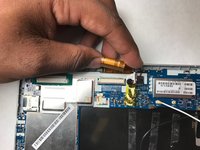
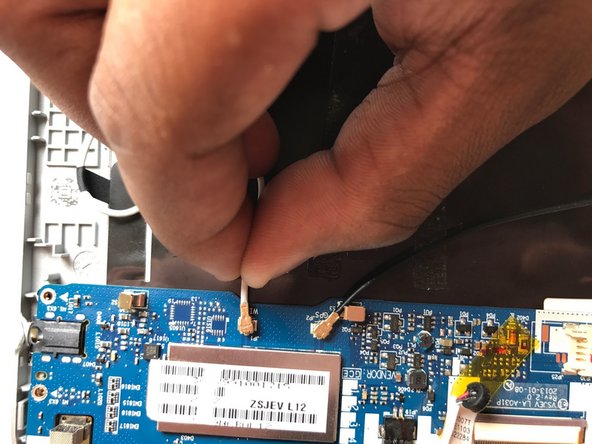
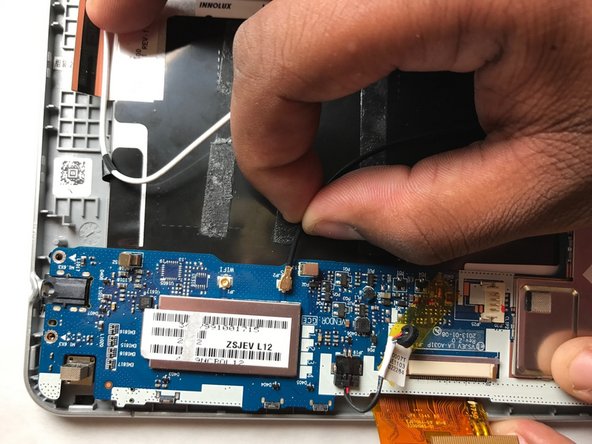
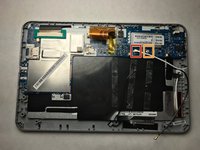
      • Unplug the white wire, shown above, circled in red.

      • Unplug the black wire, shown above, circled in orange.

      Ask FixBot

      Add Comment

    5. Acer Iconia B1-710 Tablet Camera Replacement: step 8, image 1 of 1
      • Gently, remove the motherboard by carefully lifting it.

      Ask FixBot

      Add Comment

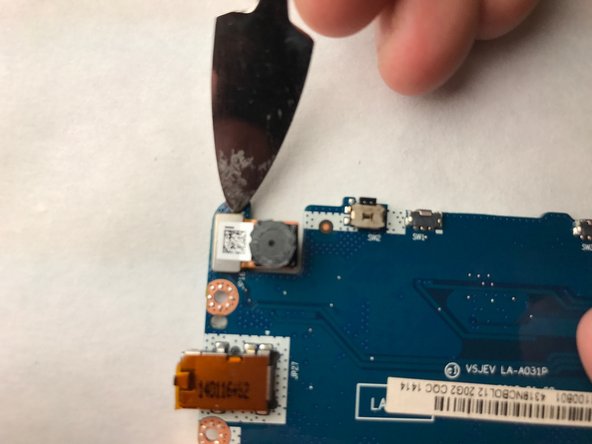
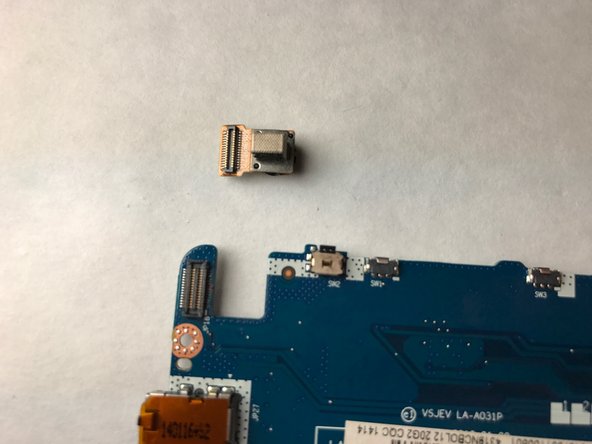
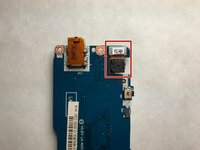
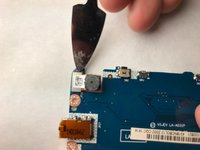
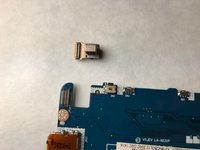
    6. Acer Iconia B1-710 Tablet Camera Replacement: step 9, image 1 of 3 Acer Iconia B1-710 Tablet Camera Replacement: step 9, image 2 of 3 Acer Iconia B1-710 Tablet Camera Replacement: step 9, image 3 of 3
      • Remove the camera from the motherboard with the spudger.

      • Be careful not to damage the camera plug; it is very delicate.

      Ask FixBot

      Add Comment

Conclusion

To reassemble your device, follow the above instructions in reverse order.

Cancel: I did not complete this guide.

One other person completed this guide.

Ryan Weber

Member since: 03/26/17

358 Reputation

3 Guides authored

Team

IUPUI, Team S3-G5, Baechle Spring 2017 Member of IUPUI, Team S3-G5, Baechle Spring 2017

IUPUI-BAECHLE-S17S3G5

4 Members

3 Guides authored

0 Guide Comments

Add Comment

View Statistics:

Past 24 Hours: 1

Past 7 Days: 8

Past 30 Days: 29

All Time: 634