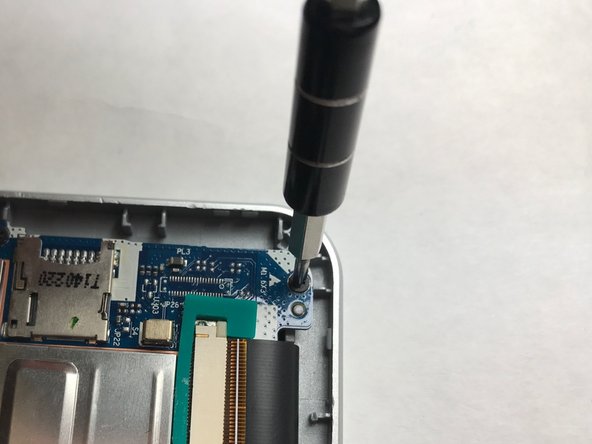
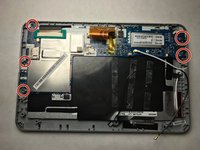
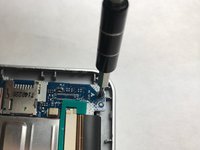
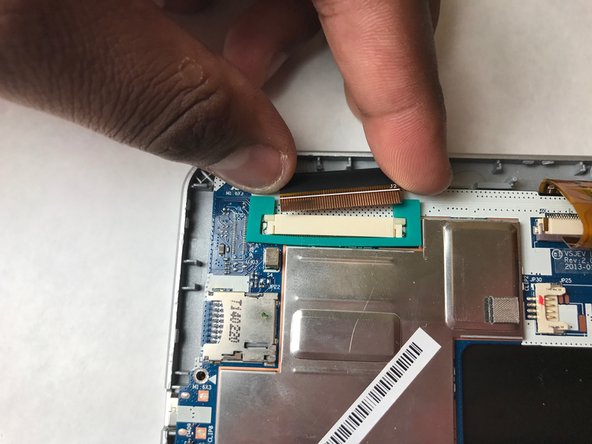
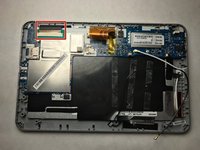
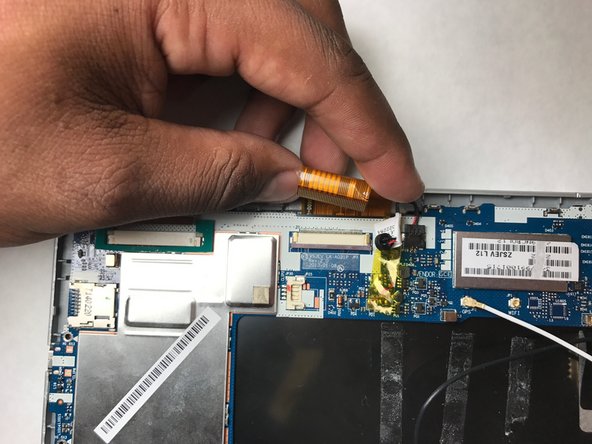
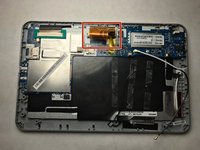
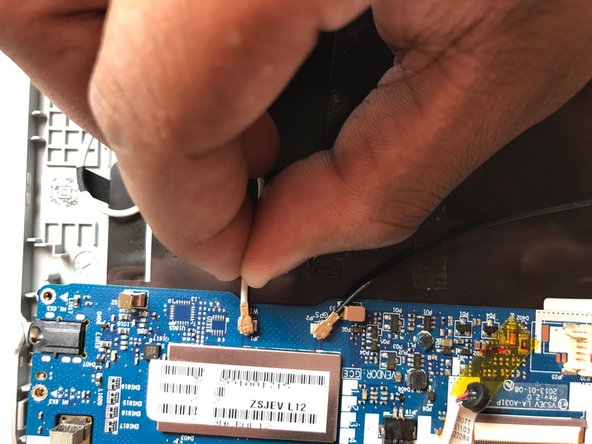
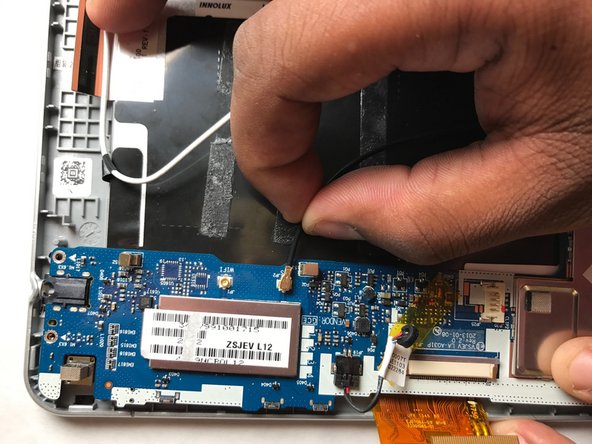
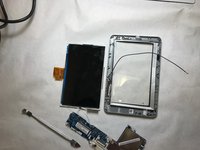
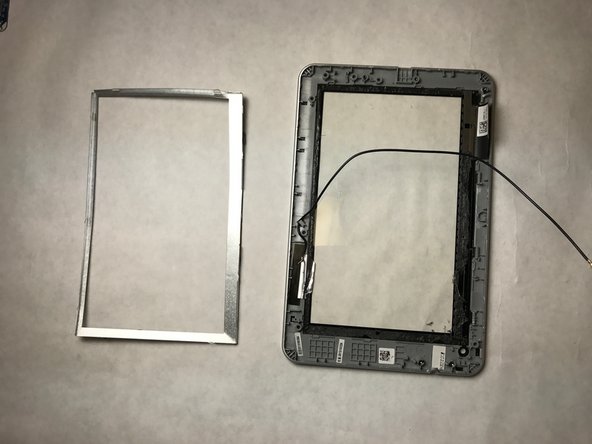
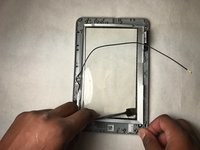
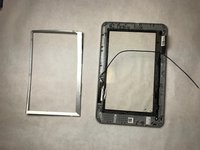
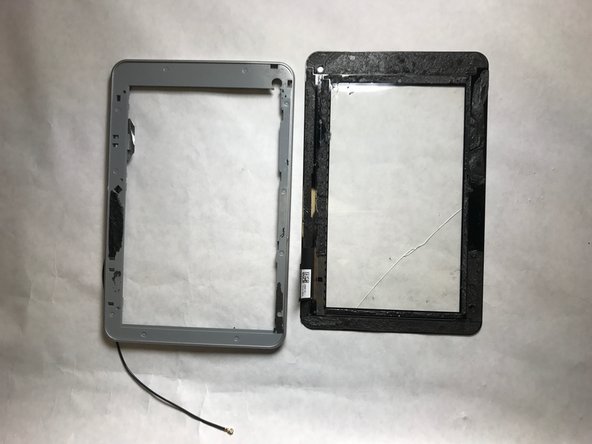
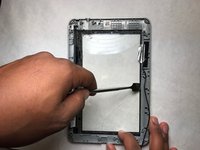
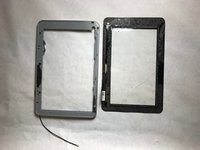
Acer Iconia B1-710 Screen Replacement

What you need

  1. Acer Iconia B1-710 Screen Replacement, Battery: step 1, image 1 of 3 Acer Iconia B1-710 Screen Replacement, Battery: step 1, image 2 of 3 Acer Iconia B1-710 Screen Replacement, Battery: step 1, image 3 of 3
    • Open the back cover by prying the casing off with an opening tool.

    • Be careful to not pull pieces apart aggressively. There is a wire that could break.

  2. Acer Iconia B1-710 Screen Replacement: step 2, image 1 of 3 Acer Iconia B1-710 Screen Replacement: step 2, image 2 of 3 Acer Iconia B1-710 Screen Replacement: step 2, image 3 of 3
    • Unplug the battery from the motherboard.

  3. Acer Iconia B1-710 Screen Replacement: step 3, image 1 of 1
    • Remove the battery.

    • The battery is lightly glued in, so there may be some difficulty getting it out.

  4. Acer Iconia B1-710 Screen Replacement, Screen: step 4, image 1 of 2 Acer Iconia B1-710 Screen Replacement, Screen: step 4, image 2 of 2
    • Unscrew all five 3 mm #000 Phillips screws.

  5. Acer Iconia B1-710 Screen Replacement: step 5, image 1 of 2 Acer Iconia B1-710 Screen Replacement: step 5, image 2 of 2
    • Unplug the LCD ribbon.

  6. Acer Iconia B1-710 Screen Replacement: step 6, image 1 of 2 Acer Iconia B1-710 Screen Replacement: step 6, image 2 of 2
    • Unplug the orange ribbon.

  7. Acer Iconia B1-710 Screen Replacement: step 7, image 1 of 3 Acer Iconia B1-710 Screen Replacement: step 7, image 2 of 3 Acer Iconia B1-710 Screen Replacement: step 7, image 3 of 3
    • Unplug the white wire from the motherboard.

    • Unplug the black wire from the motherboard.

  8. Acer Iconia B1-710 Screen Replacement: step 8, image 1 of 1
    • Pull the motherboard off of the tablet.

  9. Acer Iconia B1-710 Screen Replacement: step 9, image 1 of 1
    • Use a blow dryer to melt the glue holding the LCD display in place.

    • Patience is key. It will take a few minutes to melt the glue.

  10. Acer Iconia B1-710 Screen Replacement: step 10, image 1 of 3 Acer Iconia B1-710 Screen Replacement: step 10, image 2 of 3 Acer Iconia B1-710 Screen Replacement: step 10, image 3 of 3
    • Peel the LCD display.

    • This piece is fragile and needs to be peeled with care.

    • Parts may be hot.

  11. Acer Iconia B1-710 Screen Replacement: step 11, image 1 of 1
    • Use a blow dryer to melt the glue from the thin metal frame.

    • This piece is metal and will become hot during this process.

  12. Acer Iconia B1-710 Screen Replacement: step 12, image 1 of 2 Acer Iconia B1-710 Screen Replacement: step 12, image 2 of 2
    • Peel off the thin metal frame.

    • Be careful not to bend the frame as it is very thin.

  13. Acer Iconia B1-710 Screen Replacement: step 13, image 1 of 1
    • Use a blow dryer to melt the glue between the metal frame and the screen.

    • The frame will get hot.

  14. Acer Iconia B1-710 Screen Replacement: step 14, image 1 of 2 Acer Iconia B1-710 Screen Replacement: step 14, image 2 of 2
    • Peel the frame from the screen.

    • Be careful when peeling the screen or it may sustain further damage.

Conclusion

To reassemble your device, follow these instructions in reverse order.

One other person completed this guide.

Ryan Weber

Member since: 03/26/17

358 Reputation

3 Guides authored

Team

IUPUI, Team S3-G5, Baechle Spring 2017 Member of IUPUI, Team S3-G5, Baechle Spring 2017

IUPUI-BAECHLE-S17S3G5

4 Members

3 Guides authored

0 Comments

Add Comment

View Statistics:

Past 24 Hours: 0

Past 7 Days: 0

Past 30 Days: 1

All Time: 925