Introduction
The optical drive is a component that is prone to malfunctioning. When you insert a disc or CD into the optical drive, the optical drive reads and displays the information. If your computer is not properly reading the discs or if the optical drive is not opening, your optical drive may need to be replaced. Follow the instructions in this guide to replace the optical drive in your device.
What you need
-
-
Power down the laptop prior to beginning.
-
Turn the laptop over with the battery closest to your body.
-
-
-
-
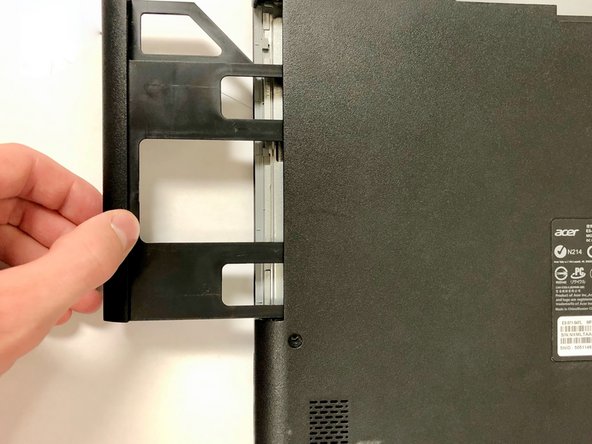
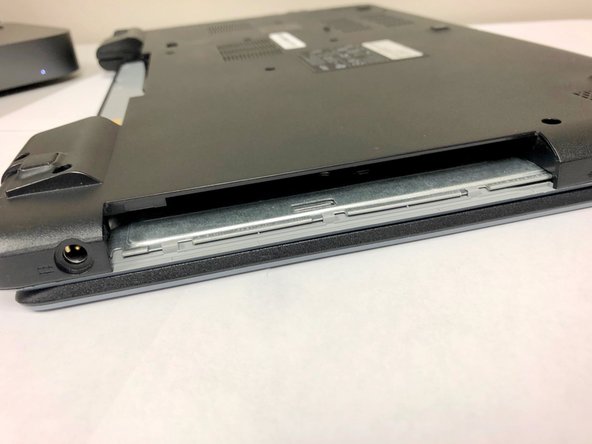
Remove the single screw that holds the optical drive in place using the Phillips #0 screwdriver.
-


To reassemble your device, follow these instructions in reverse order.
To reassemble your device, follow these instructions in reverse order.
Team

University of North Alabama, Team S1-G2, Winner Fall 2019 Member of University of North Alabama, Team S1-G2, Winner Fall 2019
UNA-WINNER-F19S1G2
3 Members
3 Guides authored