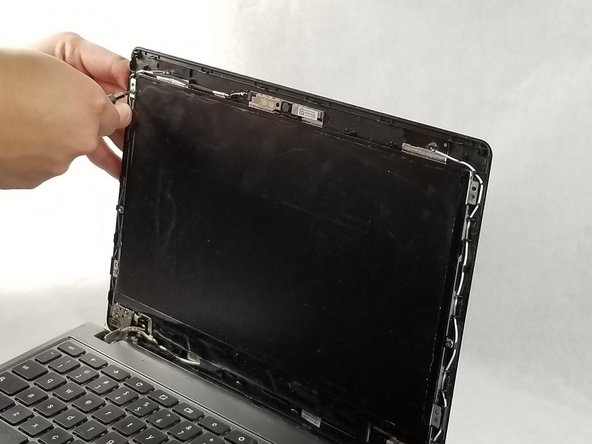
Acer Chromebook C740-C4PE LCD Screen Replacement

What you need

  1. Acer Chromebook C740-C4PE LCD Screen Replacement, LCD Screen: step 1, image 1 of 1
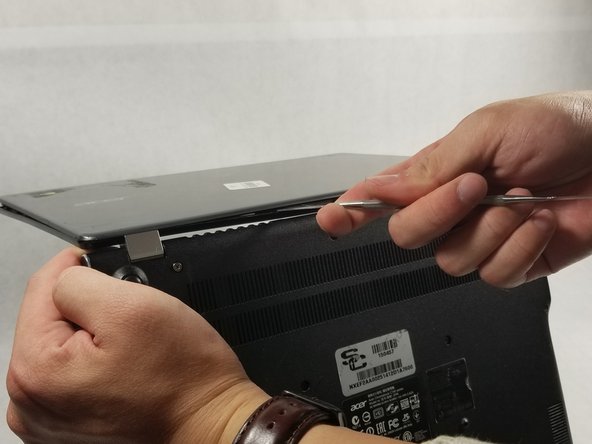
    • Turn off the Acer Chromebook, remove it from the charger, and disconnect the battery adapter.

  2. Acer Chromebook C740-C4PE LCD Screen Replacement: step 2, image 1 of 2 Acer Chromebook C740-C4PE LCD Screen Replacement: step 2, image 2 of 2
    • Remove the black frame off the screen by using a spudger.

    • It is recommended to start removing the frame from the top corner.

  3. Acer Chromebook C740-C4PE LCD Screen Replacement: step 3, image 1 of 2 Acer Chromebook C740-C4PE LCD Screen Replacement: step 3, image 2 of 2
    • Use the spudger to open the two hinges that connect the screen frame to the bottom of the Chromebook.

    • Move the spudger along the bottom of the screen frame until you can pull the frame out entirely.

  4. Acer Chromebook C740-C4PE LCD Screen Replacement: step 4, image 1 of 2 Acer Chromebook C740-C4PE LCD Screen Replacement: step 4, image 2 of 2
    • Remove the four 3.4 mm screws by using the Phillips #0 screwdriver.

  5. Acer Chromebook C740-C4PE LCD Screen Replacement: step 5, image 1 of 3 Acer Chromebook C740-C4PE LCD Screen Replacement: step 5, image 2 of 3 Acer Chromebook C740-C4PE LCD Screen Replacement: step 5, image 3 of 3
    • Place the LCD screen on top of the keyboard.

    • Lift the tape that holds the back of the LCD screen to the connector, and unplug the connector.

    • Remove the LCD screen and replace it with the new one.

Conclusion

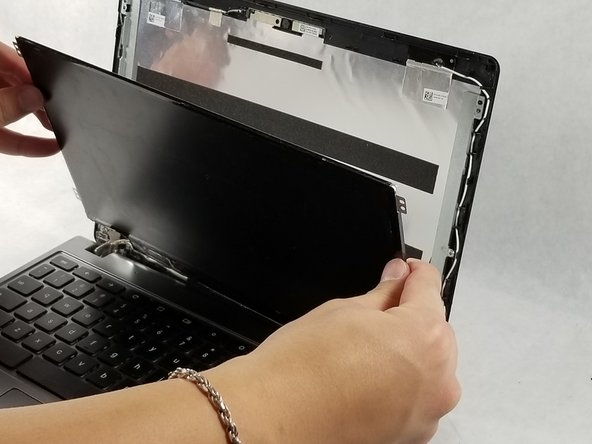
To reassemble your device, follow these instructions in reverse order.

3 other people completed this guide.

Sang Huynh

Member since: 03/08/17

252 Reputation

2 Guides authored

Team

0 Comments

Add Comment

View Statistics:

Past 24 Hours: 0

Past 7 Days: 5

Past 30 Days: 11

All Time: 624