Introduction
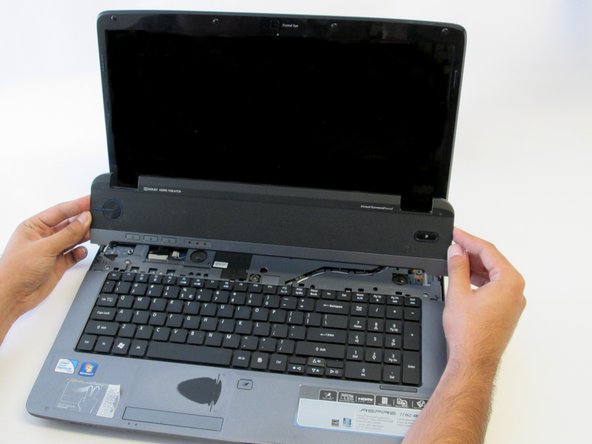
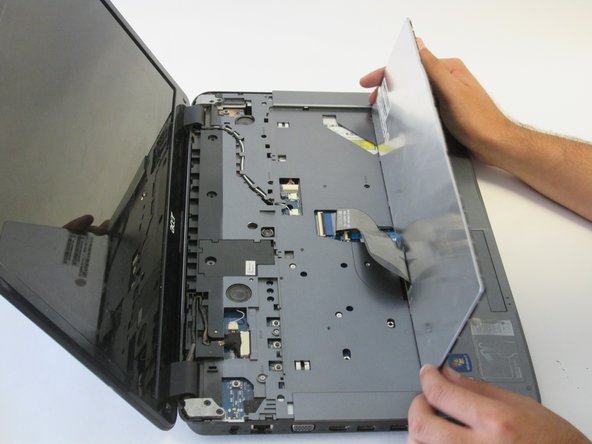
This replacement requires opening up the laptop. Please follow the procedures carefully.
What you need


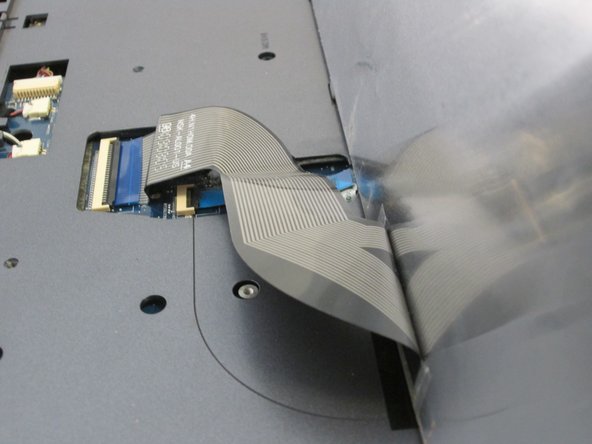

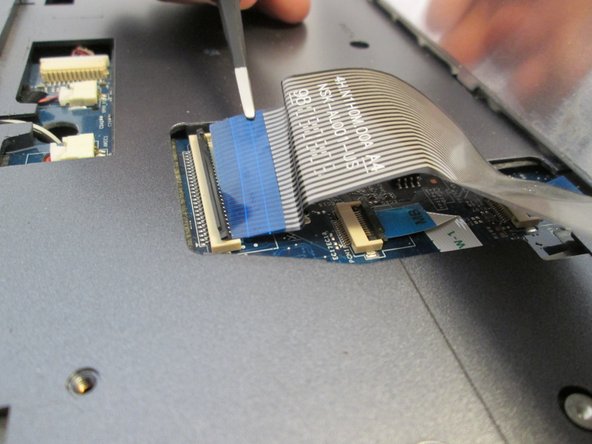
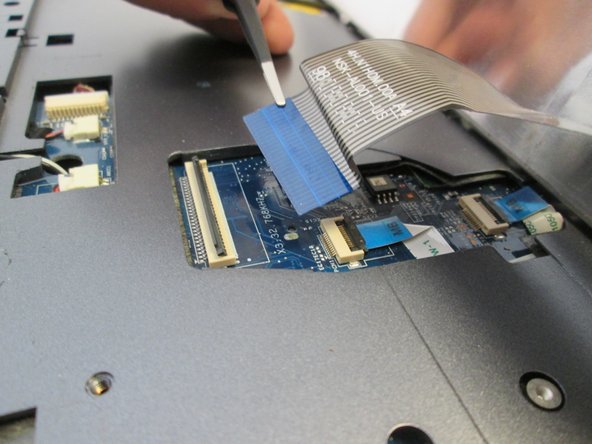

Almost done!
To reassemble your device, follow these instructions in reverse order.
Conclusion
To reassemble your device, follow these instructions in reverse order.
Cancel: I did not complete this guide.
One other person completed this guide.
Team

UC Davis, Team 2-4, Oliver Fall 2016 Member of UC Davis, Team 2-4, Oliver Fall 2016
UCD-OLIVER-F16S2G4
5 Members
10 Guides authored