Introduction
If your Acer Aspire monitor (model 4741G-332G32Mn) isn’t producing a clear picture and instead outputs distorted images or intermittent/dead pixels, use this guide to replace the screen.
The screen transmits visual data to users through thousands of small pixels. A faulty screen will transmit distorted or unclear images or no images at all.
Before using this guide, inspect the screen for any debris that may be interfering with screen quality. Typically, a small buildup of dust can be removed using an ESD-safe brush or small, damp towel. Be sure to completely shut down your laptop on and off at least two times to confirm that the faulty hardware is the screen itself.
Before beginning, make sure to power off your laptop completely and disconnect the device from any external power source(s) or monitors if possible.
What you need
-
-
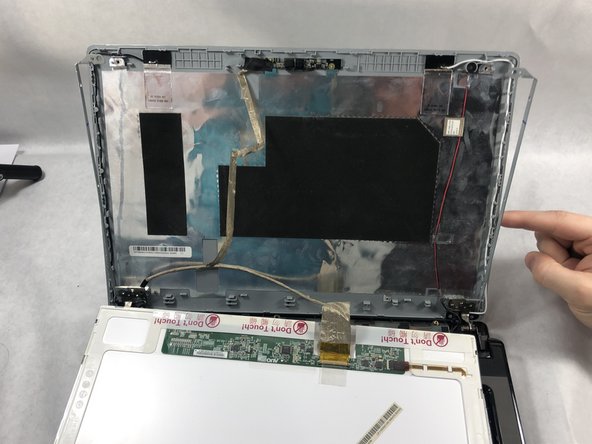
Push the blue opening tool between the edge of the computer and the screen. Slide the tool around the perimeter of the screen.
-
-


To reassemble your device, follow these instructions in reverse order.
To reassemble your device, follow these instructions in reverse order.
Team

UMass Dartmouth, Team S2-G6, Simcock Spring 2019 Member of UMass Dartmouth, Team S2-G6, Simcock Spring 2019
UMASSD-SIMCOCK-S19S2G6
4 Members
8 Guides authored