
AT&T NVG510 Button Replacement

Shawn Rogers and 8 other contributors
Last updated on Mar 7, 2024
Views: 1K
View statistics:
- Past 24 Hours:
- 2
- Past 7 Days:
- 18
- Past 30 Days:
- 91
- All Time:
- 1,031
Comments: 0
No one has left comments on this guide. Will you be first?
Go to guide commentsCompleted: 3 4
3 people have marked this guide "completed." Will you be next?
4 people have marked this guide "completed." Including you — great job!
Favorites: 3 4
3 people have favorited (and subscribed to) this guide. Will you be next?
4 people have favorited (and subscribed to) this guide — including you!
Introduction
Go to step 1 ↓This guide will show you how to locate, remove, and replace the buttons on the AT&T NVG510 modem. In the event that a button becomes stuck or your router becomes unresponsive when you press a button, you may need to replace it. This guide does require you to be able to operate a soldering iron carefully.
What you need
Tools


-
-
-
Place the router on one side so that the rubber stands are facing upward.
-
Remove the stands from the left corners only, relative to the AT&T logo if facing upright.
 Ask FixBot
-
-
Tool used on this step:Flathead 3/32" or 2.5 mm Screwdriver$5.49
-
Remove two screws using a 2.0 flathead screwdriver.
-
-
-
-
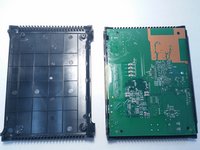
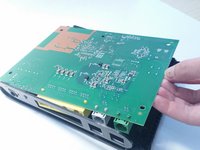
Pry open the case to reveal the board.
-
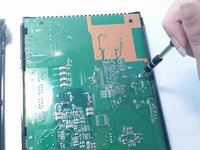
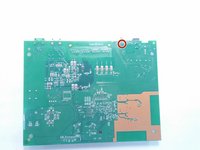
Take out the one screw located on the center-right area of the board.
-
-
-
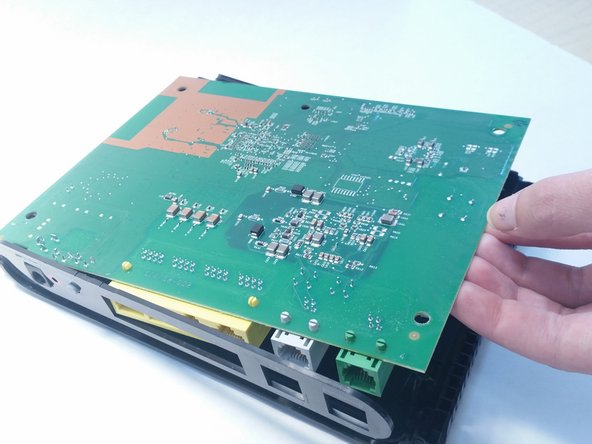
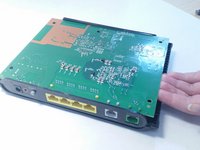
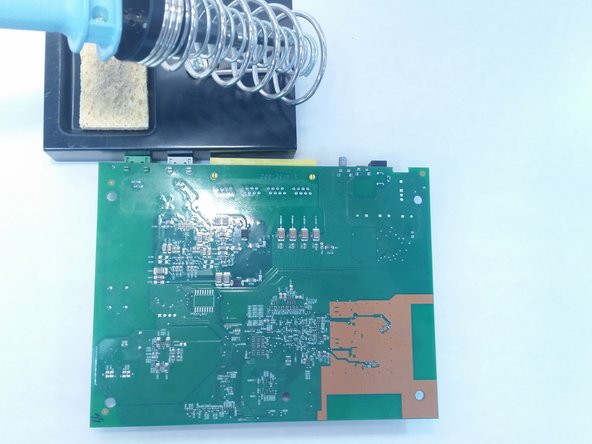
Locate the buttons to the right of the yellow ports along the edge of the board.
-
-
-
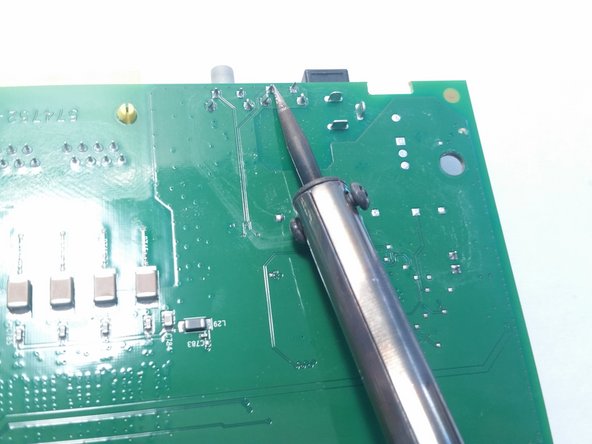
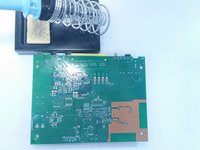
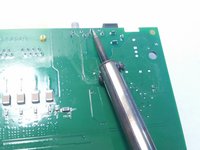
Locate the silver points that connect the buttons to the board.
-
To release the buttons, use a soldering iron to heat up and melt the silver connecting points.
-
-





To reassemble your device, follow these instructions in reverse order.
Cancel: I did not complete this guide.
3 other people completed this guide.

Team

Central Coast New Tech High, Team 7-4, Rushing Spring 2016 Member of Central Coast New Tech High, Team 7-4, Rushing Spring 2016
CCNTH-RUSHING-S16S7G4
2 Members
12 Guides authored
