
ASUS X550LB-DS71 Display Panel Replacement

Nathan Dyer and
Last updated on Dec 26, 2017
Views: 1.7K
View statistics:
- Past 24 Hours:
- 3
- Past 7 Days:
- 20
- Past 30 Days:
- 101
- All Time:
- 1,714
Comments: 0
No one has left comments on this guide. Will you be first?
Go to guide commentsCompleted: 0 1
No one has marked this guide "completed." Will you be the first?
1 person has marked this guide "completed." It's you — great job!
Favorites: 0 1
No one has favorited (and subscribed to) this guide. Will you be the first?
1 person has favorited (and subscribed to) this guide — and that's you!
Introduction
Go to step 1 ↓The display monitor is an output device which presents data on the screen. It is what allows the user to see what inputs they are putting into the device.
What you need
Tools


-
-
-
Flip open the laptop with the screen facing towards you.
-
Using the plastic opening tool, remove the square tape from the marked locations.
-
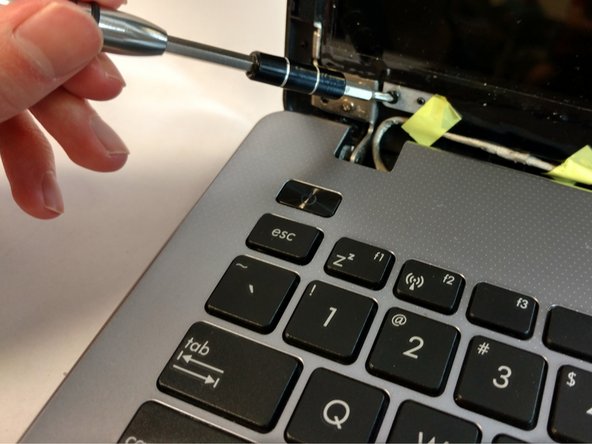
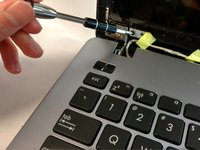
Use the Phillips #0 Screwdriver to remove the two 2mm screws from those locations.
 Ask FixBot
-
-
-
-
Peel off the tape located on the left and right side of the display monitor.
-
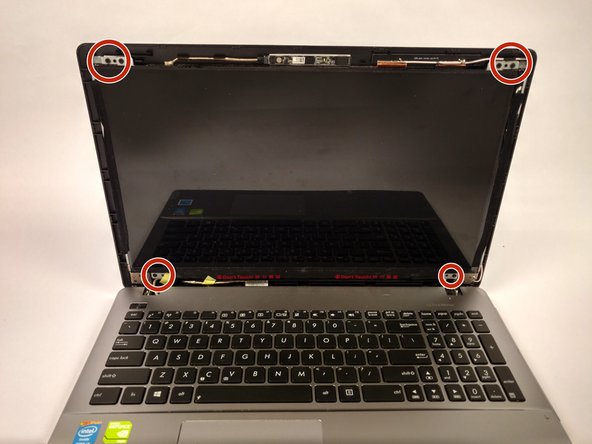
Use the Phillips #0 screwdriver to remove the screws at the marked locations in each corner of the display.
-
-
-
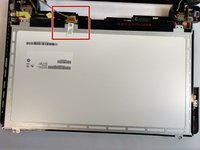
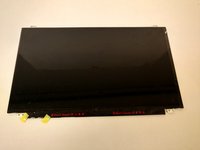
Place the display monitor face down to expose the ribbon connector.
-
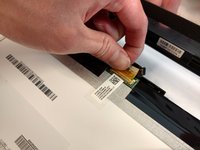
Remove the ribbon connector to separate the display monitor from the rest of the device.
-
-




To reassemble your device, follow these instructions in reverse order.

Team

USF Tampa, Team S16-G1, Eyestone Fall 2017 Member of USF Tampa, Team S16-G1, Eyestone Fall 2017
USFT-EYESTONE-F17S16G1
4 Members
60 Guides authored
