Introduction
Use this guide to help you replace a broken or damaged screen in your laptop. Don't forget to keep track of all your screws.
What you need
-
-
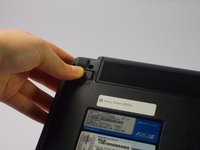
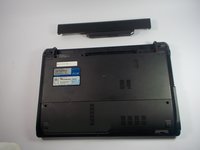
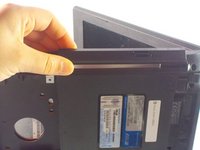
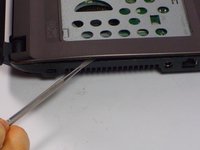
Slide the right lock button to the unlock position.
-
After it is unlocked, a red line will be visible.
-
-
-
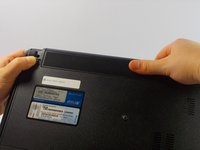
While holding the left lock button in the unlock position, push the battery from the center away from you.
-
-
-
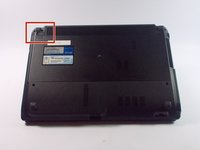
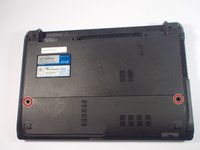
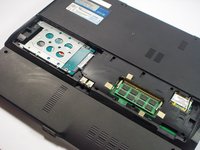
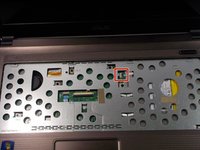
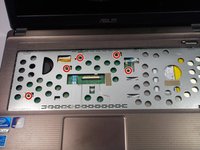
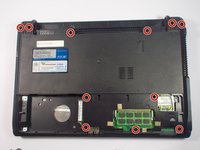
Remove the two 9 mm Phillips head screws with the PH0 bit indicated by the red circles in the picture.
-
-
-
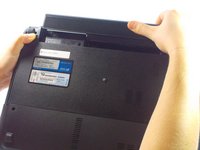
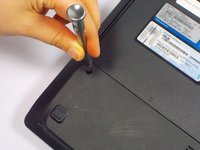
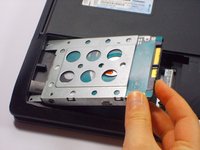
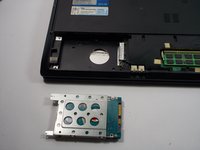
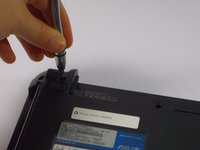
Remove the 9mm Phillips head screw in the left bottom corner of the hard drive with the PH0 bit.
-
-
-
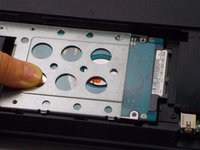
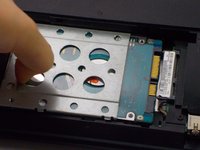
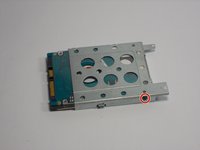
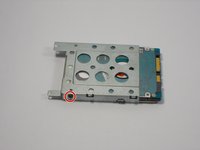
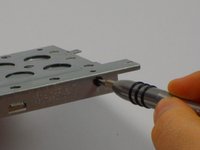
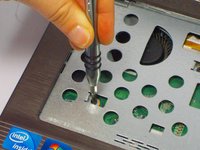
Remove two 3mm Phillips head screws, one located on each side of the metal casing holding the hard drive using the PH0 bit.
-
-
-
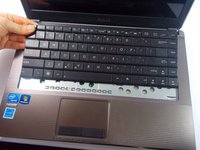
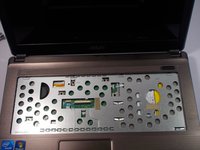
Look at the top row of the keyboard, you will see a space that has four latches holding the keyboard down.
-
-
-
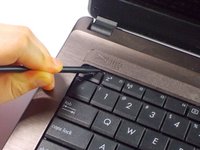
Push the latch away from the keyboard using the spudger point.
-
While pushing the latches use a plastic opening tool and pull up on a key near it.
-
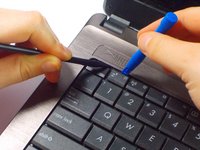
Continue along the rest of the keyboard until it is released at all four latches.
-
-
-
-
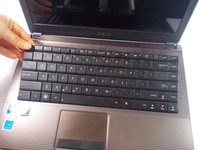
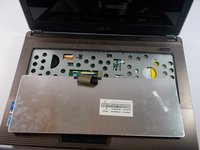
Push the keyboard away from the mouse track pad to unlock the bottom from the base.
-
-
-
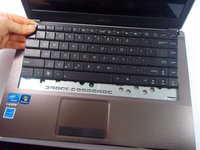
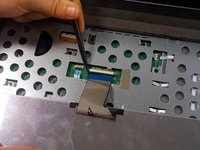
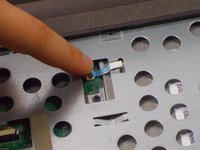
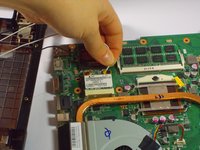
Pull each end of the black ribbon cable piece towards the mouse track pad to unlock the ribbon connector piece.
-
Gently pull out the ribbon cable from the connector piece.
-
-
-
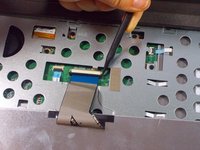
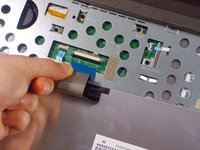
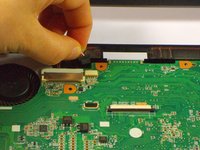
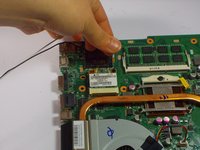
Lift up the black lock holding the ribbon.
-
Using the blue tab, pull out the ribbon.
-
-
-
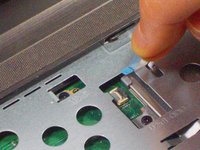
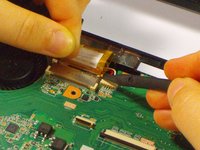
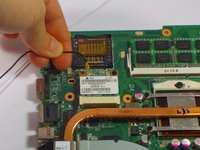
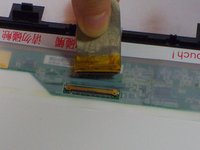
Lift up the black lock holding the ribbon.
-
Using the blue tab, pull out the ribbon.
-
-
-
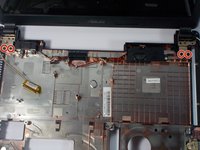
Flip the laptop on its side so that the red line indicated in the pictures is facing upwards.
-
-
-
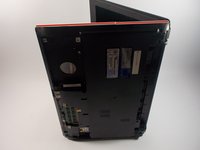
Close the laptop and flip it over.
-
Remove the six 12.5 mm screws Phillips head and the five 9 mm screws remaining with the PH0 bit.
-
-
-
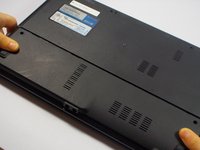
Flip the device back over and open the laptop.
-
Using the nylon or metal spudger, gently pry off the panel by moving the spudger along the seam.
-
-
-
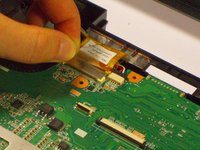
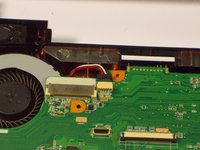
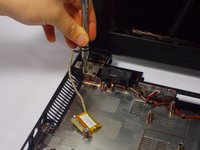
Pull up on the tape holding the tan cable in place.
-
While holding the tape push up on each side of the cable connector to disconnect it.
-
-
-
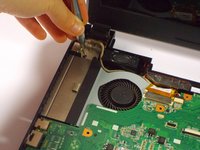
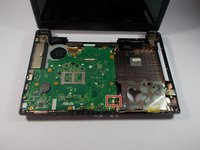
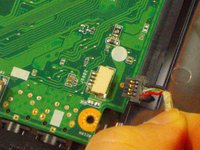
Remove the white and black wire.
-
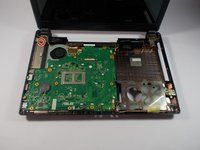
The motherboard is not completely separated from the base of the computer.
-
-
-
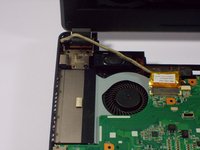
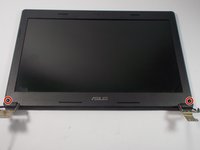
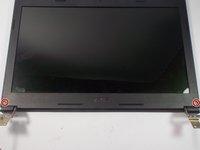
Remove the four 9 mm Phillips head screws that hold the screen to the base with the PH0 bit.
-
-
-
Remove the rubber pads with the nylon or metal spudger to reveal two 5mm Phillips head screws.
-
-
-
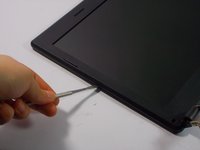
Pry open the screen cover by running the nylon or metal spudger in the seams.
-
Remove the cover.
-
-
-
Remove the eight 5mm Phillips head screws holding down the screen with the PH0 bit.
-
-
-
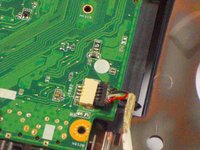
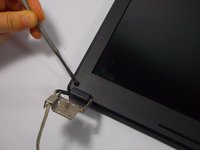
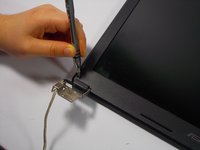
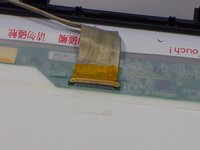
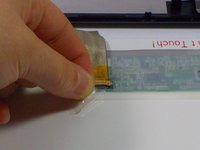
Lift up the tape piece securing the ribbon to the screen.
-
Pull out the ribbon.
-
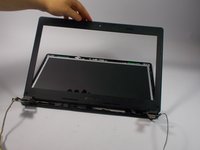
Remove the screen completely from the frame.
-


To reassemble your device, follow these instructions in reverse order.
Cancel: I did not complete this guide.
3 other people completed this guide.
Team

UMass Dartmouth, Team 4-3, Catania Fall 2015 Member of UMass Dartmouth, Team 4-3, Catania Fall 2015
UMASSD-CATANIA-F15S4G3
4 Members
8 Guides authored