Introduction
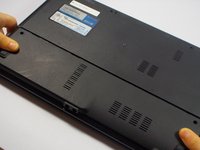
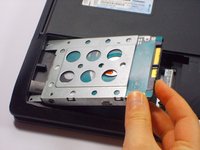
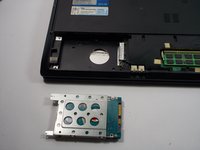
Use this guide to show you how to remove the front panel of the laptop. Don't forget to keep track of all your screws.
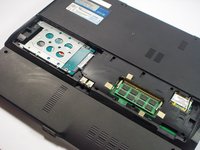
What you need
-
-
-
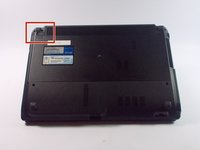
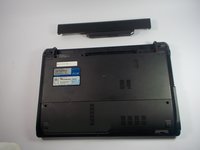
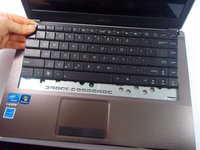
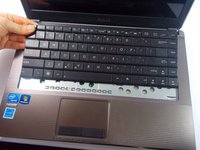
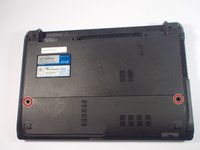
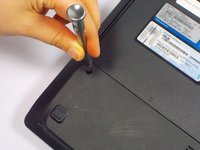
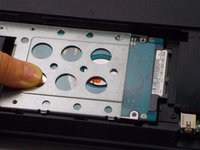
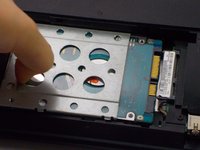
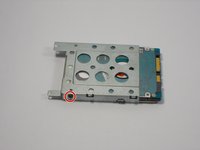
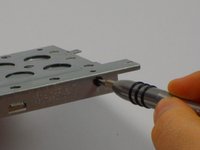
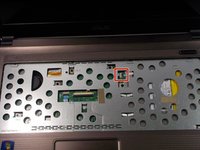
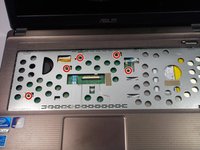
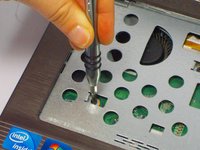
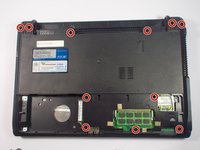
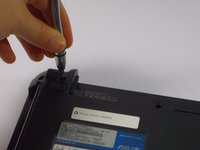
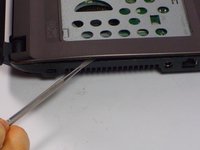
Remove the two 9 mm Phillips head screws with the PH0 bit indicated by the red circles in the picture.
-
-
-
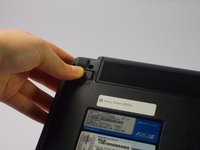
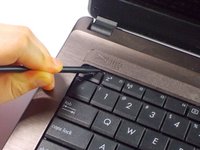
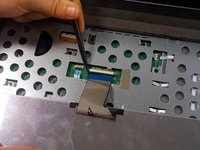
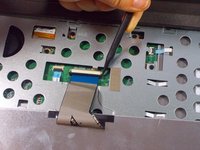
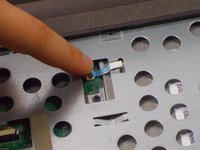
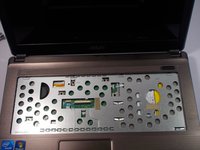
Lift up the black lock holding the ribbon.
-
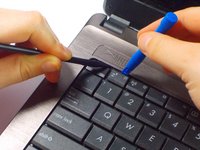
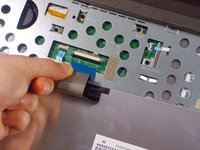
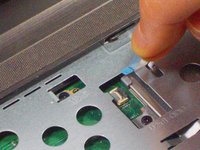
Using the blue tab, pull out the ribbon.
-


To reassemble your device, follow these instructions in reverse order.
Cancel: I did not complete this guide.
4 other people completed this guide.
Team

UMass Dartmouth, Team 4-3, Catania Fall 2015 Member of UMass Dartmouth, Team 4-3, Catania Fall 2015
UMASSD-CATANIA-F15S4G3
4 Members
8 Guides authored