Introduction
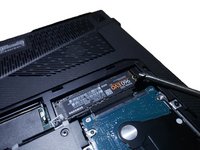
This guide goes over how to replace the M.2 SSD for the ASUS ROG Strix GL503VD-DB71 laptop using the quick access compartment found on the bottom of the laptop. Before starting, ensure that you have a compatible M.2 SSD for the laptop and the proper tools.
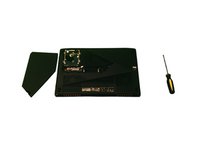
What you need
-
-
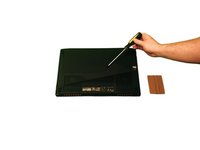
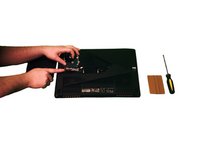
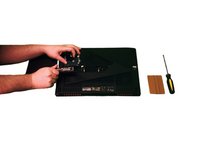
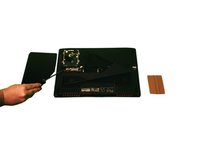
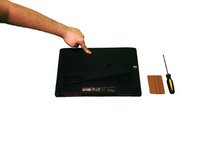
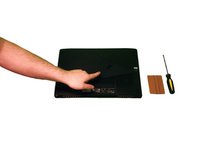
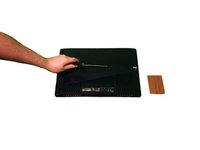
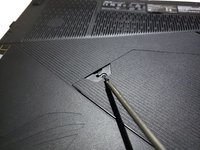
Completely turn off the laptop, lay it on a flat surface, and turn it over.
-
-


Cancel: I did not complete this guide.
One other person completed this guide.
Team

University of Advancing Technology, Team S1-G1, Beam Spring 2019 Member of University of Advancing Technology, Team S1-G1, Beam Spring 2019
UAT-BEAM-S19S1G1
2 Members
1 Guide authored