Introduction
In the ROG Strix G15 G513 series that was manufactured from 2021 to 2022 most models came with 16GB of RAM with some regional exceptions. Officially ROG Strix G15 G513 supports up to 32GB of RAM, but multiple users confirmed 64GB working as well. Upgrading your RAM may help with giving your applications and operating system some more temporary memory space, this can help make your laptop a bit faster or more responsive, but most importantly after upgrading your RAM to 32GB or 64GB you will be able to run more memory heavy applications or more smaller applications at once and making sure that your OS will have enough memory space and won’t become "laggy".
Models from 2021 (G513QM, G513QR, G513QE, G513QC, G513IM, G513IH, G513IE, G513IC) support SO-DIMM DDR4 up to 3200MHz and models from 2022 (G513RS, G513RC, G513RM, G513RW) support SO-DIMM DDR5 up to 4800MHz.
tldr: There are 2x SO-DIMM slots either DDR4 up to 3200MHz or DDR5 up to 4800MHz and both of them support officially up to 32GB of RAM.
For DDR5 Non-Binary Standard RAM (24GB, 48GB, 96GB, 192GB DDR5 RAM) is not working, and the laptop does not recognize it, because ROG Strix G15 G513 is older than the Non-Binary standard RAM!
What you need
-
-
-
Firstly prepare your laptop, your tools and your new RAM sticks
-
Unplug your laptop
 Ask FixBot
-
-
-
Turn your laptop upside down
-
Start unscrewing all 10 blue and orange screws with a Philips #1 screwdriver
-
The blue and orange screws are different length
-
-
-
Keep your screws organized, you can use some screw holders, brackets or small magnets
-
-
-
Insert a plastic guitar pick or a plastic card to start peeling the back cover off
-
Start by putting one in the bottom right corner
-
Then slowly peel until you reach bottom left and top right corners
-
Put a guitar pick in each of those corners as well
-
For more detail check the official service guide manual in the attached documents section
-
-
-
Start by peeling from the bottom right corner slowly until the entire back cover comes off
-
Rotate your laptop
-
Beware of 2 thin LED ribbon cables that are still attached
-
-
-
Now you need to unplug them
-
Start by lifting the small black part of the connector up
-
Then just pull the cable away
-
-
-
-
Now you need to disconnect the battery
-
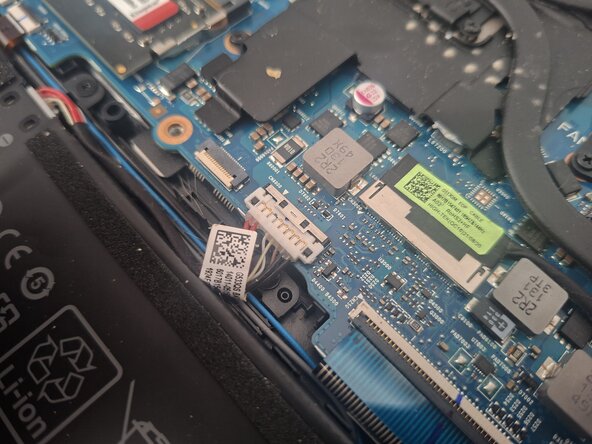
Locate the connector
-
Pull the top tin lock away from you as seen on image 1 vs 2
-
Then disconnect the battery connector by supporting it from sides and lifting it up
-
-
-
Rotate your laptop again
-
Locate the RAM compartment
-
The RAM may have thermal tape on top of it, if it doesn't it is not a big issue and if it does just take it off and put it on your new RAM sticks
-
-
-
You can take your current RAM out by pushing the 2 steel legs holding down your RAM outwards until the RAM "jumps out" and just gently take it out
-
Align and insert your new RAM at a 30-degree angle, push it in completely and push down on it until it clicks
-
-
-
Now reconnect the battery connector
-
Push it down and secure it with the steel latch
-
-
-
Rotate your laptop once again
-
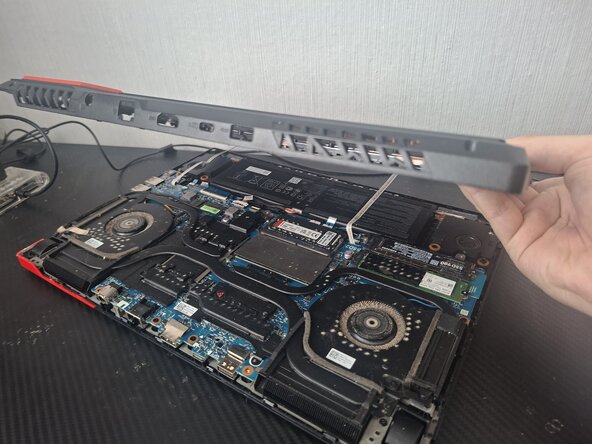
Put the back cover against a wall so that you can reconnect the LED flex cables without the need of holding it
-
-
-
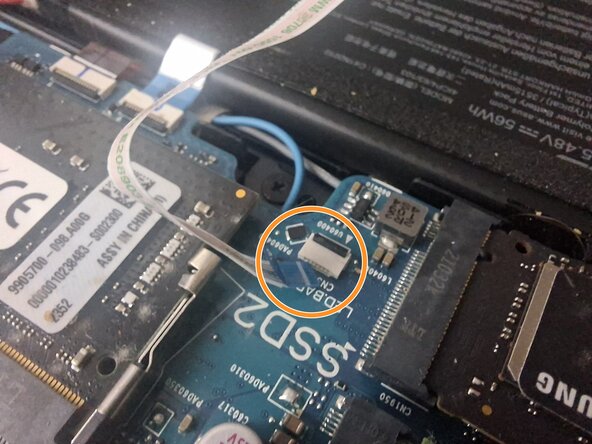
Push the left cable in until you can barely see the white line on the blue part of the cable
-
Secure it by pressing the black latch down
-
-
-
Now put the back cover back on and pat it down so that everything clicks and holds in place
-
-
-
Rotate it one last time
-
With a Philips #1 screwdriver screw the bottom right screw first
-
Then screw in the rest
-
-
-
Now plug in your laptop
-
Power it on and check in BIOS or task manager if your RAM is set up correctly
-
Beware of Memory training (check out conclusion)
-
-









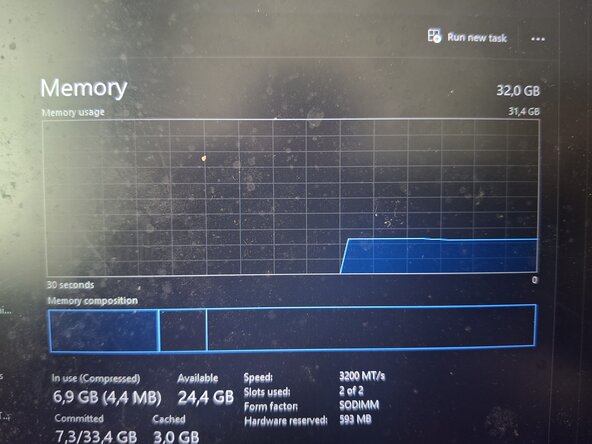


Hopefully your RAM replacement was successful, don't forget to double-check for example in BIOS or the Task manager -> Performance -> Memory tab. Also upon first boot with your new RAM a strange occurrence may happen where the laptop starts turning itself on and off while the screen stays black with no logo or anything repeatedly, don't worry this is called "memory training" the laptop is trying to figure out how much RAM it has, what frequency it runs at and what voltages it needs.... the best move is to let it be for 2 to 5 minutes. If it is taking longer than 5 minutes try doing a hard reset by holding down the power button until the laptop turns off and then manually turn it on again.
Cancel: I did not complete this guide.
One other person completed this guide.

