Introduction
Batteries in laptops tend to die out early, especially the lower-end laptops. Doing this replacement will allow your computer to have more longevity. This guide aims to replace the battery for an ASUS R554L laptop. Make sure that you are working in a well-lit open area. After the battery swap, make sure to test to ensure it's working correctly. To do this, leave the charger in overnight to ensure that the battery is holding a charge.
What you need
-
-
-
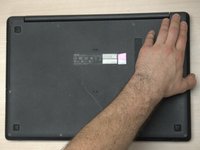
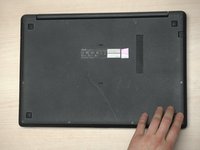
Flip the laptop so the bottom is facing upward.
-
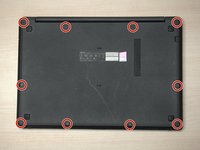
Remove ten screws using a Phillips #0 screwdriver.
 Ask FixBot
-
-
-
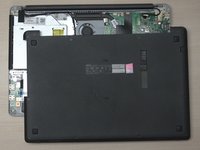
Using your fingertips, carefully pull the backplate in an upright direction.
-
Continue along the edges until the backplate is fully removed.
-
-
-
-
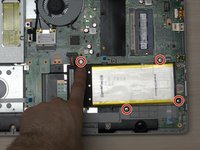
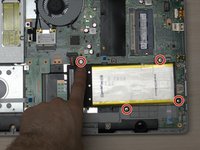
Remove the four screws from the battery using a Phillips #0 screwdriver.
-
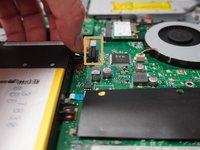
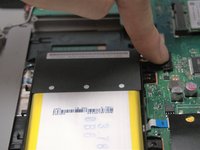
Pull up on the cable connected to the motherboard to remove.
-
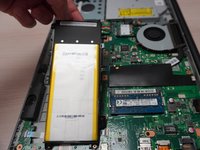
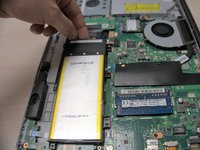
Remove the battery from the bay.
-
-
-
Place the new battery in the bay.
-
Install the battery cable to the motherboard, applying pressure in a downward direction.
-
Screws the screws back in using a Phillips #0 screwdriver.
-
-
-
Align the backplate.
-
Starting with the upper right corner, apply pressure in a downward angle.
-
-








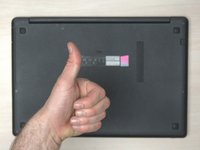
Once the new battery is installed, leave the charger connected to the laptop over night to ensure the battery is holding a charge
Cancel: I did not complete this guide.
3 other people completed this guide.

Team

CSU Los Angeles, Team 4-49, Briggs Spring 2022 Member of CSU Los Angeles, Team 4-49, Briggs Spring 2022
CSULA-BRIGGS-S22S4G49
1 Member
11 Guides authored
