-
-
-
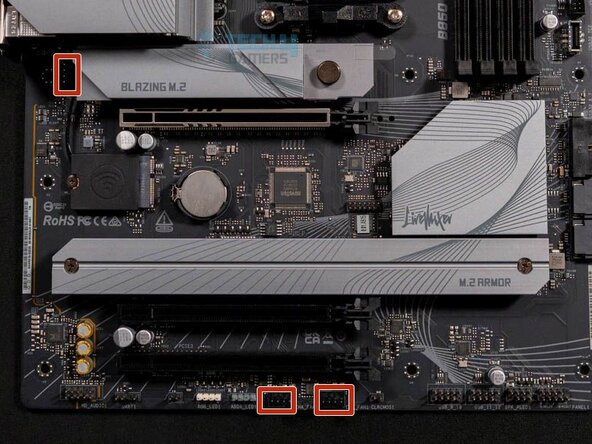
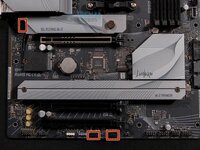
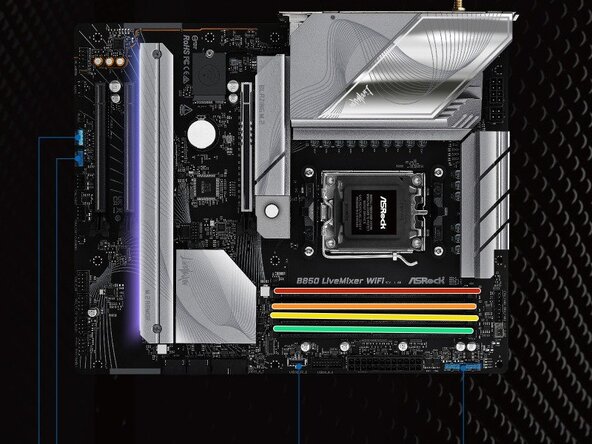
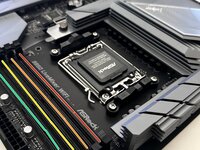
Chassis fan connectors
-
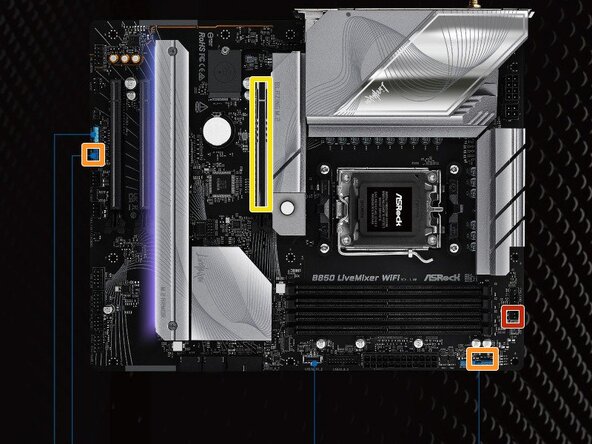
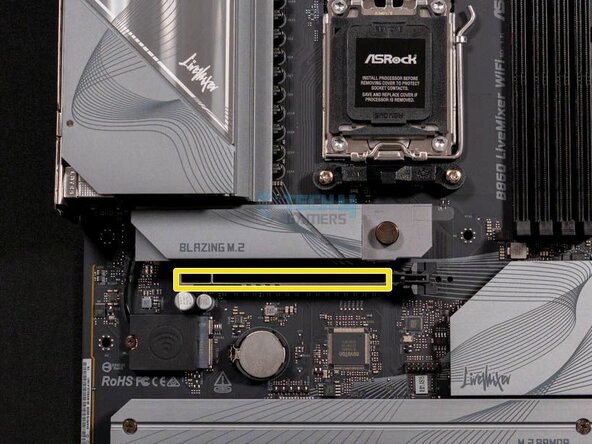
Heatsink goes here (After CPU is installed)
-
ATX12V1 port
-
ATX12V2 port
-
-
-
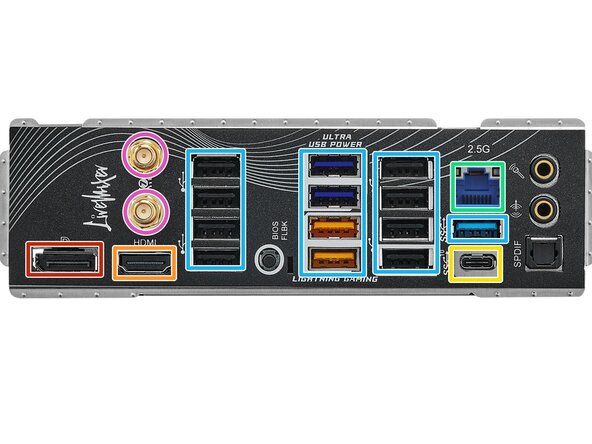
Display port
-
HDMI port
-
USB-C port
-
Ethernet port
-
USB 2.0 and 3.0 ports
-
Antenna plugs in here
-