Introduction
This IFIXIT guide allows you to safely and properly remove the CAMERA from the AEE Mach 1 Drone. In order to remove the camera, please follow the step-by-step directions below and make sure to use the proper tools listed. When removing the top panel, make sure to be careful as there are still wired connections. Fix it!
What you need
-
-
-
Take out the AEE Mach 1 and place it on a surface with its propellers facing up.
 Ask FixBot
-
-
-
Holding the base of a propeller with one hand, unscrew the propeller by hand in a clockwise direction. Complete this action on all 4 propellers.
-
-
-
Flip the AEE Mach 1 upside down.
-
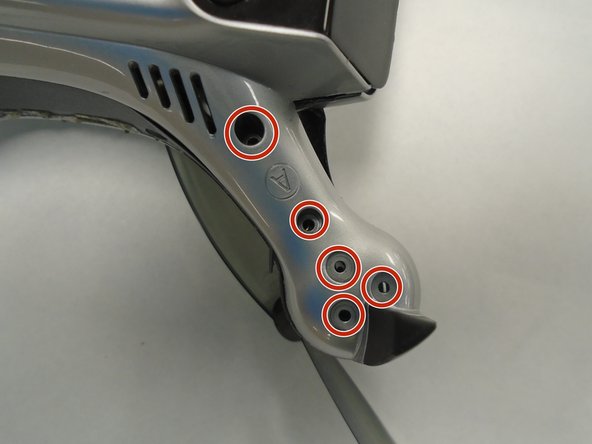
Remove the screws on the drone's arms using a Torx T5 screwdriver.
-
-
-
-
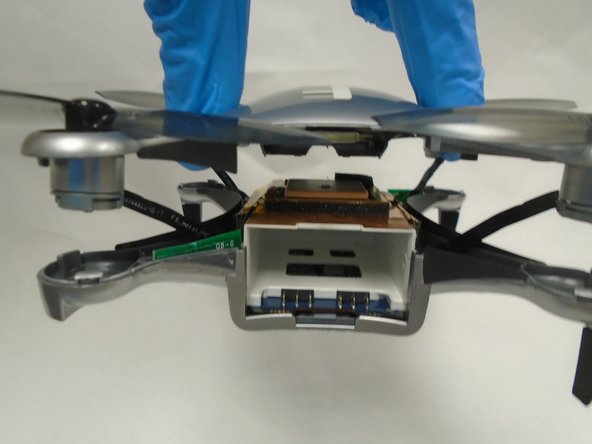
Gently pry open the top panel of the drone using a spudger.
-
Rotate the top panel slightly to reveal the four screws beneath each propellor arm.
-
Remove each of the four screws with a Phillips #0 screwdriver.
-
Lift off the top panel, as it should now be free from the rest of the device.
-
-
-
Using a Phillips #00 screwdriver, remove the screws from the four corners of the inner white chassis.
-
-
-
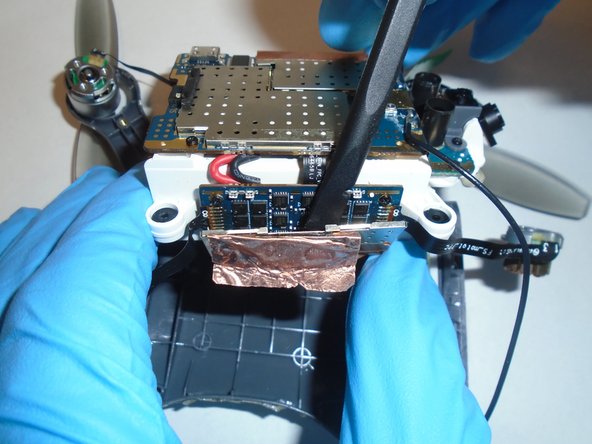
Using a Spudger (or similar tool to scrap/pry with), remove the copper foil used as tape from the sides of the chassis.
-
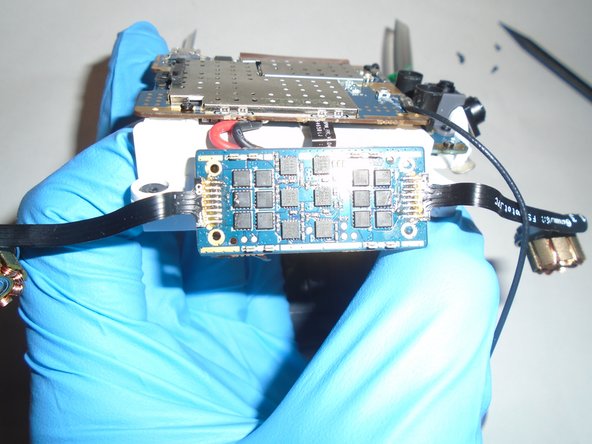
Remove the small metal covering from the side boards.
-
-
-
Using a Phillips #00 screwdriver, remove the four screws separating the side board from the white chassis.
-
-
-
Using a Phillips #00 screwdriver, remove the four screws from the large motherboard on the white chassis.
-
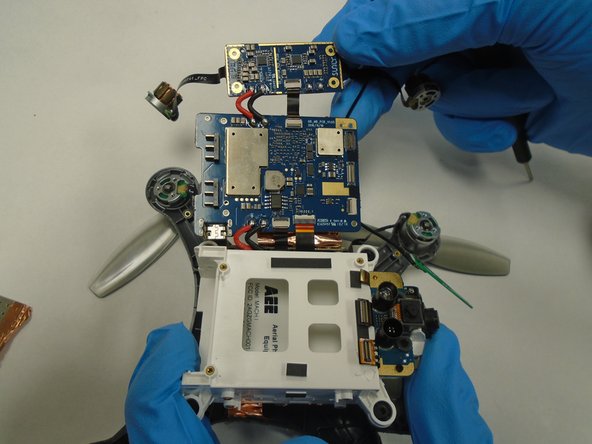
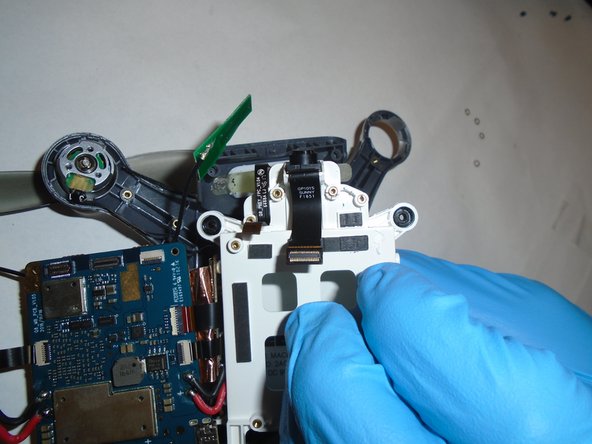
Lift the motherboard out of the case, revealing the camera cable.
-
-
-
Using the Phillips #00 screwdriver, remove the four screws holding the camera mechanism in place.
-
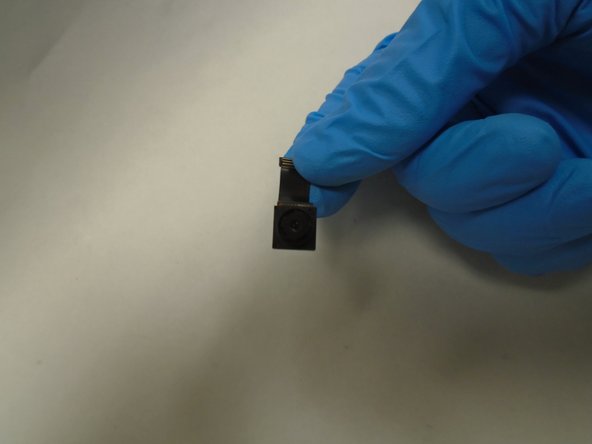
Lift the camera assembly out of the case.
-
-














To reassemble your device, follow these instructions in reverse order.

