Free Shipping on Domestic Orders $75+

8BitDo SN30 Pro+ Controller Analog Sticks Replacement

What you need

    1. 8BitDo SN30 Pro+ Controller Analog Sticks Replacement, Remove Battery: step 1, image 1 of 3 8BitDo SN30 Pro+ Controller Analog Sticks Replacement, Remove Battery: step 1, image 2 of 3 8BitDo SN30 Pro+ Controller Analog Sticks Replacement, Remove Battery: step 1, image 3 of 3
      • Place the controller face down.

      • Remove the battery cover.

      • Remove rechargeable battery or AA batteries.

      Ask FixBot

      Add Comment

    2. 8BitDo SN30 Pro+ Controller Analog Sticks Replacement, Remove Trigger Buttons: step 2, image 1 of 2 8BitDo SN30 Pro+ Controller Analog Sticks Replacement, Remove Trigger Buttons: step 2, image 2 of 2
      • Remove L2 and R2 trigger buttons by pushing them away from the grips.

      Ask FixBot

      Add Comment

    3. 8BitDo SN30 Pro+ Controller Analog Sticks Replacement, Remove Screws: step 3, image 1 of 2 8BitDo SN30 Pro+ Controller Analog Sticks Replacement, Remove Screws: step 3, image 2 of 2
      Tool used on this step:
      Tweezers
      $4.99
      Buy
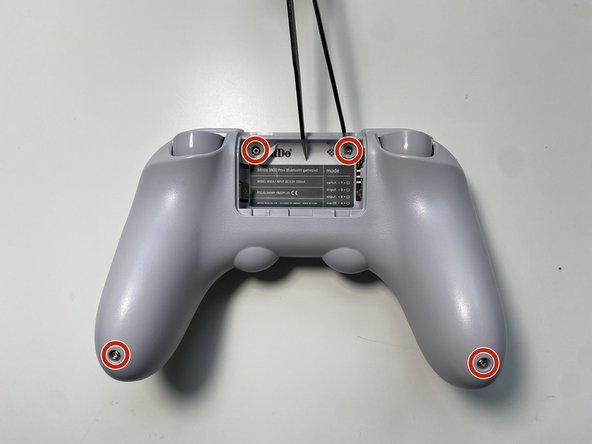
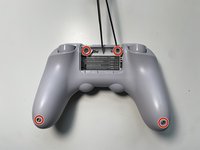
      • Use Tweezers to uncover two screws under the label in the battery compartment.

      • Use a T6 screwdriver to remove the four 7.3 mm screws securing the rear cover.

      Ask FixBot

      Add Comment

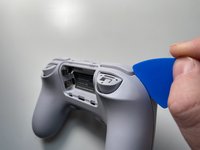
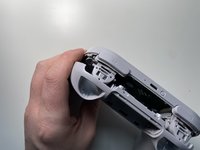
    4. 8BitDo SN30 Pro+ Controller Analog Sticks Replacement, Unclip Covers: step 4, image 1 of 3 8BitDo SN30 Pro+ Controller Analog Sticks Replacement, Unclip Covers: step 4, image 2 of 3 8BitDo SN30 Pro+ Controller Analog Sticks Replacement, Unclip Covers: step 4, image 3 of 3
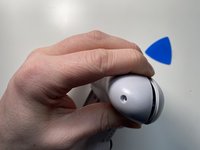
      • At the end of each grip, pry apart the covers.

      • Use fingernail or opening pick to undo the two top clips.

      • One clip next to L button.

      • One clip next to R button

      • Undo the final clip between the joysticks.

      Ask FixBot

      Add Comment

    5. 8BitDo SN30 Pro+ Controller Analog Sticks Replacement, Separate Covers: step 5, image 1 of 1
      • Carefully move the rear cover away and from the front cover. Place it to the left.

      • Do not completely separate. The two halves are still attached via a white ribbon cable.

      Ask FixBot

      Add Comment

    1. 8BitDo SN30 Pro+ Controller Analog Sticks Replacement, Remove Ribbon Cable: step 6, image 1 of 3 8BitDo SN30 Pro+ Controller Analog Sticks Replacement, Remove Ribbon Cable: step 6, image 2 of 3 8BitDo SN30 Pro+ Controller Analog Sticks Replacement, Remove Ribbon Cable: step 6, image 3 of 3
      • Unlock the ribbon cable by push open the black plastic tab.

      • The tab will slide about 1.5mm

      • Pull the ribbon cable out of the connector in the direction of the cable.

      Ask FixBot

      Add Comment

    2. 8BitDo SN30 Pro+ Controller Analog Sticks Replacement, Remove Caps: step 7, image 1 of 2 8BitDo SN30 Pro+ Controller Analog Sticks Replacement, Remove Caps: step 7, image 2 of 2
      • Grab the top and pull straight up on the joystick cap. Pulling out the caps one-by-one.

      Ask FixBot

      Add Comment

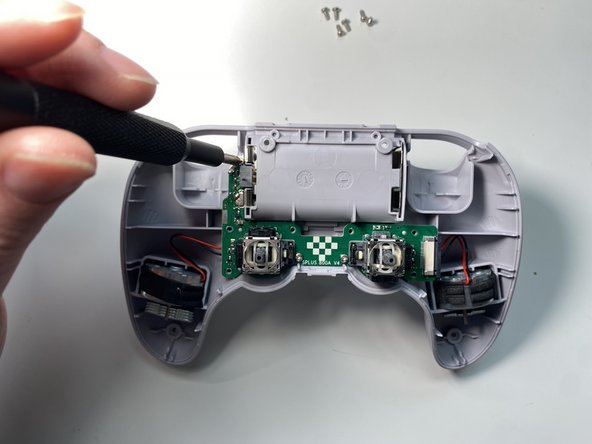
    3. 8BitDo SN30 Pro+ Controller Analog Sticks Replacement, Remove Screws: step 8, image 1 of 3 8BitDo SN30 Pro+ Controller Analog Sticks Replacement, Remove Screws: step 8, image 2 of 3 8BitDo SN30 Pro+ Controller Analog Sticks Replacement, Remove Screws: step 8, image 3 of 3
      • Use a Phillips screwdriver to remove the nine 5.2 mm screws securing the rear circuit board.

      • Four around the Right stick

      • Four around the Left stick

      • One next to the Battery connector

      Ask FixBot

      Add Comment

    4. 8BitDo SN30 Pro+ Controller Analog Sticks Replacement, Separate Rear Board: step 9, image 1 of 3 8BitDo SN30 Pro+ Controller Analog Sticks Replacement, Separate Rear Board: step 9, image 2 of 3 8BitDo SN30 Pro+ Controller Analog Sticks Replacement, Separate Rear Board: step 9, image 3 of 3
      • Pull the two rumble motors out of their housings.

      • Grab the analog sticks to pull out the circuit board

      Ask FixBot

      Add Comment

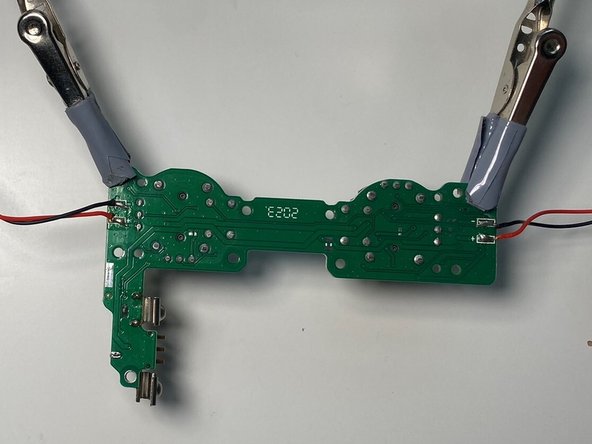
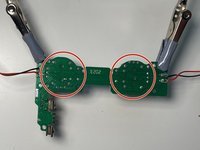
    1. 8BitDo SN30 Pro+ Controller Analog Sticks Replacement, Desolder Analog Sticks: step 10, image 1 of 3 8BitDo SN30 Pro+ Controller Analog Sticks Replacement, Desolder Analog Sticks: step 10, image 2 of 3 8BitDo SN30 Pro+ Controller Analog Sticks Replacement, Desolder Analog Sticks: step 10, image 3 of 3
      • Flip over the rear board.

      • Using a soldering iron to desolder all the joints of the analog sticks.

      • Make sure all the solder holes are open on the circuit board.

      • Refer to the following solder guide if necessary: How To Solder and Desolder Connections

      Ask FixBot

      Add Comment

Conclusion

To reassemble your device, follow these instructions in reverse order.

Cancel: I did not complete this guide.

3 other people completed this guide.

Brian W

Member since: 12/21/11

1,800 Reputation

8 Guides authored

5 Guide Comments

Thanks for the guide! What form factor does the sn30 use for its sticks?

Joshua Randall - Reply Share

Ever figure it out? I'm wondering the same.

Peter Hindes - Reply Share

I asked 8BitDo directly and they sent me this link https://tech.alpsalpine.com/e/products/d...

Stepan Orda - Reply Share

im just trying to replace the worn out joystick wtf

JonnyRoboto - Reply Share

Great guide, thanks! I only needed to get as far as replacing the caps but was useful to know where the hidden screws and clips were ahead of time.

Liam Jackson - Reply Share

Add Comment

View Statistics:

Past 24 Hours: 14

Past 7 Days: 104

Past 30 Days: 309

All Time: 14,836