Introduction
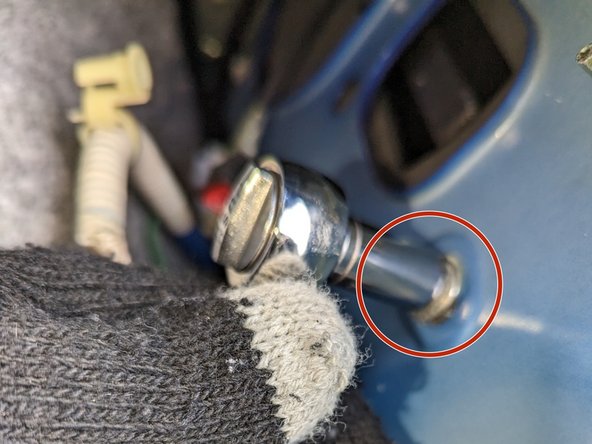
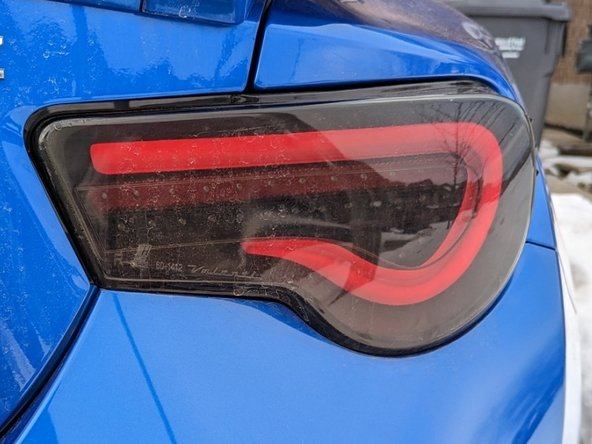
Like any other car taillights can burn out or get damaged from rain conditions. It is not a matter of if but when. Valenti smoked edition taillights that have a vulnerability to rain if not installed correctly. And rainwater can slip through gaskets in the screw holes of the taillight. This is quite common with taillights and will cause the bulb to be flooded with water and the non-removable LED bulbs will short out. Nonetheless, replacing the taillight is the safest option. This replacement guide shows basic forms of electrical repair although the repair is considered plug and play and there are non-exposed wires cut, spliced, or exposed to the user. This taillight brand only requires a plug connector to attach to another plug connector. Applicable to all Valenti branded taillights up 2016 models. You will need a basic understanding of tightening and loosening a 10mm hexagonal nut for removal with a socket wrench. You would need 25-30 minutes of dedicated spare time to complete this repair. This repair guide will teach a user how to replace both the left and right taillight.
What you need
-
-
Open the trunk.
-
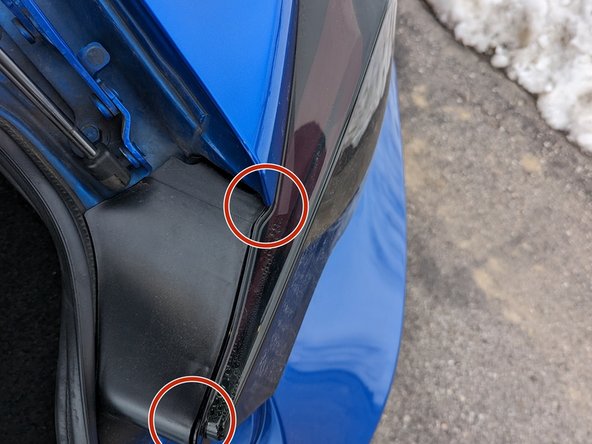
Use a screwdriver or liner remover tool that to pry open the six push screws.
-
Remove the trunk carpet liner.
-
-


Take the six carpet liner clips and push them back in place. There are 3 clips for each side. Repeat steps 1-9 for the opposite taillight installation.
Take the six carpet liner clips and push them back in place. There are 3 clips for each side. Repeat steps 1-9 for the opposite taillight installation.
Cancel: I did not complete this guide.
One other person completed this guide.

Team

York University, Team O-22, Woodhouse Winter 2023 Member of York University, Team O-22, Woodhouse Winter 2023
YORK-WOODHOUSE-W23SOG22
1 Member
1 Guide authored