2013-2015 Chevrolet Malibu Factory BackUp Camera Replacement

What you need

  1. 2013-2015 Chevrolet Malibu Factory BackUp Camera Replacement, Camera: step 1, image 1 of 3 2013-2015 Chevrolet Malibu Factory BackUp Camera Replacement, Camera: step 1, image 2 of 3 2013-2015 Chevrolet Malibu Factory BackUp Camera Replacement, Camera: step 1, image 3 of 3
    • Mount the new camera in the space provided.

    • The camera routes through the bumper of the car and not the license plate.

  2. 2013-2015 Chevrolet Malibu Factory BackUp Camera Replacement: step 2, image 1 of 3 2013-2015 Chevrolet Malibu Factory BackUp Camera Replacement: step 2, image 2 of 3 2013-2015 Chevrolet Malibu Factory BackUp Camera Replacement: step 2, image 3 of 3
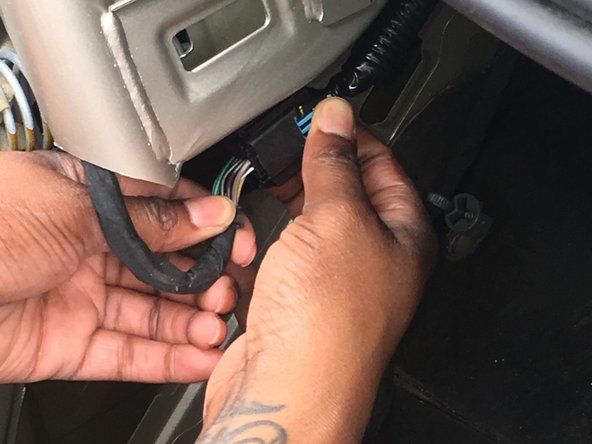
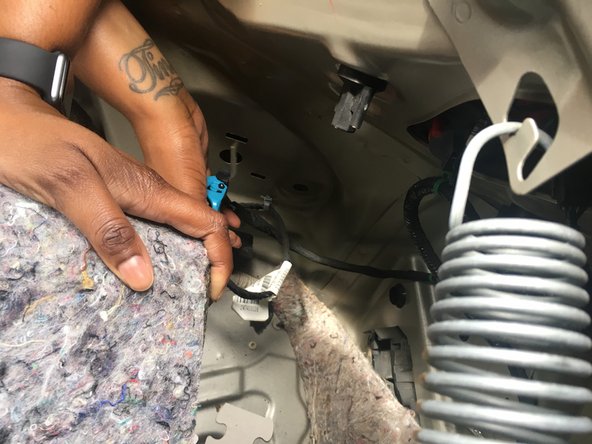
    • Run the new wires through the holes provided, and cover with electrical tape.

    • The new cords will simply connect where the faulty wires were removed.

  3. 2013-2015 Chevrolet Malibu Factory BackUp Camera Replacement: step 3, image 1 of 3 2013-2015 Chevrolet Malibu Factory BackUp Camera Replacement: step 3, image 2 of 3 2013-2015 Chevrolet Malibu Factory BackUp Camera Replacement: step 3, image 3 of 3
    • Coordinate the colored wires to keep the repair simple. Match the new wires to the existing wires through the splitter. Use a wire splitter to expose the wire.

    • Then simply connect the wires to the wires for reverse light.

  4. 2013-2015 Chevrolet Malibu Factory BackUp Camera Replacement: step 4, image 1 of 1
    • The green wire is the camera connection or positive wire and the black is the ground.

    • This line should already be connected correctly because you should have only switched wires that connected to the camera.

  5. 2013-2015 Chevrolet Malibu Factory BackUp Camera Replacement: step 5, image 1 of 1
    • Make sure that the reverse light is working properly when the car is in reverse.

  6. 2013-2015 Chevrolet Malibu Factory BackUp Camera Replacement: step 6, image 1 of 1
    • Make sure the display is clear and working properly.

Conclusion

To reassemble your device, follow these instructions in reverse order.

2 other people completed this guide.

2 Comments

The photos you show in steps 2 & 3 - is that the trunk only?

jrselinger24 - Reply

Hello. I am trying to replace my camera. But not sure how to remove it or where to buy a replacement.

Jonathan Anderson - Reply

Add Comment

View Statistics:

Past 24 Hours: 5

Past 7 Days: 40

Past 30 Days: 185

All Time: 13,055