2010 GMC Sierra Tail Light Replacement

What you need

  1. 2010 GMC Sierra Tail Light Replacement, Tail Light: step 1, image 1 of 3 2010 GMC Sierra Tail Light Replacement, Tail Light: step 1, image 2 of 3 2010 GMC Sierra Tail Light Replacement, Tail Light: step 1, image 3 of 3
    • Open the hood of the truck.

    • Using the 10mm wrench, loosen and remove the 1-3/4" bolt securing the cable.

    • Pull the cable from the battery.

  2. 2010 GMC Sierra Tail Light Replacement: step 2, image 1 of 2 2010 GMC Sierra Tail Light Replacement: step 2, image 2 of 2
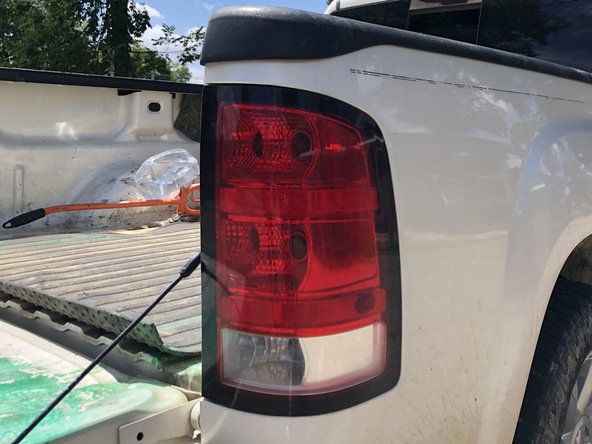
    • Lower the tail gate fully.

    • Remove objects near tail light.

  3. 2010 GMC Sierra Tail Light Replacement: step 3, image 1 of 2 2010 GMC Sierra Tail Light Replacement: step 3, image 2 of 2
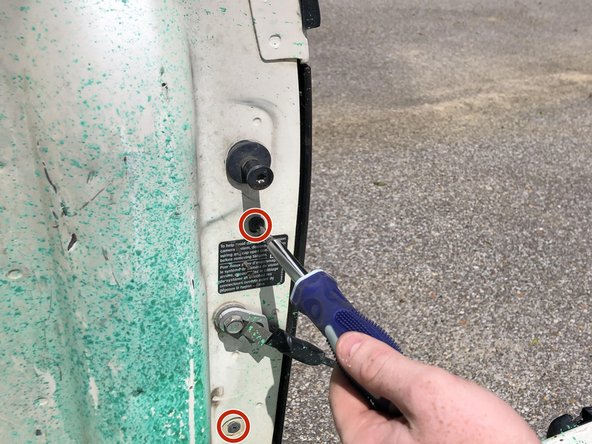
    • Using the Philips screwdriver, remove the two 4.8x16mm screws securing the housing.

  4. 2010 GMC Sierra Tail Light Replacement: step 4, image 1 of 2 2010 GMC Sierra Tail Light Replacement: step 4, image 2 of 2
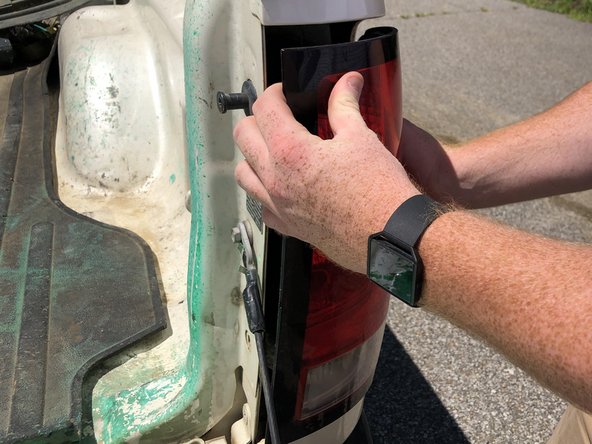
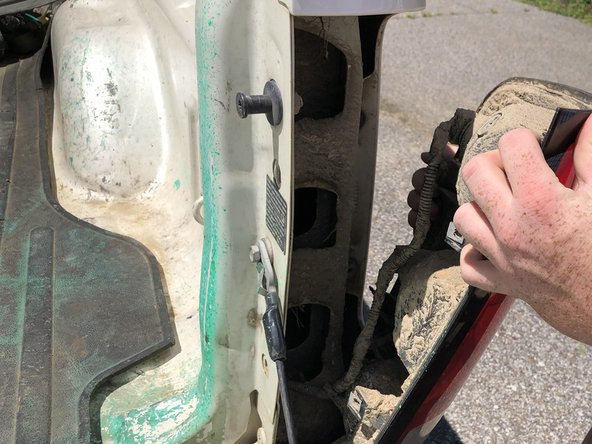
    • Pry the housing free.

    • Be mindful of wires and dust.

  5. 2010 GMC Sierra Tail Light Replacement: step 5, image 1 of 2 2010 GMC Sierra Tail Light Replacement: step 5, image 2 of 2
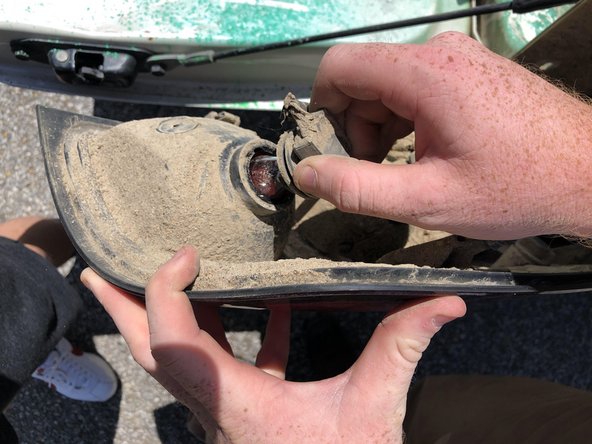
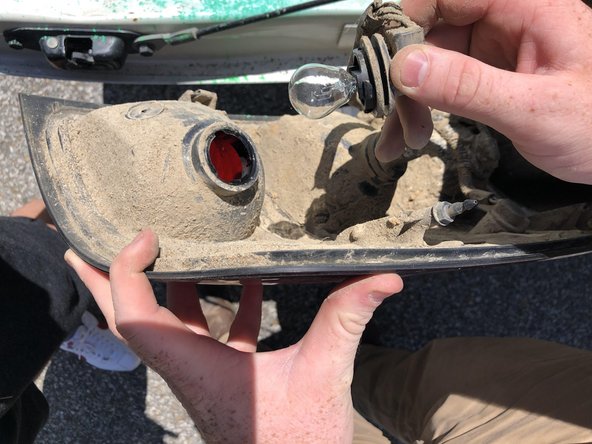
    • Rotate the harness counterclockwise.

    • Pull the harness free from the housing.

  6. 2010 GMC Sierra Tail Light Replacement: step 6, image 1 of 2 2010 GMC Sierra Tail Light Replacement: step 6, image 2 of 2
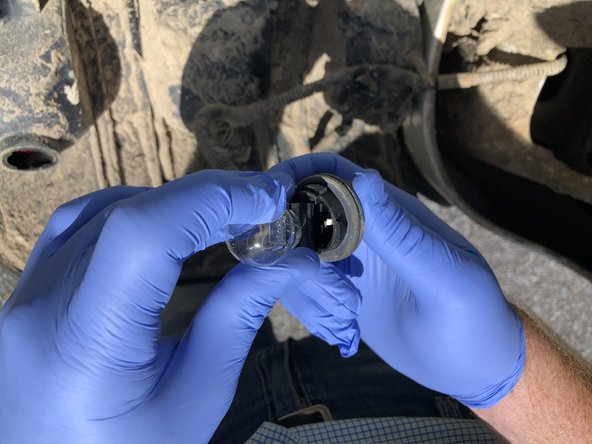
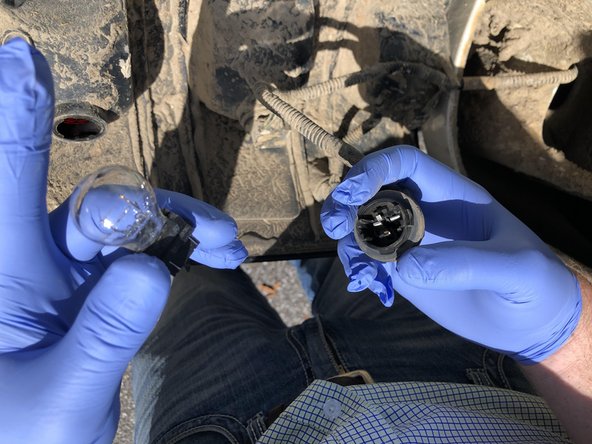
    • Wearing the latex gloves, pull the bad bulb out of the harness.

    • Skin oil shortens the bulbs' life spans.

Conclusion

To reassemble your device, follow these instructions in reverse order.

One other person completed this guide.

One Comment

Is there a way to get these things not to get moisture inside the backup bulb area?

ron murphy - Reply

Add Comment

View Statistics:

Past 24 Hours: 2

Past 7 Days: 2

Past 30 Days: 15

All Time: 1,773