Introduction
If your fuse box in a Cadillac DTS if faulty, this guide will help replace the fuse box.
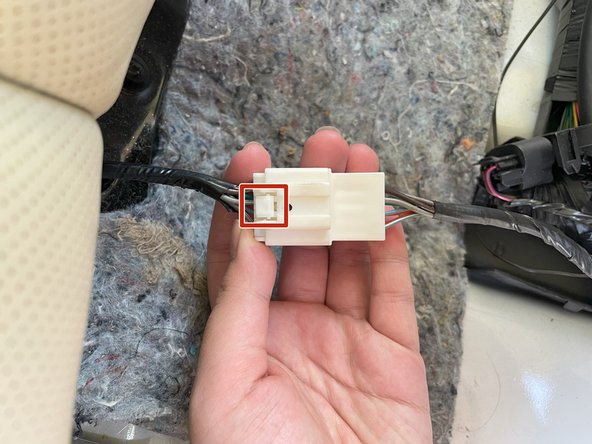
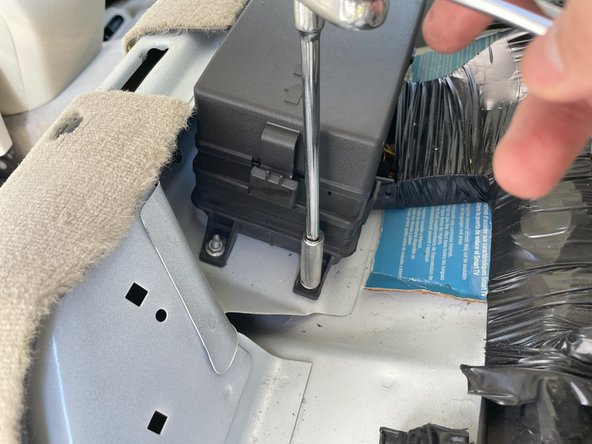
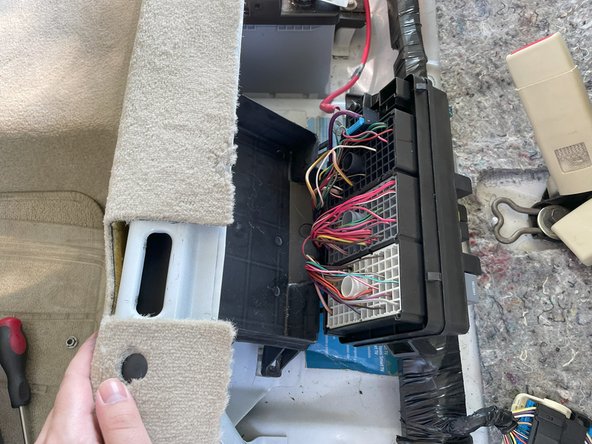
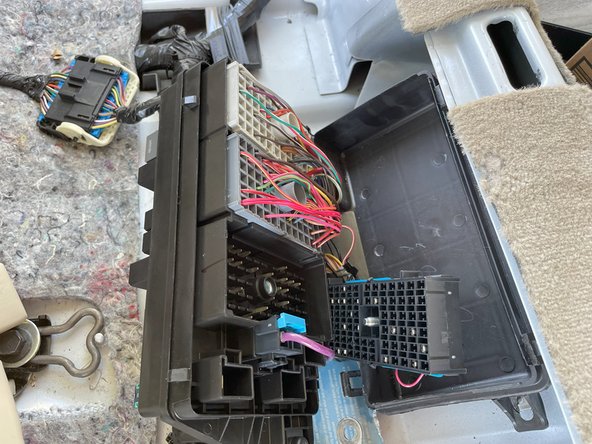
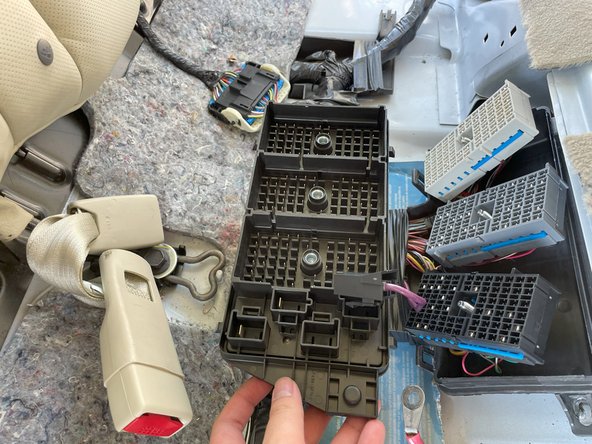
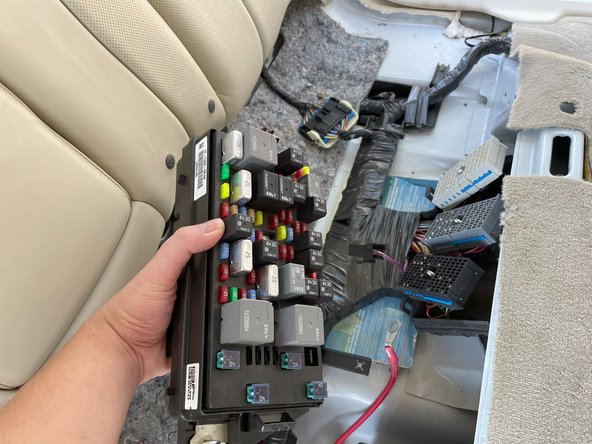
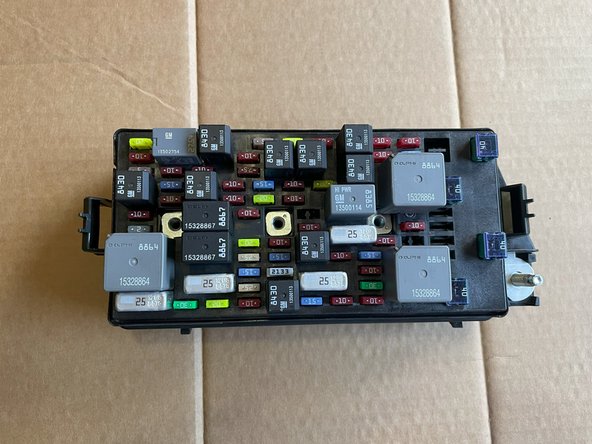
The fuse box keeps the electrical connection in your engine running. A faulty fuse box will not allow the car to start.
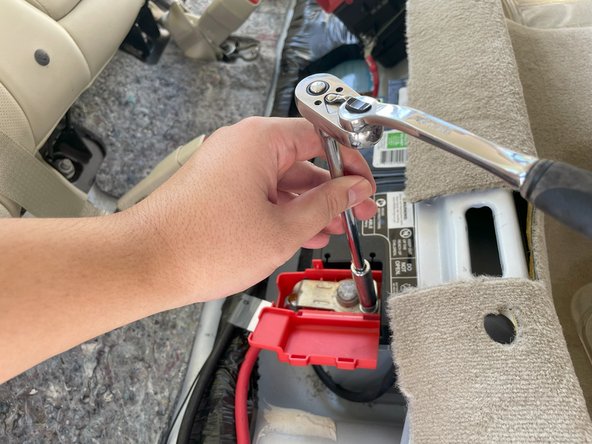
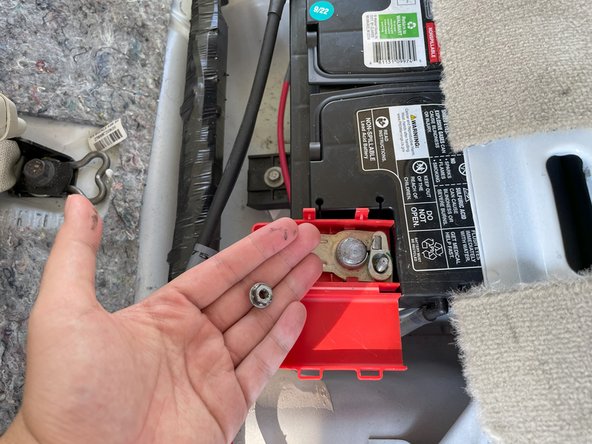
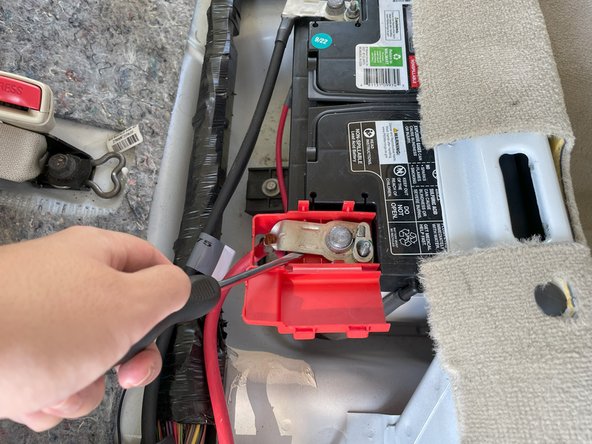
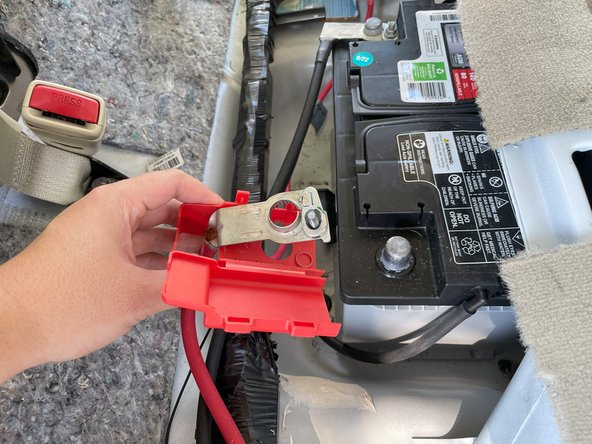
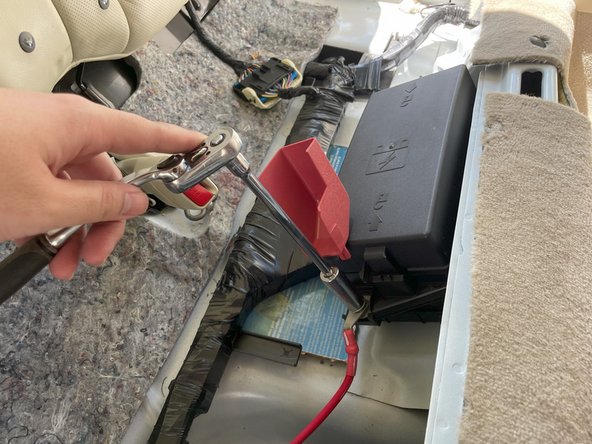
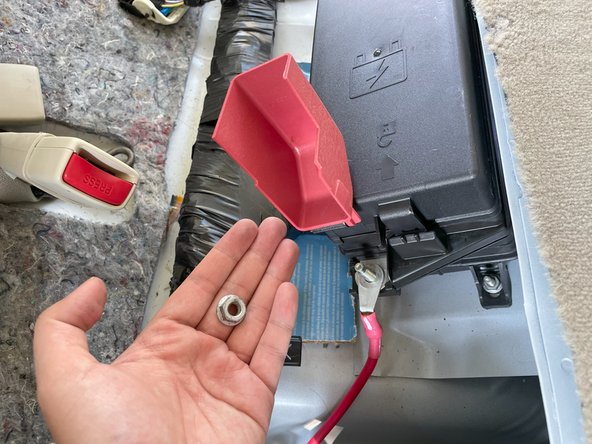
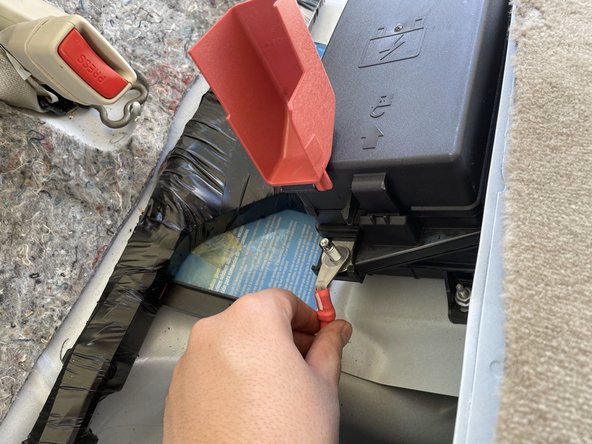
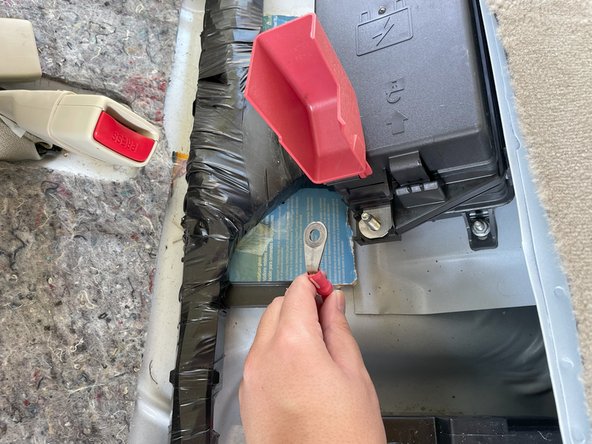
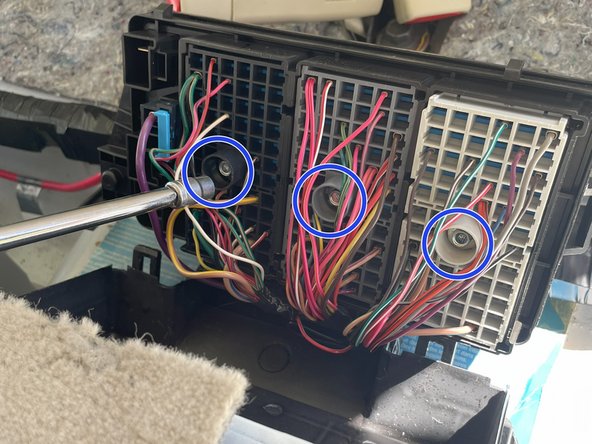
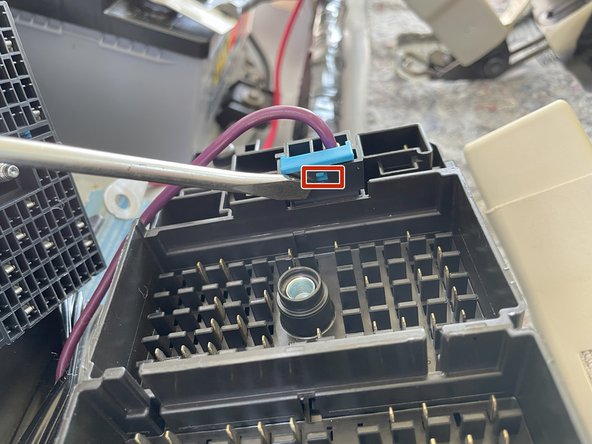
Step 4 requires you to remove the wire from the positive terminal. Make sure the wire and terminal does not touch after that step for safety.
What you need


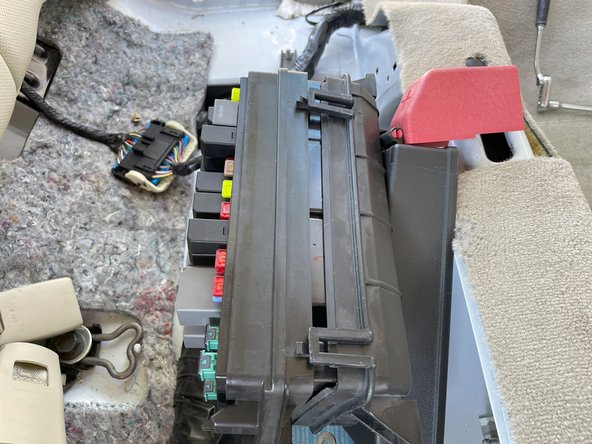

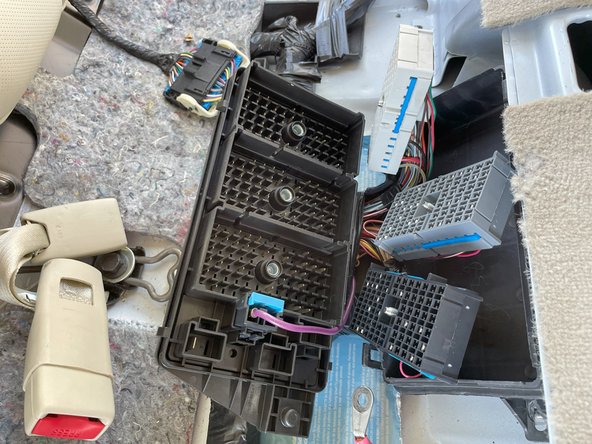
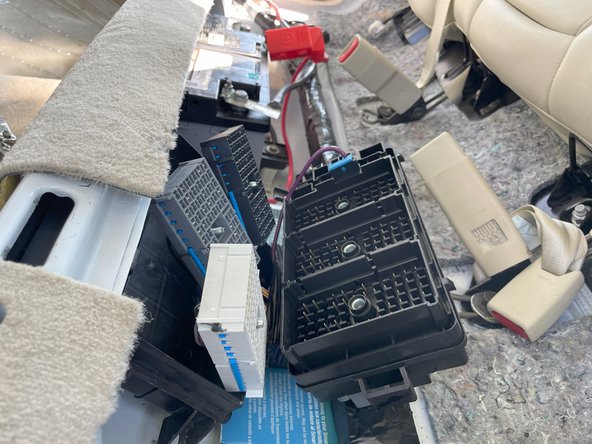
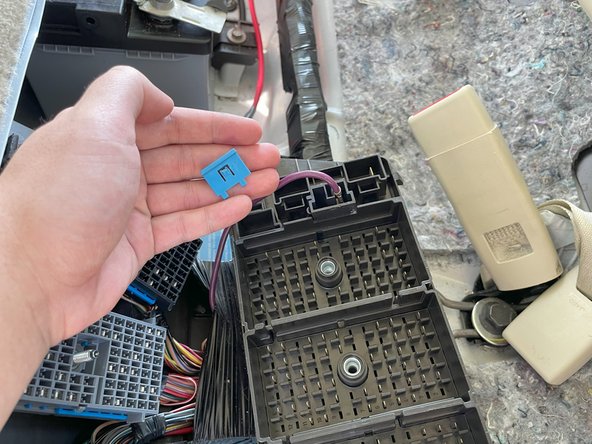
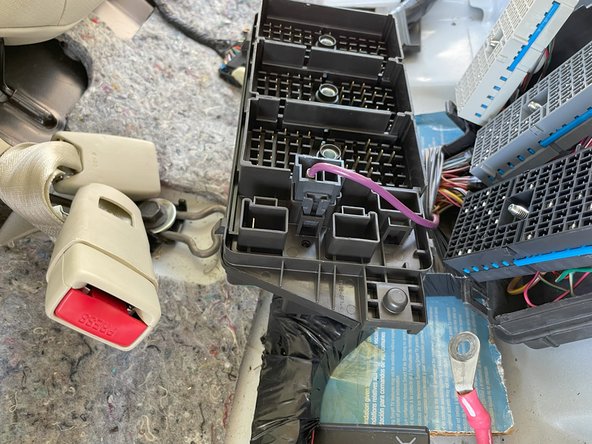
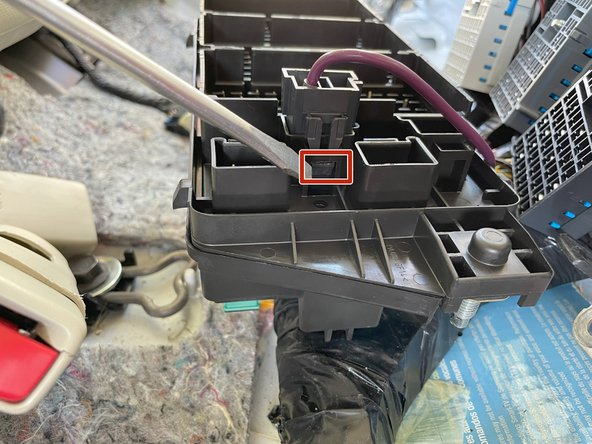
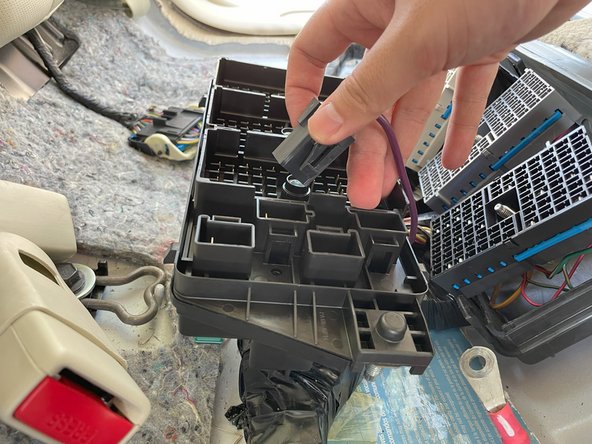
Almost done!
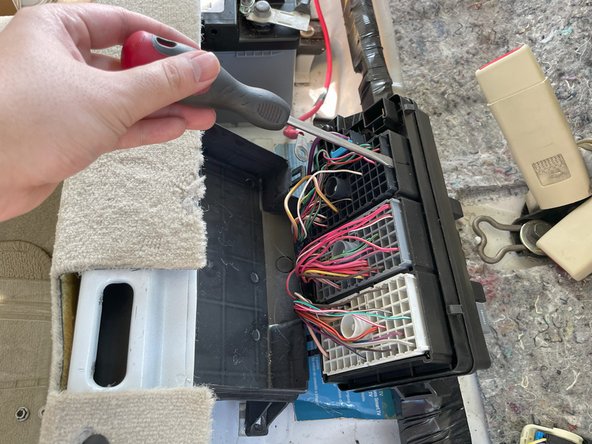
To reassemble your device, follow these instructions in reverse order.
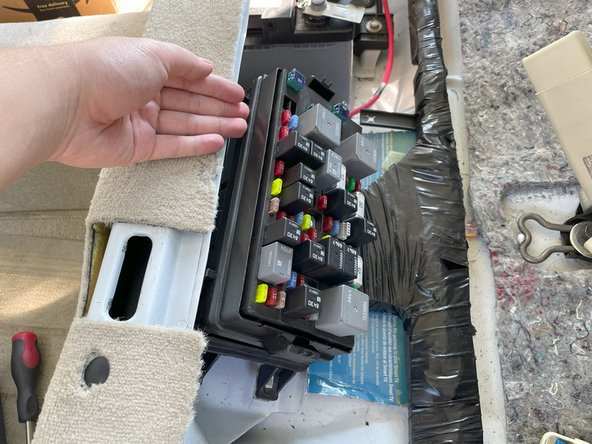
Conclusion
To reassemble your device, follow these instructions in reverse order.
Team

University of North Texas, Team 1-20, Martin Fall 2023 Member of University of North Texas, Team 1-20, Martin Fall 2023
UNT-MARTIN-F23S1G20
1 Member
1 Guide authored