Introduction
For the updated iFixit guide, click here. This guide has been archived for historical purposes.
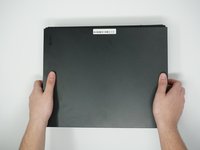
This guide explains how to remove the Seagate hard drive of the Xbox One X. And it is for both Xbox One X and Xbox One X Project Scorpio Edition.
What you need
Video Overview
-
-
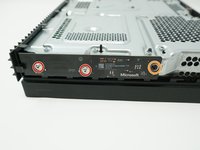
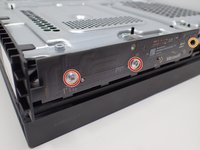
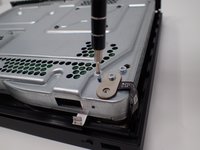
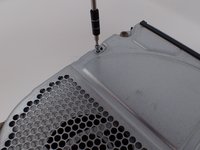
Use a T9 Torx screwdriver to remove the 13mm screw which is under and to the left of the power input.
 Ask FixBot
-
-
Tool used on this step:Tweezers$4.99
-
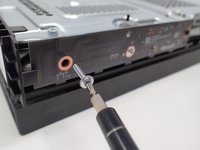
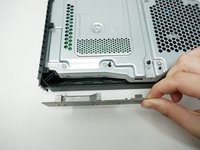
Using precision tweezers, remove the screw tab located on opposite side of the box.
-
Use a T9 Torx screwdriver to remove the 13mm screw revealed underneath the tab.
-
-
-
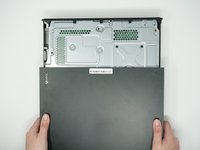
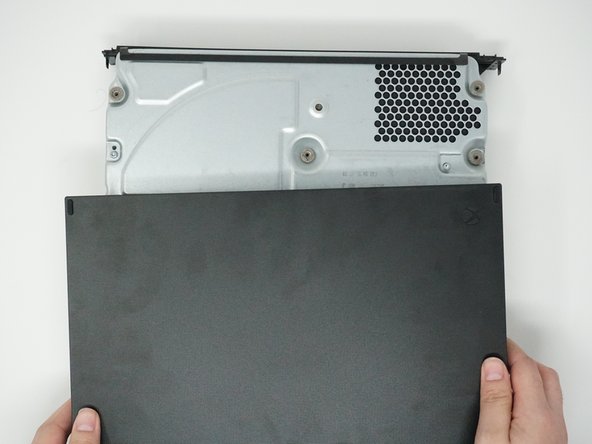
Orient the case so that the front of the Xbox (the side with the power button) is facing you.
-
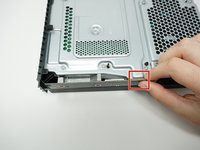
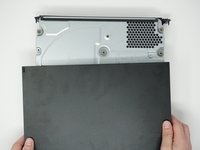
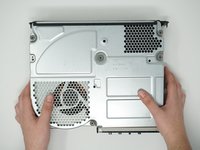
Remove the top of the case by sliding the case towards you.
-
-
-
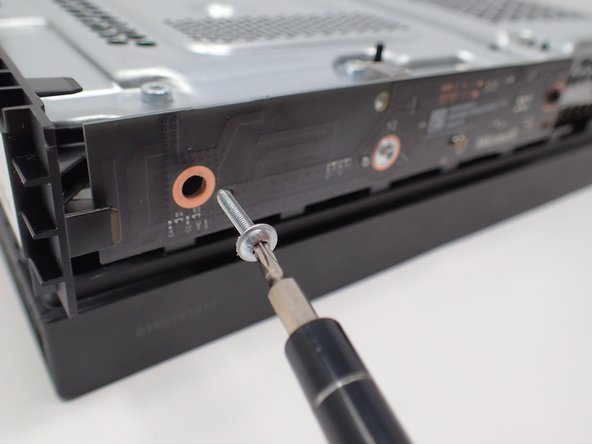
Using a T8 Torx screwdriver, remove the two 15mm silver screws that are holding a circuit board/panel to the side of the interior metal casing.
-
Using the same screwdriver, remove the 9mm black screw located farther to the right on the same circuit board/panel.
-
-
-
Remove the unscrewed panel from the side of the device by pulling it toward you.
-
-
-
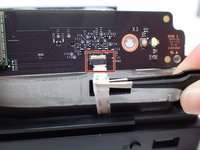
Pull the upper edge of the white clip down, and then remove the white connector from the dislocated panel using precision tweezers.
-
-
-
-
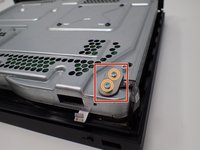
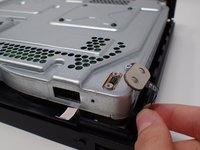
On the top of the device in the corner directly above the white connector, there is an oval plate held in place by two screws.
-
Remove both of these 7mm screws with a Torx T9 screwdriver.
-
Lift the detached plate off to the side.
-
-
-
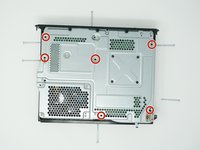
Use a Torx T9 screwdriver to remove the six 47mm long screws, which attach the bottom side of the outer case.
-
-
-
Turn the Xbox over, so that the bottom of the case is on top.
-
Lift the bottom of the case off of the Xbox by pulling it up and toward you.
-
-
-
Flip over the device again, so that the top is facing upwards.
-
Remove the 4 smaller 11mm screws in the lower left corner on the metal casing using a Torx T9 screwdriver.
-
-
-
Flip over the device again, so that the bottom is facing upwards.
-
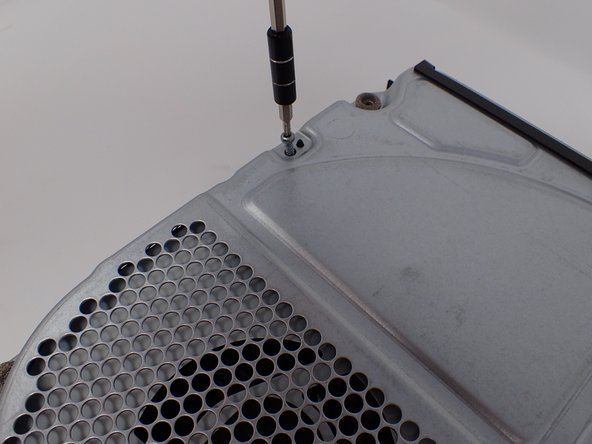
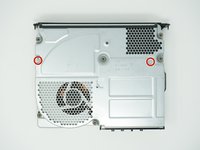
Using a Torx T10 screwdriver, remove the two screws located on opposite sides of the metal casing. One is near the fan vent, and the other is near the power supply vent.
-
-
-
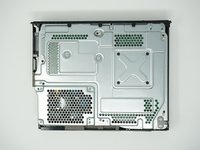
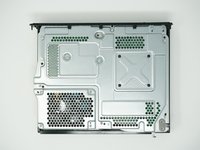
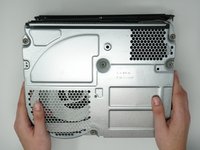
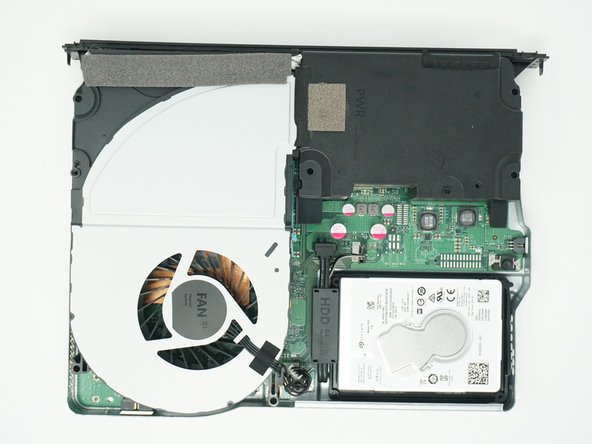
Remove the metal casing by pulling it upward, revealing the interior components of the device.
-
-
-
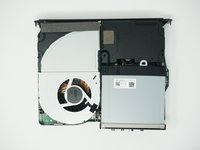
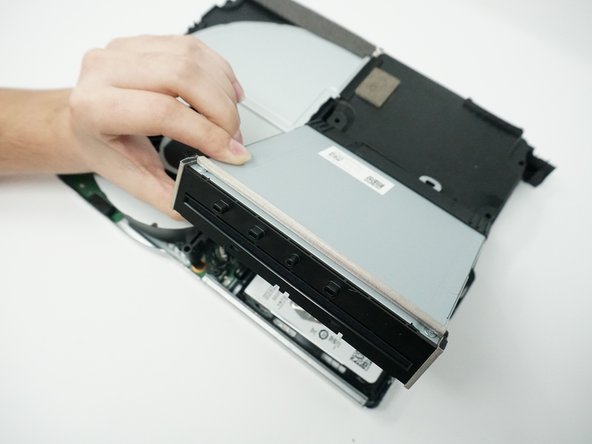
Lift and rotate the BD drive to reveal the wires that connect it to the motherboard.
-
-
-
Using your fingers, gently unplug the two sets of wires connecting the drive to the motherboard.
-
Alternatively, you can disconnect the wires from the drive-side sockets. This is much easier if you have not removed the power supply.
-
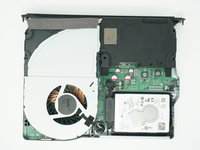
The BD drive should now be completely detached from the rest of the device, and it can be set aside.
-
-
-
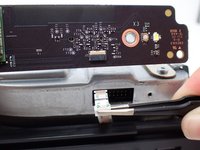
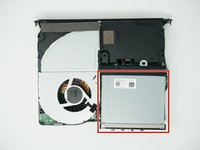
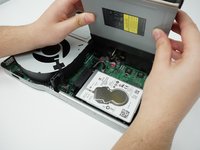
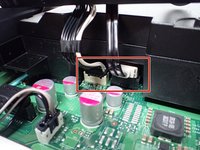
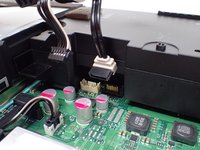
Detach the two connection headers located to the right of the hard drive.
-


To reassemble your device, follow these instructions in reverse order.
Team

Cal Poly, Team S2-G6, Livingston Winter 2018 Member of Cal Poly, Team S2-G6, Livingston Winter 2018
CPSU-LIVINGSTON-W18S2G6
4 Members
23 Guides authored