Shop the Holiday Gift Guide
Free Shipping on Domestic Orders $75+

(New) iPhone 15 Front Camera Assembly Installation

Views: 151

View statistics:

Past 24 Hours:
0
Past 7 Days:
4
Past 30 Days:
8
All Time:
151
Comments: 0

No one has left comments on this guide. Will you be first?

Go to guide comments
Completed: 0

No one has marked this guide "completed." Will you be the first?

Favorites: 0

No one has favorited (and subscribed to) this guide. Will you be the first?

Time Required: No estimate
Difficulty: Moderate
Prerequisite Only

This is a prerequisite-only guide! This guide is part of another procedure and isn’t meant to be used alone.

(New) iPhone 15 Front Camera Assembly Installation
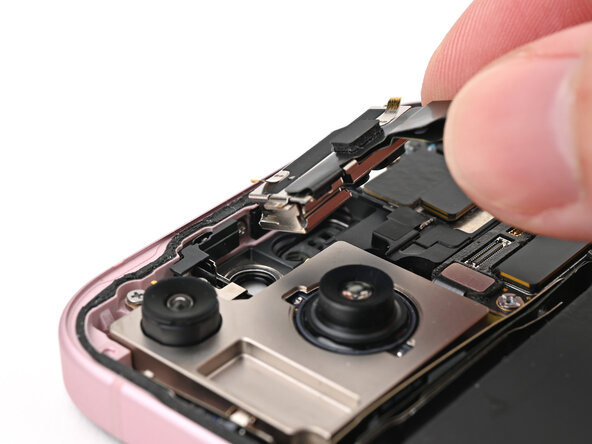
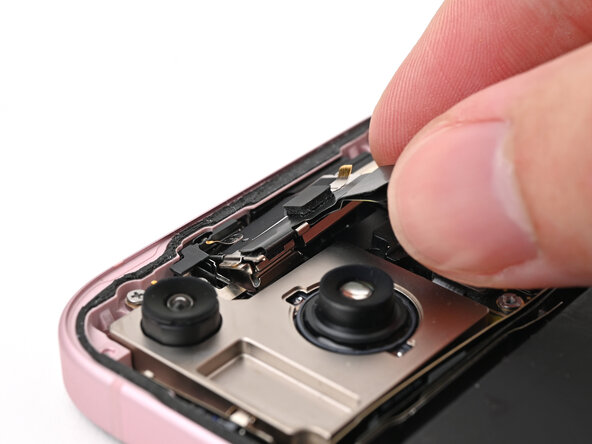
    1. (New) iPhone 15 Front Camera Assembly Installation, Place the front camera assembly: step 1, image 1 of 3 (New) iPhone 15 Front Camera Assembly Installation, Place the front camera assembly: step 1, image 2 of 3 (New) iPhone 15 Front Camera Assembly Installation, Place the front camera assembly: step 1, image 3 of 3
      • Slide the front camera assembly into its recess in the frame.

      • Press the assembly down so it lies flat.

      Ask FixBot

      Add Comment

    2. (New) iPhone 15 Front Camera Assembly Installation, Connect the front camera and sensors: step 2, image 1 of 2 (New) iPhone 15 Front Camera Assembly Installation, Connect the front camera and sensors: step 2, image 2 of 2
      • Use your spudger or your fingers to connect the three front camera assembly and antenna press connectors.

      Ask FixBot

      Add Comment

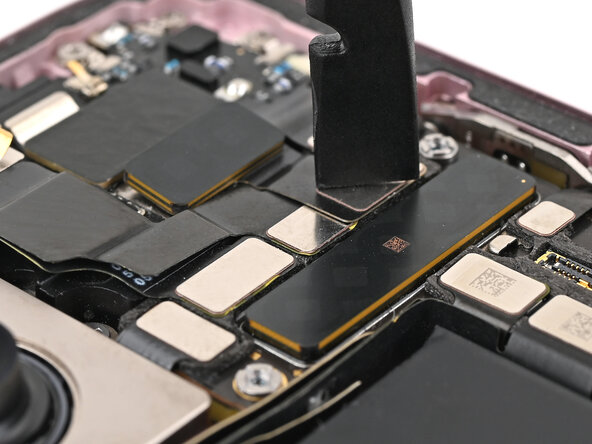
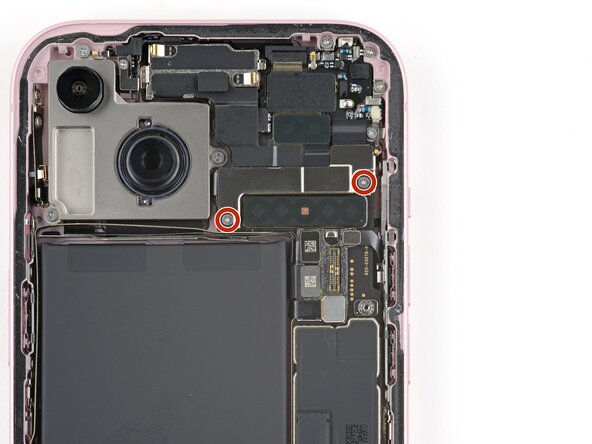
    3. (New) iPhone 15 Front Camera Assembly Installation, Install the upper connector cover: step 3, image 1 of 3 (New) iPhone 15 Front Camera Assembly Installation, Install the upper connector cover: step 3, image 2 of 3 (New) iPhone 15 Front Camera Assembly Installation, Install the upper connector cover: step 3, image 3 of 3
      • Place the cover over the logic board and align its screw holes.

      • Use your tri-point Y000 driver to install the two 1.3 mm‑long screws securing the upper connector cover.

      Ask FixBot

      Add Comment

Conclusion

To reassemble your device, follow these instructions in reverse order.

Cancel: I did not complete this guide.

Author

with

Alex Diaz-Kokaisl

Member since: 01/16/22

252,776 Reputation

1,200 Guides authored

0 Guide Comments

Add Comment

View Statistics:

Past 24 Hours: 0

Past 7 Days: 4

Past 30 Days: 8

All Time: 151