This translation may not reflect the most recent updates from the source guide. Help update the translation or view the source guide.
Introduction
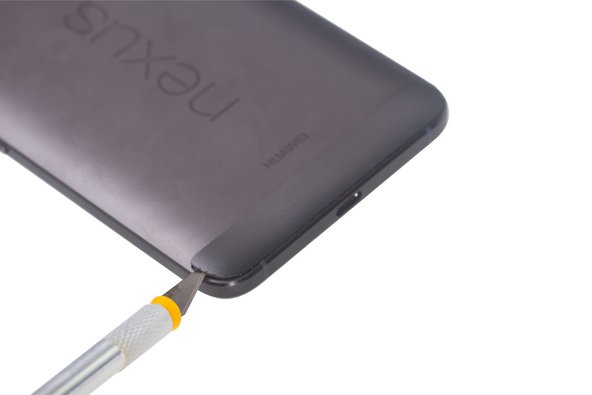
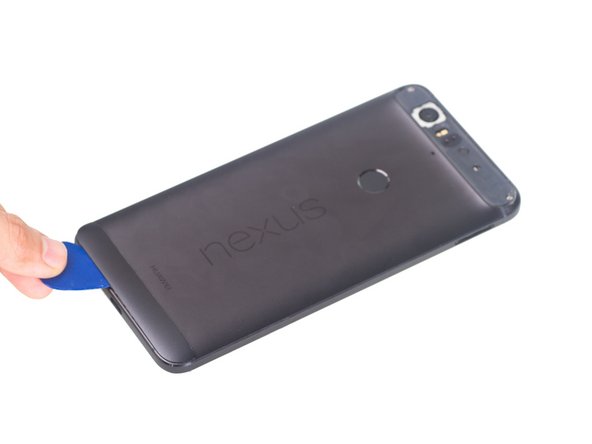
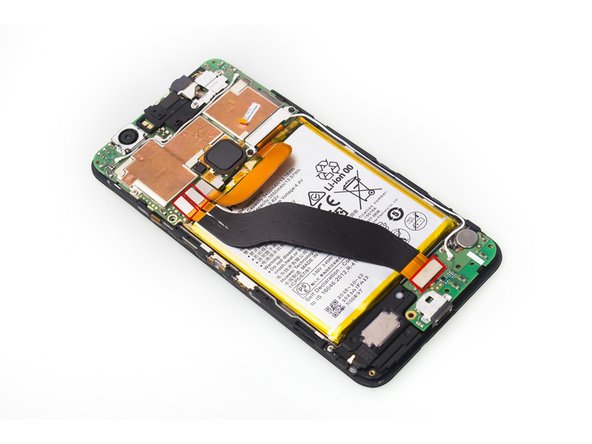
非常開心看到充電孔設計在子版上,這對於我們更換USB孔來說可說是非常的方便。現在請跟著我們一起自己動手來更換它吧。
What you need
Video Overview


請將這個說明步驟倒置,以重新組裝你的設備。
請將這個說明步驟倒置,以重新組裝你的設備。
Cancel: I did not complete this guide.
23 other people completed this guide.
Special thanks to these translators:
81%
Raziel is helping us fix the world! Want to contribute?
Start translating ›

13 Comments
Do you know the part number of the daughterboard, or where I can buy a replacement?
Global Direct Parts seems to have OEM parts. Don't go with eBay and stuff. The ones I saw are cheap knockoffs that don't work right (even when they say OEM).
Sunny Wu -
Do we need more adhesive or everything will stick back with heat?
I have replaced my battery. You most likely will need more adhesive. I just plan on using some double sided tape as the original glue was too tough in case I have to open it again. You can just buy a case for it after. It will keep everything nice and tight on there.
Sunny Wu -