
What you need

This teardown is not a repair guide. To repair your iPad ClamCase, use our service manual.

  1. iPad ClamCase, iPad ClamCase: step 1, image 1 of 2 iPad ClamCase, iPad ClamCase: step 1, image 2 of 2
    • You can skip the first 2 steps if you don't want to detach the upper and keyboard covers from each other.

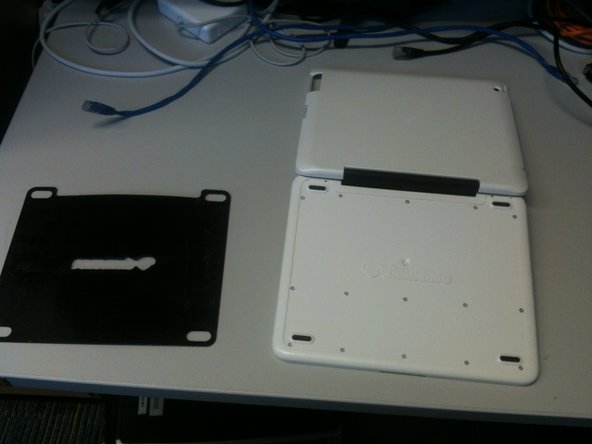
    • Open the case and unpeel the 2 black stickers in the top corners of the keyboard.

    • This will reveal the 6 screws that attach the upper cover to the keyboard cover.

  2. iPad ClamCase: step 2, image 1 of 2 iPad ClamCase: step 2, image 2 of 2
    • Use the T9 Torx screwdriver to unscrew the 2 bigger screws in the middle of each side.

    • Use the T6 Torx screwdriver to unscrew the remaining 4 screws.

  3. iPad ClamCase: step 3, image 1 of 2 iPad ClamCase: step 3, image 2 of 2
    • Turn the keyboard cover over so the bottom is facing up. Manually remove the thin black covering that is attached to the bottom.

    • Be patient, the thin black covering might be really stuck to the bottom.

  4. iPad ClamCase: step 4, image 1 of 1
    • Once the thin black covering is removed, you will see 15 screws.

    • Use the T6 Torx screwdriver to remove the screws.

  5. iPad ClamCase: step 5, image 1 of 1
    • Once the screws are removed, lift off the bottom panel to access the keyboard and battery.

  6. iPad ClamCase: step 6, image 1 of 1
    • You are done.

Izmet Barranco

Member since: 12/12/12

213 Reputation

1 Guide authored

2 Comments

Awesome! I used this guide to disassemble my clam case and repair some nonfunctional keys. Thanks!

justin duff - Reply

Thanks for the dis-assembly guide. Justin, what did you have to do to fix the keys that were not working. I have on with a few keys not working, not even intermittently.

dick haynes - Reply

Add Comment

View Statistics:

Past 24 Hours: 0

Past 7 Days: 0

Past 30 Days: 7

All Time: 7,727