Introduction
It's been nearly two years since Google unveiled its flop of a streaming media player, the Logitech Revue. After a lengthy hiatus from the spotlight, Google TV is back to take the stage. Its lead actor? The ironically-named Vizio Coaster Co-Star.
Want to keep up with all of our latest teardowns? Follow @ifixit on Twitter!
What you need
-
-
Providing the market with a $99 answer to the Apple TV (also $99), the Vizio Co-Star brings a refreshing reincarnation of Google TV to the world of set-top boxes.
-
Notable tech specs:
-
Google TV platform
-
Wi-Fi and Bluetooth enabled
-
Hot buttons for Amazon, Netflix, and M-Go
-
720p, 1080i, and 1080p resolution support
-
MP3, AAC, and WMA audio playback
-
Universal QWERTY remote with trackpad
-
-
-
The rear side of the Vizio Co-Star includes an impressive lineup:
-
USB 2.0 port
-
HDMI-In port
-
HDMI-Out port
-
Ethernet port
-
DC-In Power port
-
On the bottom we see the reset switch and four suspicious-looking rubber feet.
-
-
-
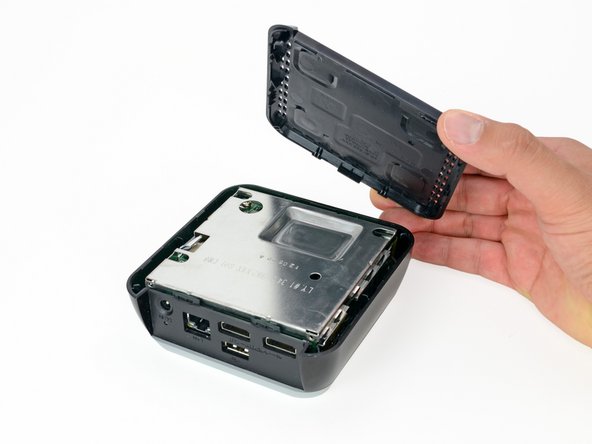
A little prying around the edge with a plastic opening tool, and we've got the bottom panel free.
-
Comparatively speaking, the Apple TV required two metal spudgers to open, as opposed to a single plastic opening tool here. No need to split hairs; they're both easy to open up, and we love it.
-
-
-
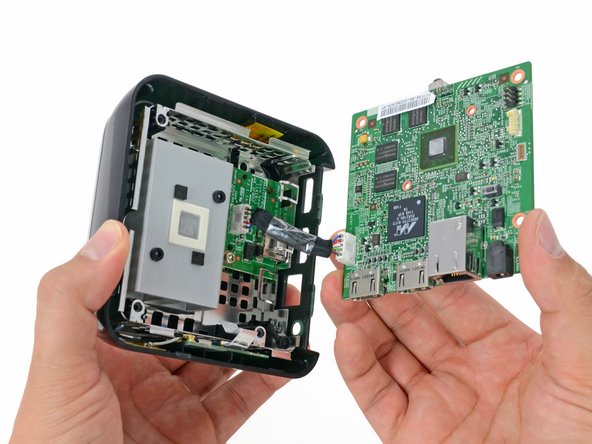
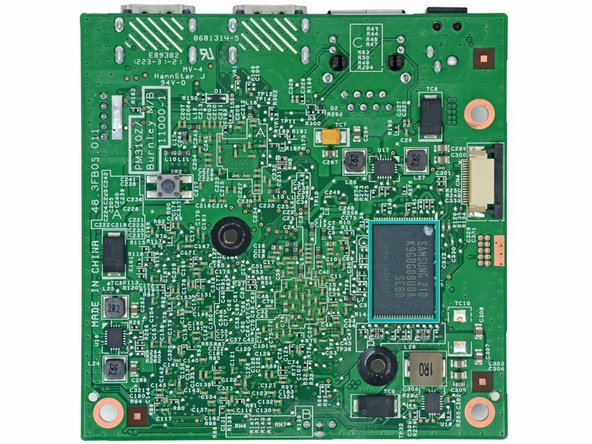
And here comes the Co-Star's motherboard strolling down the red carpet:
-
Marvell Armada 1500 1.2 GHz Dual-Core Processor
-
Marvell 88DE2755 QDEO Video Processor
-
Nanya NT5CB256M8GN-DI 2 Gb DDR3 SD RAM (2 Gb x 4 for 1 GB total RAM)
-
Samsung K9GBG08U0A-SCBO 32 Gb (4 GB) NAND Flash
-
-
-
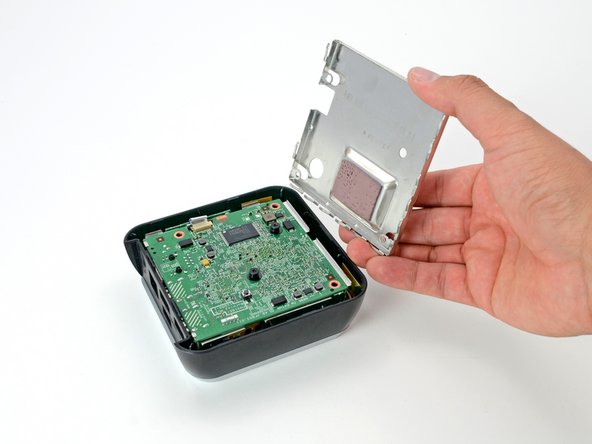
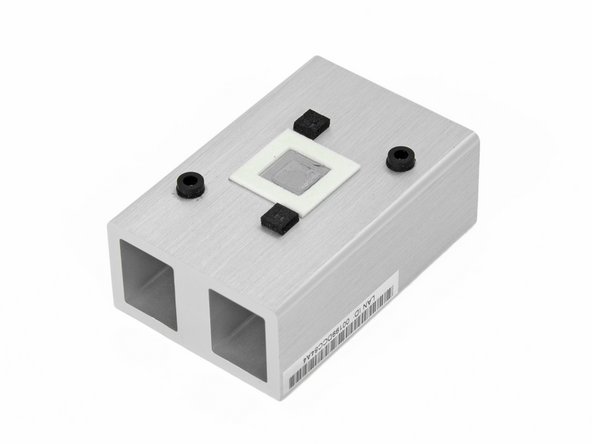
We're used to the innards of devices being dominated by a single component, but those space hogs are usually batteries or power supplies.
-
Over a third of the real estate in the Co-Star is inhabited by the aluminum heat sink.
-
The answer lies in air movement. Without fans to circulate air, there is no forced convection. Therefore, the Co-Star must rely on conduction and natural convection to keep the processor cool.
-
-
-
-
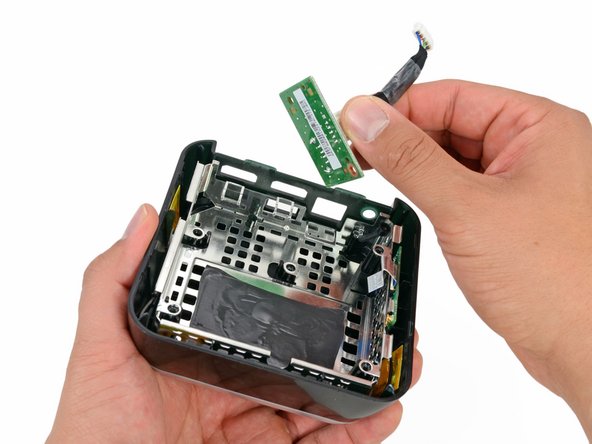
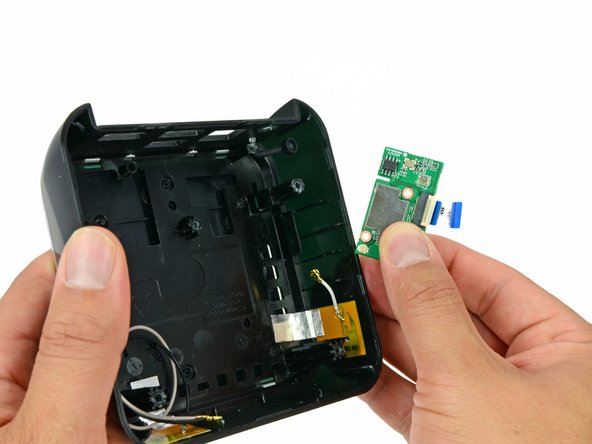
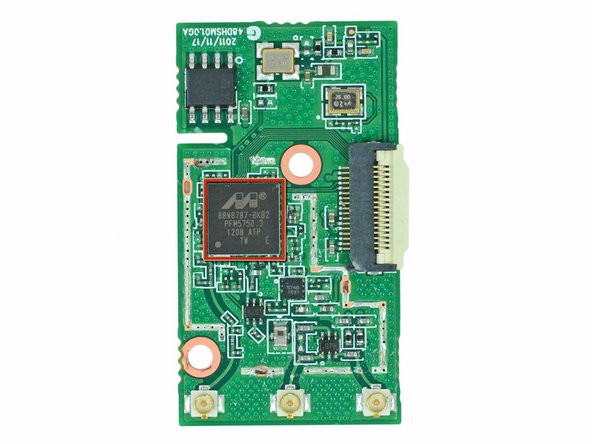
We use our always-trusty spudger to disconnect the Bluetooth and Wi-Fi antenna cables from the wireless board.
-
A Marvell Avastar 88W8787 WLAN/Bluetooth/FM Single-Chip SoC brings life to what would otherwise be a very bland and boring board.
-
-
-
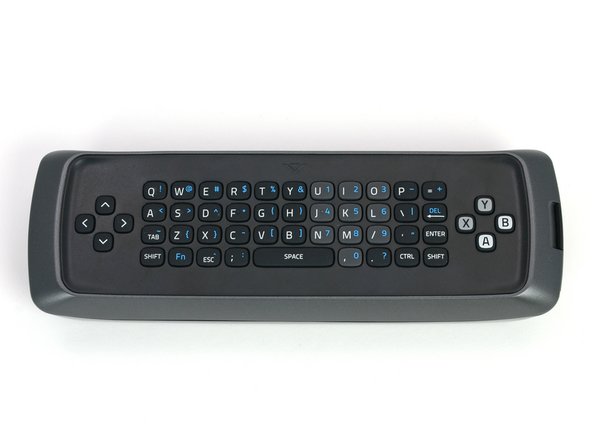
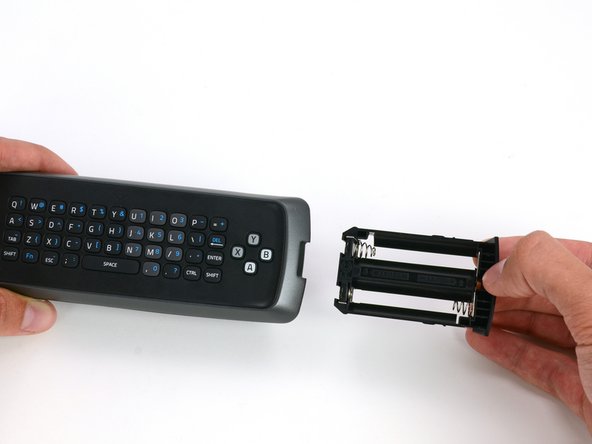
Just like the Boxee Box, the Co-Star comes with a neat two-sided remote.
-
Unlike the Boxee Box though, this Vizio controller is universal and features a touch-sensitive trackpad. Point, Co-Star.
-
As a finishing touch, the Co-Star remote has ABXY buttons and a directional pad for OnLive gaming. Not only is that an incredibly unique feature, it gets us all nostalgic and stuff.
-
-
-
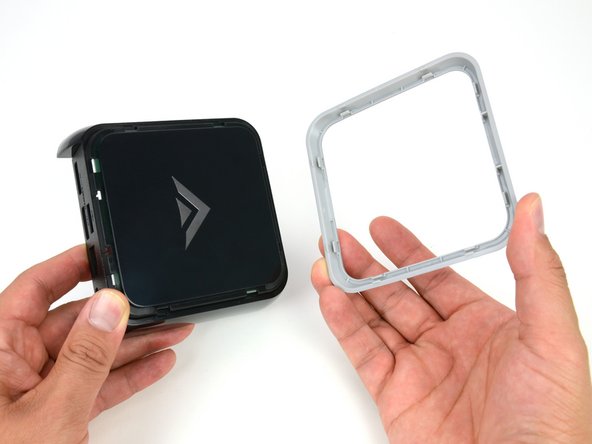
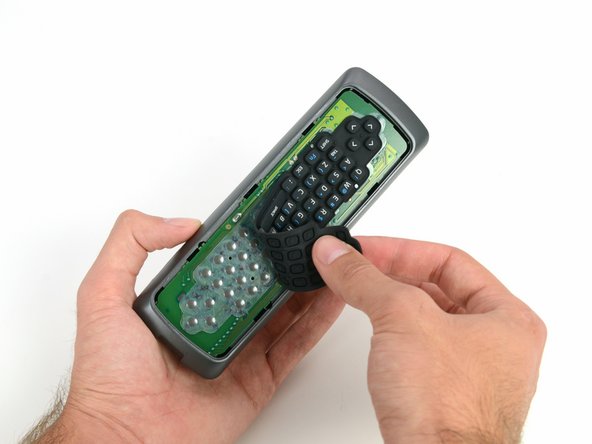
Here's another opportunity for the modders out there. How cool would it be to have a neon green keyboard bezel to match your Co-Star?
-
Whether you're painting it or not, the bezel pries off the keyboard quite easily.
-
Following suit, the rubber button cover peels off without a problem.
-
Since the button cover and the bezel are the components that usually get the dirtiest, it's great they are easy to remove.
-
-
-
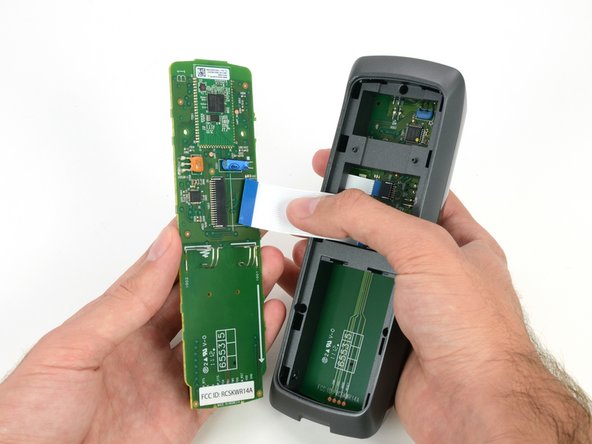
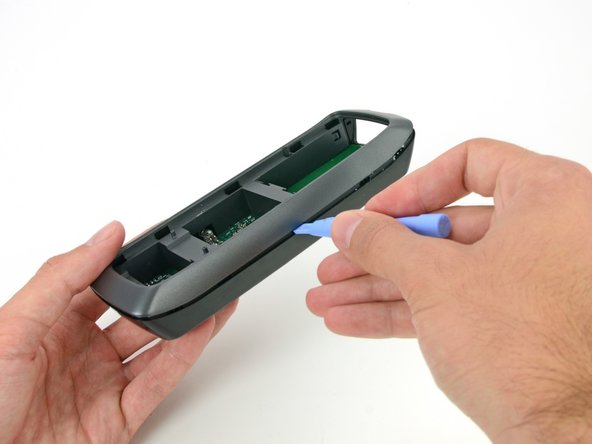
Buttons on both sides mean lots of data transfer. Luckily, the data cable slides out from connectors on both PCBs.
-
The Co-Star's remote looks to be as easy to take apart as the media player itself.
-
Once again, this isn't really a surprise. Remotes, unlike smartphones or laptops, aren't subject to strict space constraints.
-
-
-
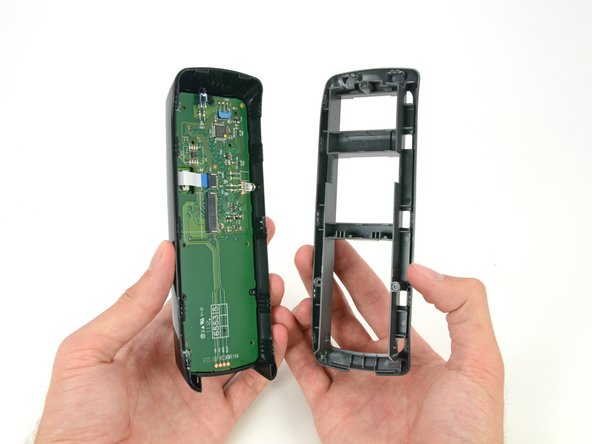
Yoink!
-
We grab a handy pair of tweezers and gently pluck out the trackpad data cable before removing the other board.
-
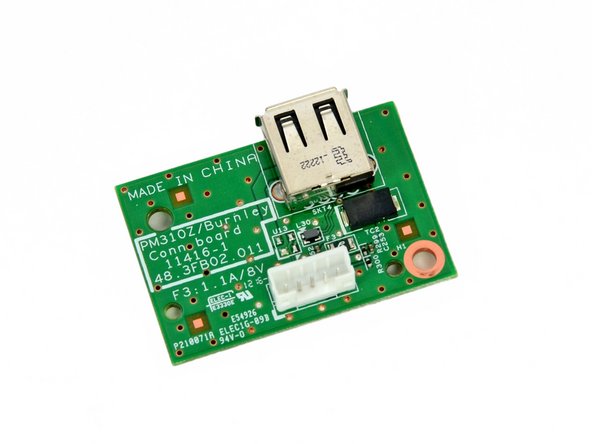
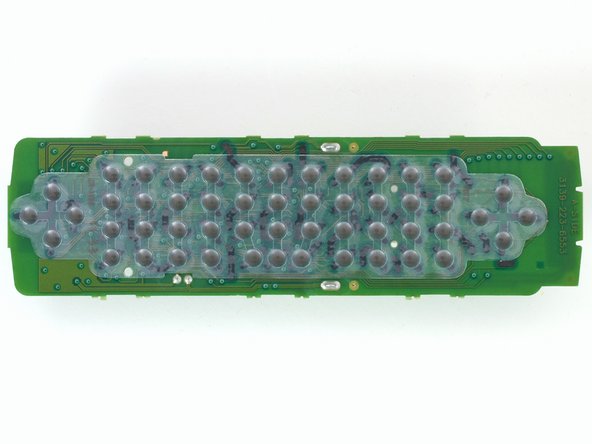
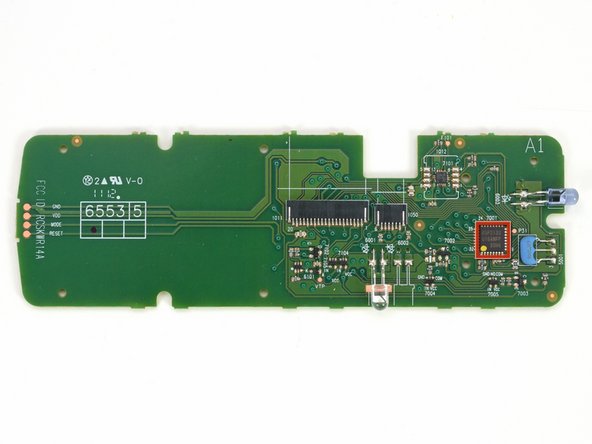
This board is powered by a Renesas R5F2133 16-bit microcontroller.
-
No flash photography, please, but this PCB does host the two IR blasters, with one conveniently on the side for the QWERTY keyboard.
-
-
-
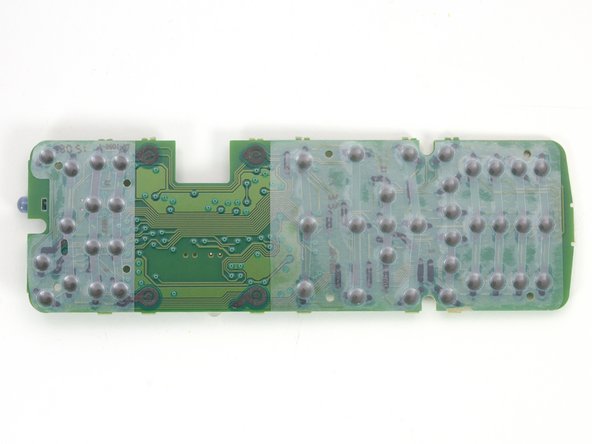
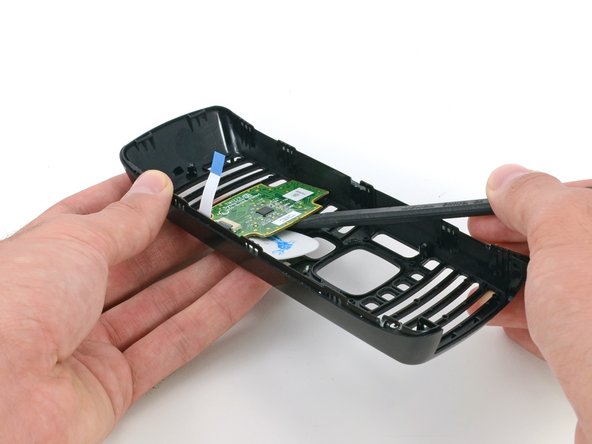
Peeling back the remote's keypad is as easy as peeling a banana. Underneath is the capacitive touch trackpad.
-
A lot of strong adhesive is used to hold this board in place.
-
If this comes loose, your movie night will be gone with the wind, hence the generous amount of adhesive.
-
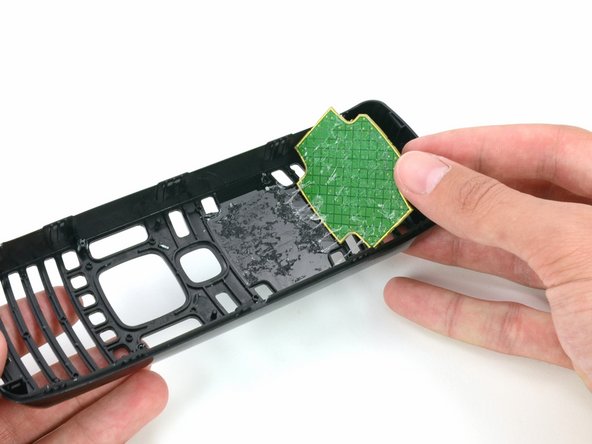
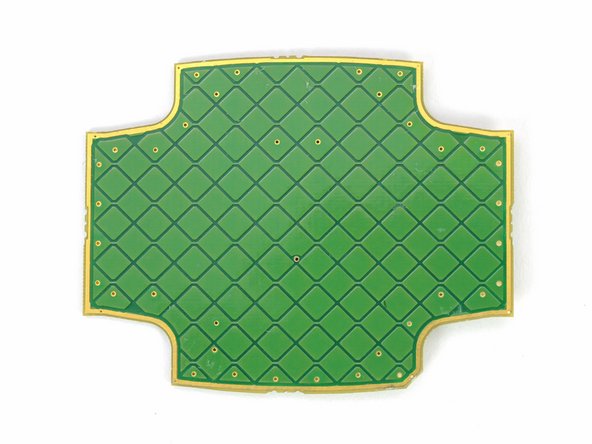
Excess adhesive usually doesn't get in our way. With a little bit of patience, our iFixit guitar picks, and a spudger, we free the trackpad from the frame.
-
-
-
The trackpad is controlled by the popular Synaptics T1021A Touch Controller, also used in the Logitech Revue.
-
Which reminds us, it's time to revue the Vizio Co-Star's repairability.
-
-
-
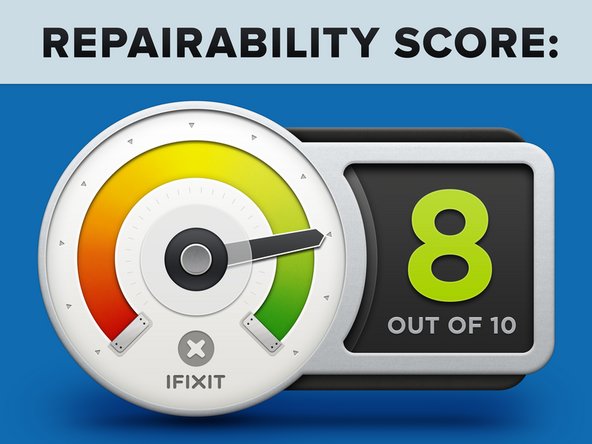
Vizio Co-Star Repairability: 8 out of 10 (10 is easiest to repair)
-
The outer case only requires a little bit of prying with a plastic opening tool to open.
-
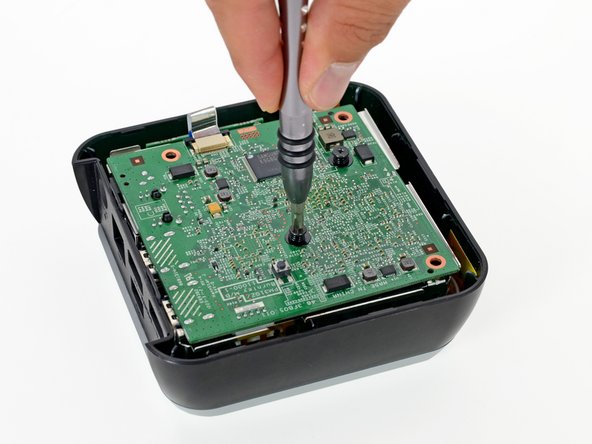
The only screws used in the Co-Star are standard Phillips #0.
-
Most of the components are easily accessible and thus easily replaced in case of failure.
-
Removing the remote's QWERTY keypad is painless, making regular cleaning a relatively simple task.
-
An abundance of glue securing the trackpad to the front of the remote makes removal difficult.
-


2 Comments
I have an inquiry not so much related to fixing procedures but to functionality. The important question for me is, if it is compatible with Apple Mountain Lion-based computer equipment? I had a Western Digital WDTV Live Plus I recently sold on auction because Apple mucked around with the network layer stack, or some unfamiliar jargon like that as explain a while back by WD support staff. Other then that, if the Vizio Co-Star does functionally work similar to an Apple TV, but provides greater connectivity in home network with Apple computers and more versatility in video codec playback I may want to get one of these.
Thanks for the guide teardown. You folks do a terrific job at ifixit.