Introduction
Join us as we dissect Samsung's newest tablet and attempt to find anything noteworthy inside.
Want to be kept in the loop for all of our latest teardowns? Write yourself a note to follow @ifixit on Twitter!
What you need
-
-
1.4 GHz quad-core processor
-
Android 4.0
-
1280 x 800 pixels, 149 ppi, dual-digitizer multitouch display
-
2 GB RAM
-
16/32 GB internal and up to 64 GB external storage
-
5 MP rear camera and 1.9 MP front camera
-
-
-
At first glance, it appears as though the stylus is just another button on the exterior of the plastic bezel.
-
But no! Just like stashing a pencil in the spiral binding of a notepad, the S Pen is sneakily stored inside the tablet.
-
Designed in conjunction with Wacom, the industry leader in desktop tablets, the S Pen and digitizer are designed to optimize note writing.
-
-
-
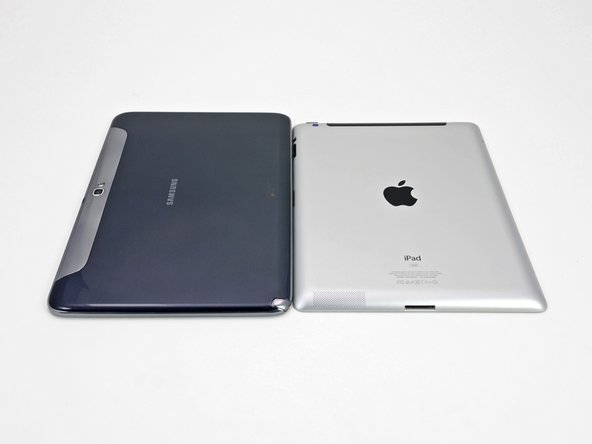
The Note 10.1, with a thickness of 8.9 mm, is actually thinner than the third generation iPad, and almost the same thickness as the iPad 2.
-
As a reminder, a standard pencil measures in at 6.4 mm. So, if you're looking for the ultimate slimness in note taking, paper and pencil is still the way to go.
-
The 10.1" screen on the Note 10.1 is also larger than the 9.7" screen on the iPad.
-
But paper and pencil win again. The Note 10.1 and the iPad fall a few inches short of the 13.9" diagonal length of a standard piece of paper.
-
-
-
A few Phillips screws, a few clips, and we're in!
-
We like the combination of screws and clips. The screws are enough of a hassle to keep out meddling kids, but will by no means deter anyone who needs to fix something inside.
-
-
-
We take our first look inside the Note 10.1, and we're greeted with a cornucopia of connectors. By our count, there are 16!
-
Having a lot of connectors is a huge boon for repairability. When components can be easily accessed and removed, repairs are much easier.
-
The first component out of the Note 10.1 is the MicroSD card and vibration motor.
-
While there is also onboard storage, the Note 10.1 can support MicroSD cards up to 64 GB.
-
-
-
-
Just like in the new iPad, the battery in the Note accounts for a large portion of the device's weight. It weighs in at 136 grams. That's 23 percent of the 594 gram device.
-
The battery is rated at 3.7 volts, 7000 mAh, and 25.90 watt-hours.
-
The battery was downsized to 25.90 watt-hours for an estimated battery life of 8 hours. As expected, the battery falls short of the new iPad's 42.5 watt-hour battery and 10 hour battery life.
-
-
-
Sometimes EMI shields can be scary/tricky to remove, depending on which procedure a manufacturer uses to attach them to the motherboard. In some cases, the shields are soldered directly to the motherboard (the worst scenario), while in others the frames of the shields are soldered, but the top covers are removable.
-
…Unless EMI shields happen to be screwed in, as is the case here. We love screws, especially when they hold in components that typically require desoldering.
-
-
-
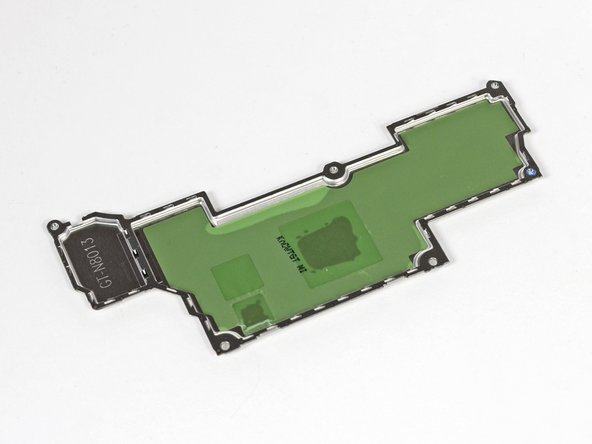
In addition to protecting important components of the motherboard from electromagnetic interference, it appears that these EMI shields also serve as the Note's heat sinks.
-
The green film on the insides of the EMI shields holds thermal paste and thermal pads in place, which help move heat away from the motherboard through small holes in the tops of the shields.
-
-
-
There are some major players on this motherboard:
-
Samsung Exynos 4 Quad 1.4 GHz processor with integrated 3D graphics
-
Wacom W8008 (possibly used for S Pen input)
-
Atmel mXT1664S touchscreen controller
-
Samsung KLMAG2GE4A NAND flash memory
-
Wolfson Audio WM1811AE audio codec
-
F0514A 430 1201KP411
-
Board too small to see? No worries, we got you covered.
-
-
-
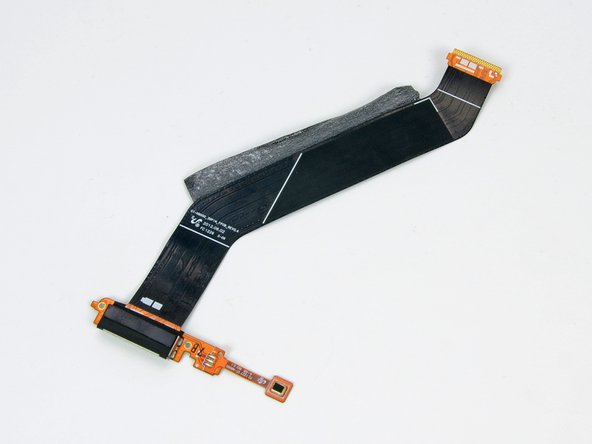
Just like all of the components that we disconnected in the first few steps, the dock connector can be removed by simply detaching a connector and unscrewing a pair of screws. More points for repairability!
-
Samsung's dock connector cable shares a bit of copper with the lower microphone.
-
As a reminder, the Samsung dock connector is not the same as Apple's dock connector, as shown by this image.
-
-
-
At this point, it appears that there are no more screws left to remove from the device.
-
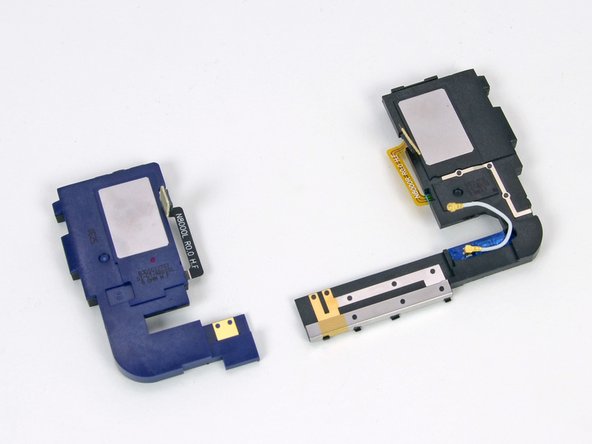
The speakers were held in place with some light adhesive, which we spudged right up!
-
The speakers in the Note 10.1 probably won't shatter any glasses, but they certainly do a good job of playing pleasant bubble noises as you navigate the Note's interface.
-
-
-
It's time for the moment of truth—when we find out if the LCD can be separated from the glass and digitizer.
-
Success! Repair enthusiasts everywhere—rejoice! The front glass and LCD can be separated and replaced individually. iPhone design engineers should take notes.
-
-
-
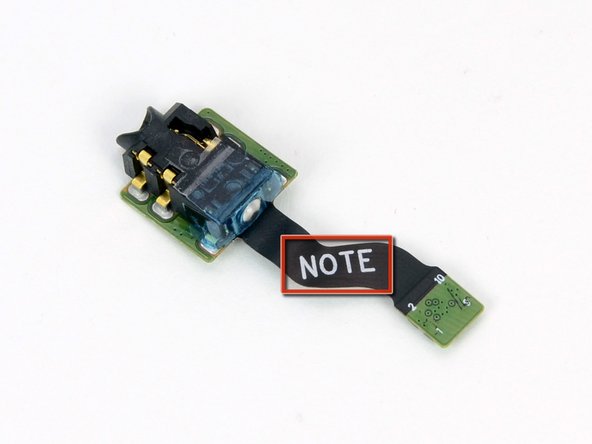
Though many of the small components in this device are easily accessible without removing all the innards, the headphone jack has held strong this entire time.
-
The adhesive holding the headphone jack to the frame is not exceptionally strong, but we have not been able to get a good angle on it until now.
-
A quick flick of a plastic opening tool pops the headphone jack out.
-
Take note—this is the headphone jack.
-
-
-
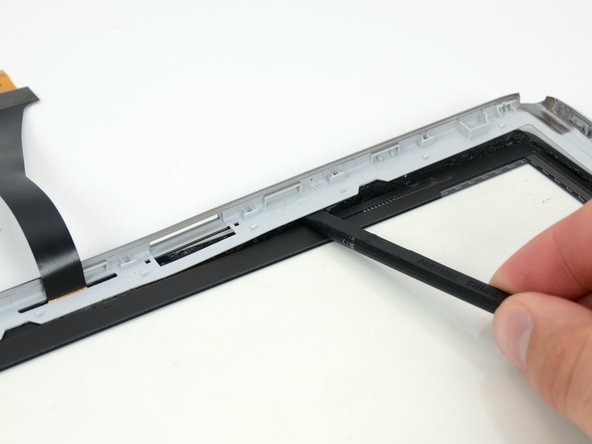
Removing the frame and LCD from the front bezel presented a problem. The frame was held down by small plastic fasteners that protruded through holes in the frame, and were topped with small plastic rings. It seems that there is no way to remove the frame without snapping off the small rings.
-
Luckily, there are other clips and adhesive on the frame, so it should all hold together fine when we reassemble the device.
-
Some heavy prying with a spudger frees the front glass from the display bezel, confirming that the front glass and digitizer can be replaced.
-
-
-
Samsung Galaxy Note 10.1 Repairability Score: 8 out of 10 (10 is easiest to repair).
-
Once the rear case is off, most components can be individually replaced without removing any other parts.
-
The front glass and LCD can be replaced separately, thereby reducing the cost of fixing your Note should you drop it onto concrete in just the right way.
-
All screws are Phillips #0, and there are only five different length screws.
-
Components are modular. The absence of complicated ribbon cables makes replacing individual components easy.
-
The rear case is held on by a lot of clips and a couple screws. There is no adhesive, but the clips can be tricky to dislodge properly.
-
In order to remove the battery, you first have to disconnect four cables and some tape.
-
The inner frame and some other components are held in with more adhesive than we feel is necessary.
-


30 Comments
Looks like you missed the Wi-Fi/BT module which by the looks of it could be in one of the speakers.
i agree, seem logical place
cek dis promo samsung, guys : http://www.galaxy101note.com/get/?link=a...