Introduction
It's day four of our week of game console teardowns. We stole borrowed a hot tub time machine, went directly to 1983, and acquired a Japanese national treasure: the Famicom!
We partnered with Wired for this teardown to bring you a glimpse of one of the most popular game consoles ever. Check out their story!
For those of you born in this century, the Famicom -- short for Family Computer -- is the name of the Nintendo Entertainment System (NES) in Japan. Join us as we delve into the system that revolutionized the gaming world as we know it.
What you need
-
-
Our contestant hails from a mystical place, the land of the rising sun, Japan!
-
The Nintendo Family Computer, released in 1983 in most of Asia, is the overseas brother of the Nintendo Entertainment System.
-
Technical Specifications:
-
Ricoh 2A03 8-bit 1.79 MHz processor (based on the MOS Technology 6502 8-bit processor core)
-
2KB (16Kb) on-board RAM
-
2KB (16Kb) on-board Video RAM
-
PSG Sound
-
256 x 240 pixels resolution
-
-
-
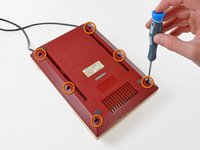
Fully assembled Nintendo Famicom console.
-
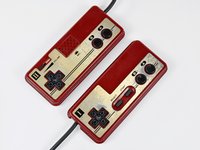
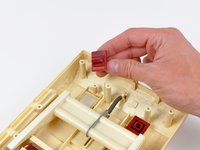
The Famicom was the first console to popularize D-pad controllers to acquire user input. Departing from the era of joysticks, the inclusion of the D-pad allowed for quick and accurate controls.
-
The controllers are similar, but not the same...
-
The first controller boasts the traditional layout: D-pad on the left, "select" and "start" buttons in the center, and "b" and "a" buttons on the right.
-
However, the second controller has a built-in microphone and a volume switch at the expense of the central "select" and "start" buttons... Cool!
-
This is the only console we know of that has a microphone on one of its standard controllers.
-
-
-
-
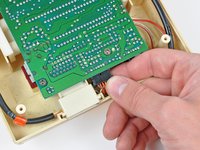
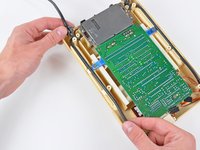
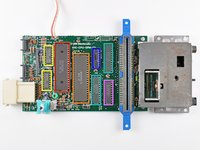
Notable chips on the board include:
-
Ricoh RP2A03G 8-bit, 1.79 MHz CPU
-
Ricoh RP2C02G-0 8-bit, 5.32 MHz PPU
-
Toshiba TC40H368P hex bus buffers
-
Sharp LH5216D-12 static RAM
-
Hitachi HD74LS139P decoder/demultiplexer
-
Fujitsu MB74LS373
-
Unsurprisingly, lead solder abounds on the bottom of the board. RoHS standards weren't established until 20 years after this puppy was made.
-
-
-
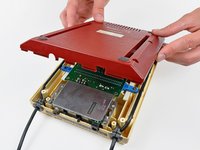
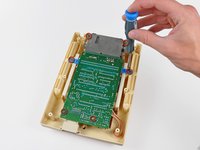
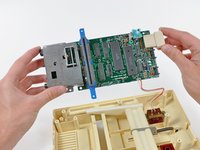
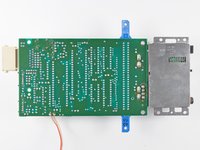
Well hello there!
-
"Shall I compare thee to an Xbox 360? Thou art more lovely and more temperate...But thy internal structure shall not fade...Nor shall time brag thou wand'rest in its shade...So long as gamers can breathe or eyes can see, So long lives this, and this gives life to thee."
-
-
-
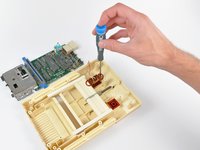
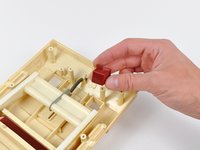
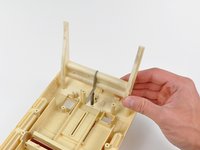
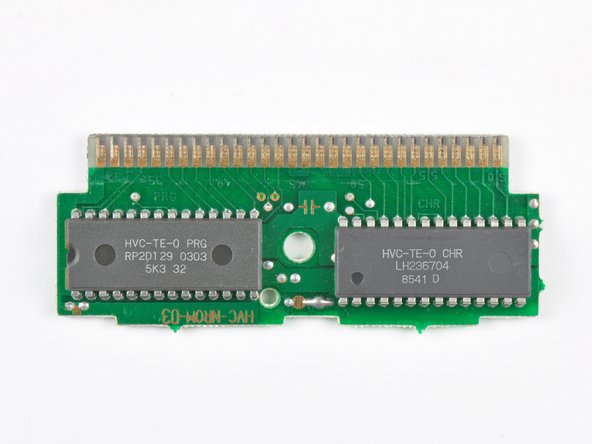
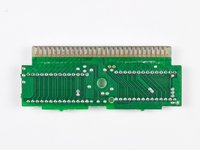
BreakingGently releasing the retaining clips holding the cartridge together reveals a 60 pin printed circuit board. -
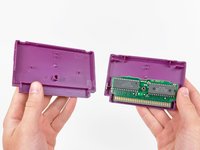
Front and back sides of the Famicom cartridges:
-
For comparison, a single layer Blu-ray disc has a 25,000,000 KB capacity.
-


7 Guide Comments
Wow, and I thought my SNES had yellowing issues.
I don’t know why they yellow like they do, but the famicom YELLOWS.
While extremely late, the yellowing is due to the fire retardant that they mixed with the ABS plastic of the shell. Bromine undergoes a chemical reaction when exposed to UV light that essentially breaks it down, resulting in the yellowing color. There is a (temporary) way to undo the changes by using a chemical solution colloquially dubbed “Retr0Bright” in conjunction with UV light to make the plastic look brand new.
Hi : which is the voltage of this device, because it burns mine yesterday :(
If you use a Genesis Model I AC Adapter it should work so, the voltage might be around 9V to 10V.