Introduction
We have another Nintendo teardown for you U. We got our hands on the Wii U, and despite the temptation to escape into the world of Super Mario, our spudgers got the better of us.
Wii'd love to give U the latest teardowns and news updates, so follow us on Twitter or like us on Facebook.
What you need
-
-
Yes, we love tearing devices apart, but the TV-shattering, Wii Remote-related accidents around the office are getting out of hand. It's time to explore alternative remote options, and what better place to start than the Wii U?
-
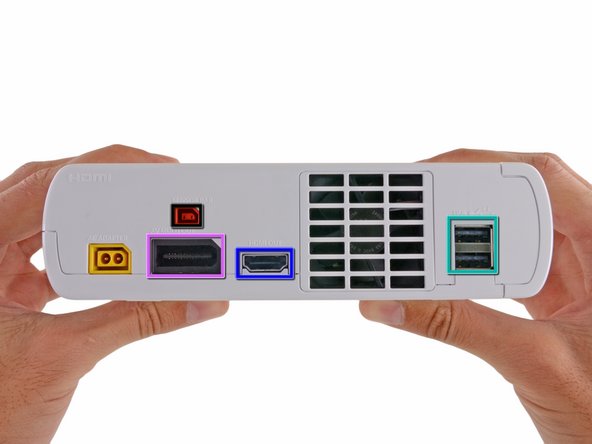
IBM Power®-based multi-core processor
-
AMD Radeon-based High Definition GPU
-
8 GB or 32 GB internal storage with external USB storage and external USB hard drive support
-
6.2 inch, 854 x 480 pixels LCD touch-screen with motion control and front-facing camera
-
Near-Field Communication (NFC) functionality
-
-
-
What's this? A secret coin that Mario left behind?
-
Sadly, it's just the CMOS battery. However, we won't judge you if you run and jump on a flagpole.
-
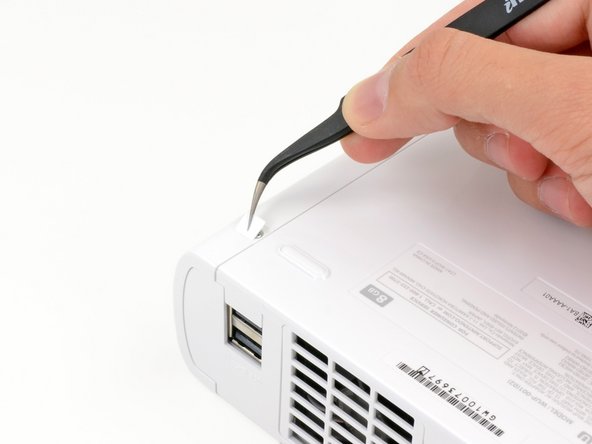
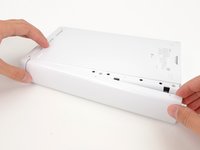
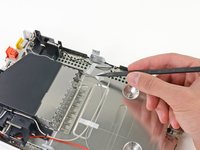
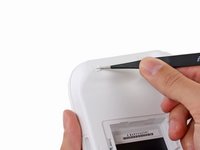
Hidden screws won't keep us out; some quick sticker removal and a turn of the screwdriver free the top case.
-
Need some killer tools yourself? Wii've got what U need.
-
-
-
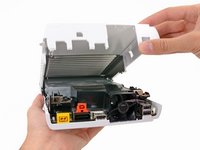
We see a familiar face as the top case comes off.
-
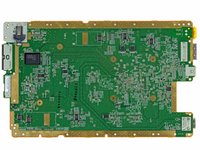
There is nothing initially surprising as we get our first glimpse of the U. The optical drive and heat sink dominate the majority of the console's internal Wii-al estate, and are considerably beefier than those found in the Nintendo Wii.
-
-
Tool used on this step:Magnetic Project Mat$19.95
-
The device is pretty simple so far, but has no shortage of screws. There's no adhesive holding the U together, but were it not for our Magnetic Project Mat, all of these screws could get out of hand. So far we have encountered both Phillips and Tri-point screws, nothing our 64 Bit Driver Kit can't handle.
-
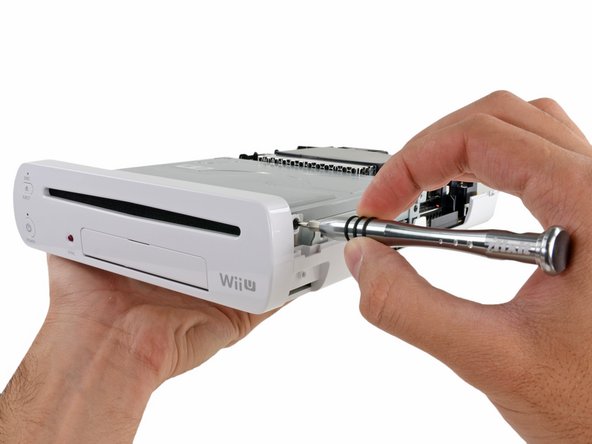
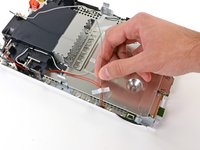
After some unscrewing, the front panel pops right off.
-
-
-
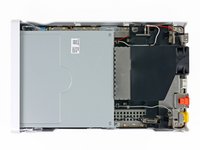
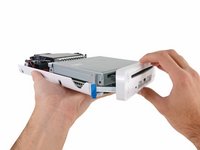
Hmmm… This optical drive feels really heavy. It appears much larger than most optical drives, so we take it to the scales!
-
424.2 grams! That means that the optical drive accounts for nearly a third of the 1.5-kg device.
-
We suspect that the large optical drive may be a by-product of the larger motherboard underneath. A case expansive enough to accommodate the motherboard leaves some extra room for a bigger optical drive.
-
-
-
Unlike other game consoles with strict space requirements, the antennas in the Wii U have a much more relaxed layout and are held in place with tape.
-
Nintendo obviously wasn't concerned with making the smallest box possible, so they didn't worry about rigidly packing relatively small antenna cables in designated slots as we've seen in handheld consoles such as the 3DS and the PS Vita.
-
-
-
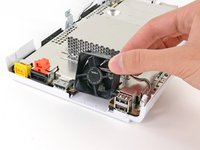
Next to come out are the fan and heat sink.
-
Nintendo designers explained that the larger fan and heat sink were necessary to handle the nearly tripled heat output from the new ICs.
-
With the heat sink off, we get closer to the CPU and GPU, called the Wii U's multi chip module (MCM), still hidden beneath a thermal pad.
-
Thanks to the upgraded AMD GPU, the Wii U boasts HD graphics up to 1080p.
-
Nintendo has come a long way over the years, considering that we remember when Mario had fewer bits than our old 26-bit driver kit.
-
-
-
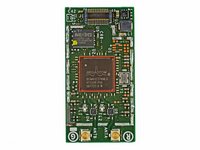
With the wireless modules out, we get right to examining them.
-
Broadcom BCM43237KMLG Wireless LAN module
-
Broadcom BCM43362KUB6 802.11n Wireless Module—the same one used in the Roku 2 XS
-
Broadcom BCM20702 Bluetooth 4.0 module
-
-
-
-
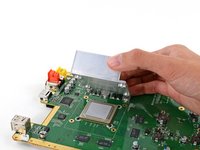
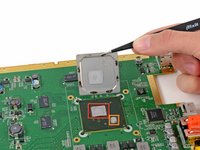
The shields are down! A quick pass with a heat gun and we get our first look at the CPU and GPU, both covered in ample thermal compound.
-
GPU: AMD Radeon™-based High Definition GPU.
-
CPU: IBM Power®-based multi-core processor.
-
We believe Nintendo placed these ICs close to one another to reduce latency and power consumption.
-
-
-
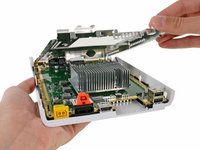
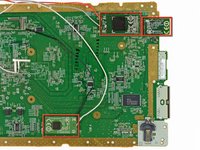
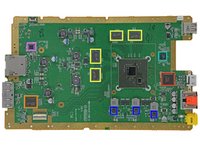
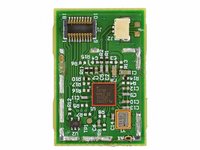
IC U! The notable players on the motherboard:
-
Panasonic MN864718 HDMI Controller
-
Samsung KLM8G2FE3B eMMC 8 GB NAND Flash/Memory Controller
-
Micron D9PXV (MT41K256M16HA-125) 4 Gb DDR3L SDRAM (4 x 4 Gb for a total of 16 Gb or 2 GB RAM)
-
DRH-WUP 811309G31
-
Fairchild DC4AY
-
SMC 1224EE402
-
Samsung K9K8G08U1D 4 Gb (512 MB) NAND Flash
-
-
-
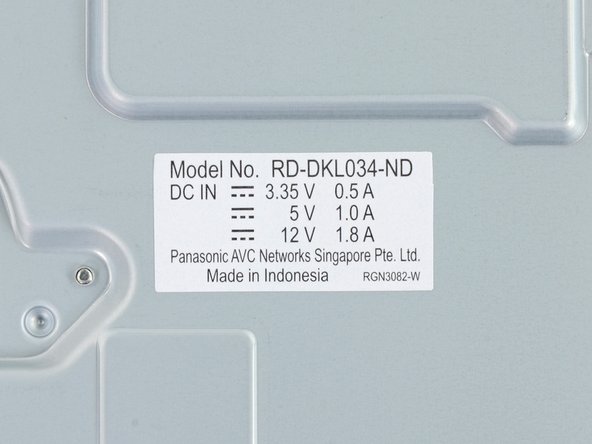
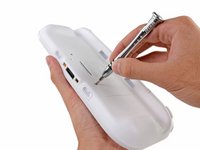
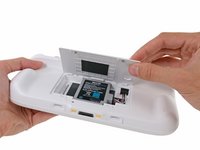
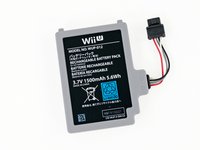
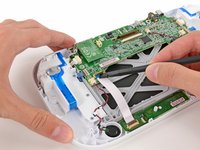
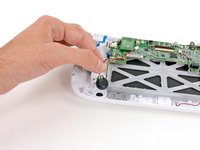
A readily available Phillips #00 screwdriver grants us access to the Wii-chargeable battery.
-
The 3.7 V, 1500 mAh rechargeable battery is only good for about 3-5 hours of gameplay, but is easily charged using the included external wall charger.
-
Good news for those looking to extend their playtime—there's plenty of room in the battery compartment for an upgraded pack.
-
-
-
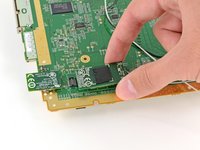
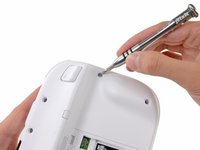
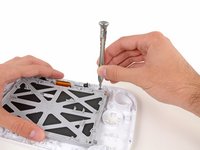
Nintendo. You're silly. Trying to hide your screws from us? Though clever, the screws are still hiding in plain sight.
-
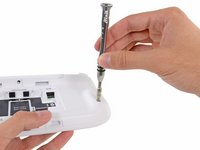
A deca-plethora of hidden and recessed Tri-point screws are inevitably no match for our trusty tools. Some of the screws are very recessed, forcing us to use the included 4 mm nut driver attachment to extend the length of our 54 Bit Driver. It works perfectly, and we are in!
-
-
-
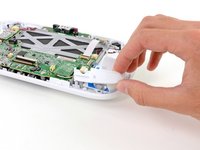
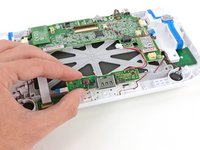
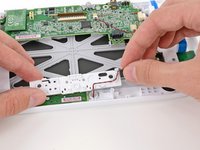
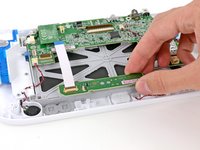
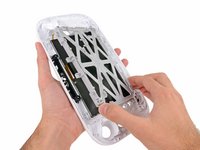
We make the Wii U GamePad controller spill its guts.
-
The larger *gasp!* controller on the U is a design choice, comfortably accommodating the screen, buttons, and circuitry with room to spare.
-
Surprisingly, Nintendo fills the controller with—earmuffs, Cupertino—empty space; apparently size does matter.
-
-
-
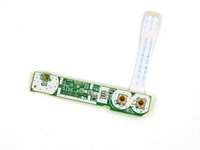
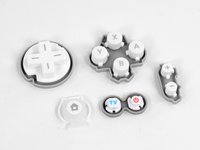
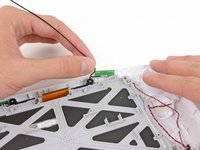
Button, button, who's got the button? The U doesn't...well, not anymore.
-
The rubber backed ABXY, D-pad, start/select, Power, TV, and Home buttons coming flying out of the Wii U.
-
Separate button groups are good news for the button mashers among us, as each unit will be relatively quick and inexpensive to replace.
-
-
-
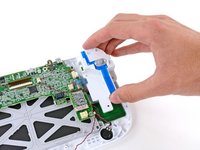
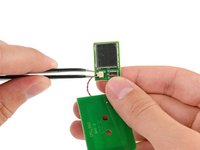
The Wii U loses its ability to communicate with near fields as we remove the NFC module and antenna.
-
What awesome functionality did this bring to the console?
-
Well, as of launch day…none.
-
In the future, we might see loading saved games or importing characters from cards or action figures, like in this demo.
-
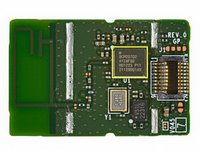
There are two prominent ICs on the NFC communications board:
-
Broadcom BCM20792 KMLG NFC controller
-
T130 MsEU crystal oscillator
-
-
-
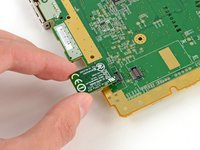
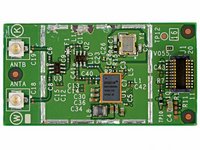
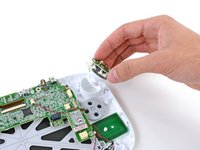
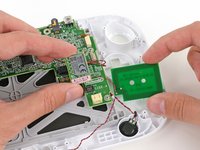
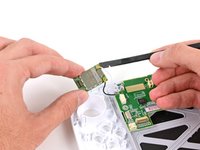
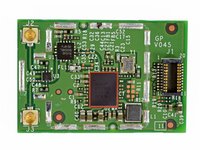
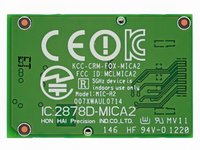
Pulling out this (third) dual-antenna wireless module is starting to feel pretty routine.
-
The board is powered by a Broadcom BCM4319XKUBG.
-
This module is likely part of a new system Nintendo and Broadcom co-designed to wirelessly stream video and data between the Wii U console and GamePad controller.
-
-
-
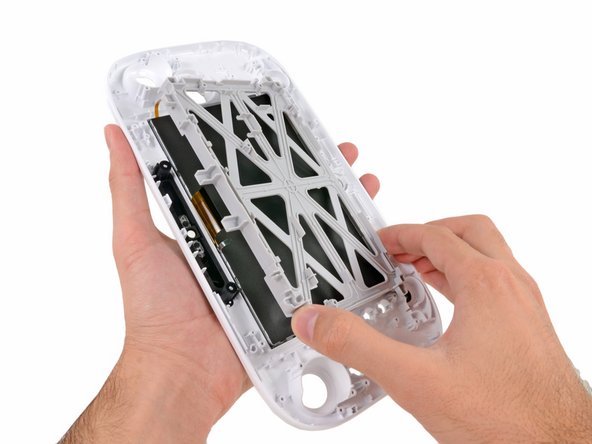
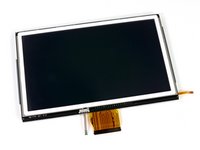
Just a few more components block our path to the 6.2-inch touch screen display.
-
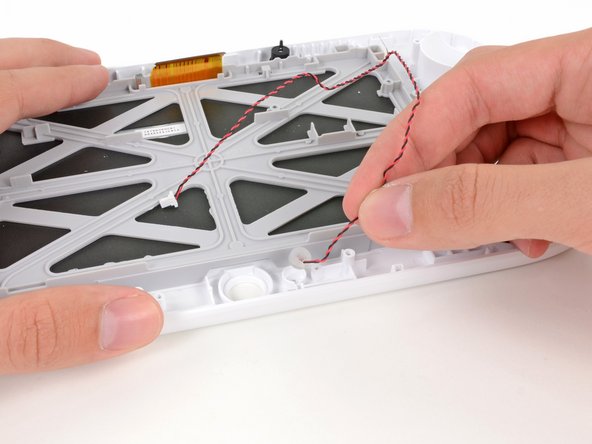
First out are the dual antennas that transfer the GamePad controller's wireless signal back to the Wii U console.
-
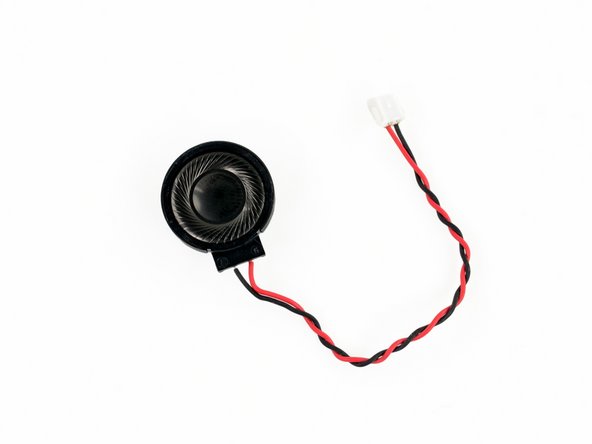
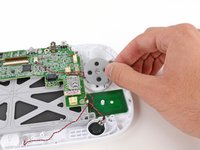
The microphone and remaining speaker were previously blocked in place underneath the motherboard, but are now easily removed.
-
-
-
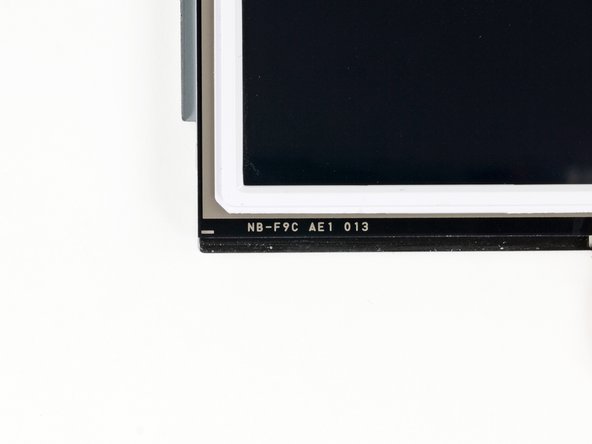
In what can only be hailed as a win for repair enthusiasts, the display assembly lifts off the GamePad's front case without any resistance from adhesive.
-
However, it seems the LCD is fused to the digitizer. Oh well, you win some, you lose some.
-
The display assembly is labeled as NB-F9C AE1 013.
-
- No components were held in by adhesive, including the display assembly in the GamePad controller.
- Most components in both the console and GamePad controller can be replaced independently of their respective motherboards.
- The battery in the GamePad is easily accessible and replaceable.
- Once the Tri-point screws have been removed from the top case, minimal prying effort is required to open.
- Some of the screws on the GamePad controller are very recessed, requiring a longer Tri-point bit, or in our case, a 4 mm nut driver attachment.
- The inclusion of Tri-point screws prevents easy access to internal components.
- The GamePad controller's LCD and digitizer are fused together, increasing repair costs.


Final Thoughts
Repairability Score


(10 is easiest to repair)
18 Guide Comments
Sweet as usual
Next can we get the pro controller torn down, have mod want do when i get my wiiiiiiiiiUUUUU
BUT Depends on pro controller circuit board.