Introduction
Amazon proposes to offer users a full media experience with their $199 tablet. It didn't take long until we decided to see what they crammed inside this value package.
Did this teardown kindle a fiery passion for gadget disassembly in you? Follow @ifixit on Twitter to stay up to date with the latest teardown antics.
What you need
-
-
We have only one burning desire; let us tear into this Fire.
-
7" Multi-Touch Display with IPS Technology
-
Dual-Core Processor
-
512 MB RAM
-
8 GB Internal Storage
-
802.11b/g/n Wi-Fi Connectivity
-
Custom Operating System (Based on Android 2.3 Gingerbread)
-
-
-
In case you couldn't identify the Kindle Fire by its sleek looks, the back panel has been stylishly embossed with "kindle." The smooth, rubberized texture of the panel complements the small size quite well to provide a nice feel when holding the Fire in one hand.
-
The Kindle Fire is officially identified as model number D01400.
-
According to the power specifications listed on the back side of the Kindle Fire, an input power of 5 V DC at 1.8 Amps is suggested. Why is this important? A computer USB port typically puts out no more than .9 Amps (USB 3.0), which means it'll take a looong time to fully charge the tablet through USB.
-
-
-
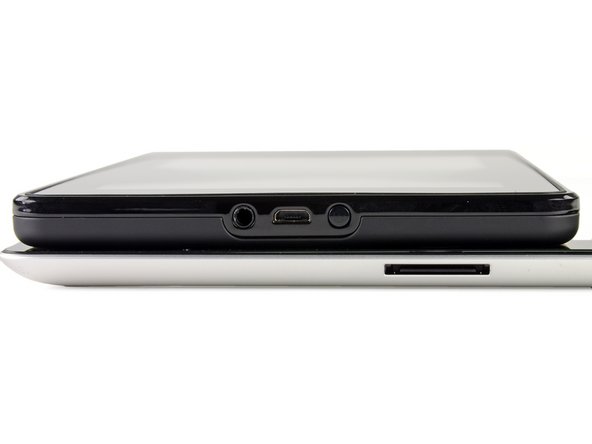
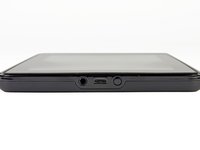
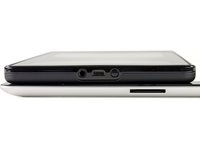
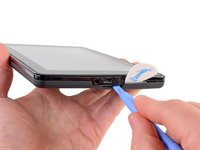
The Fire has a very simplified design that includes a mere two ports and one button—all found on the bottom of the device.
-
The first port is a standard 3.5mm headphone jack, but the volume must be controlled from inside each app, as there are no external volume buttons.
-
The port in the middle is a Micro-USB port for connecting the Fire to your computer. The Fire can also charge its battery when plugged into a computer, though it will take longer than charging directly from the AC outlet.
-
The only button on this tablet is a power button, located on the bottom of the Fire right next to the ports.
-
The Kindle Fire has a similar port configuration as the iPad 2, utilizing only a single port for data transfer and charging.
-
The Fire's dimensions are 7.5" x 4.7" x 0.45". Compared to the iPad 2 whose dimensions are 9.5" x 7.3" x 0.34", the Fire looks a little like a chew-toy for the much larger iPad 2.
-
-
Tool used on this step:iFixit Opening Picks (Set of 6)$4.99
-
Our old friend, plastic opening tool, comes to our aid as well as our musical friend, the guitar pick.
-
A little prying and plucking and the case's halves yield to our efforts.
-
Thankfully the Kindle's case separates with a lot less effort than a certain product line we know.
-
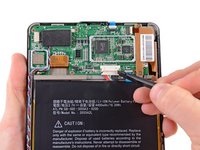
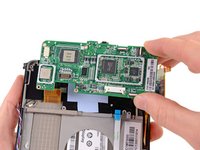
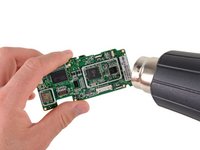
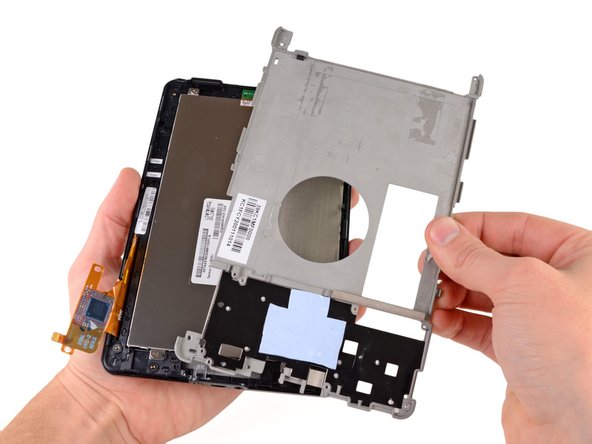
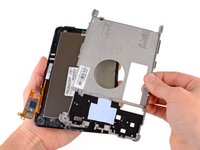
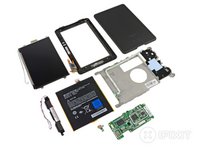
Removing the back case reveals the motherboard and a behemoth of a battery. Note the shiny metal plates on the back case that help provide protection for the internal components, as well as heat sinking and EMI shielding. Unfortunately, this mirror-like shielding inevitably results in a narcissistic battery.
-
-
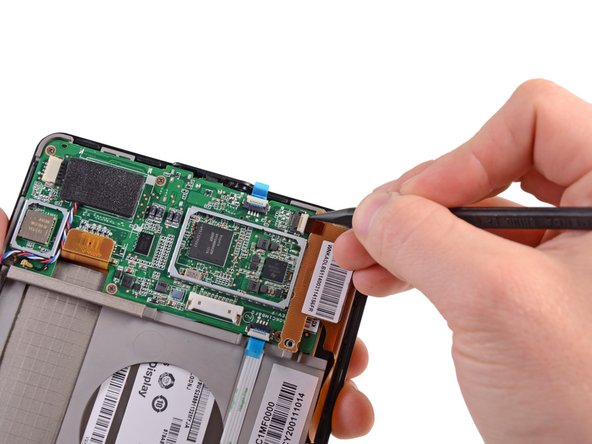
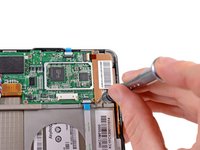
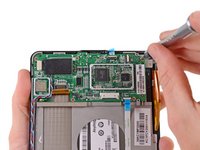
Tool used on this step:Spudger$3.99
-
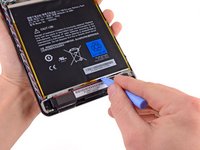
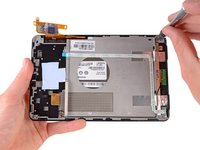
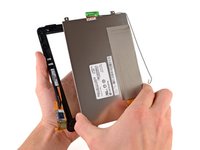
Only one connector and some glue keep this monstrous battery in its place—no match for our trusty spudger and plastic opening tool.
-
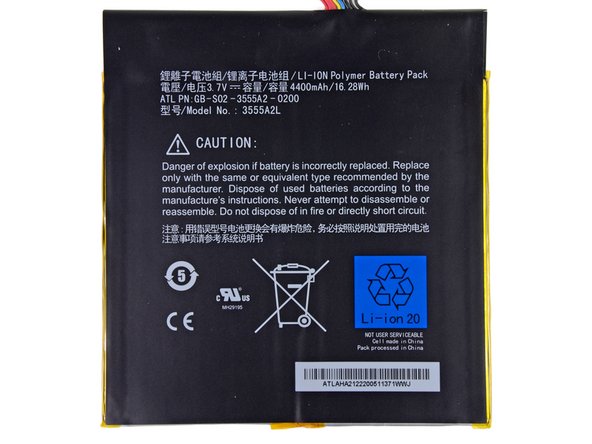
With the battery freed, we take a closer look at the Fire's 4.6" tall x 4.3" wide Li-Ion battery.
-
This battery sure puts out... 16.28 Watt-hours, to be exact. However, due to the size of the Fire, its battery's 3.7 V potential and 4400 mAh capacity don't quite stack up to the specs of the iPad 2 Wi-Fi's battery.
-
-
-
-
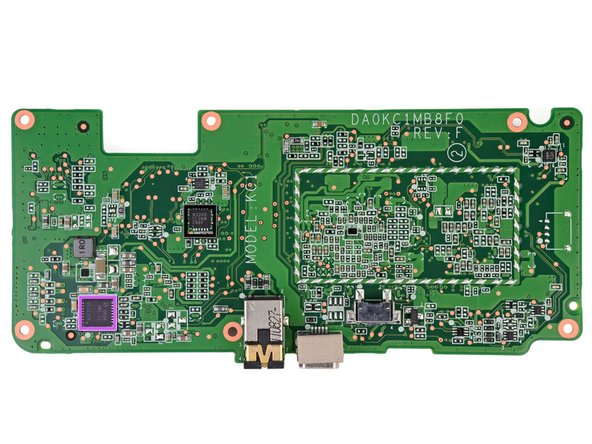
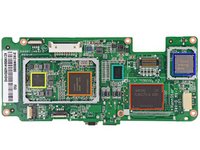
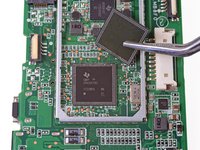
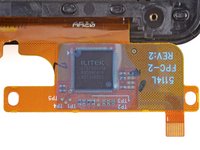
We put on our classy monocle magnifying glass to help us identify the ICs:
-
Samsung KLM8G2FEJA 8 GB Flash Memory
-
Hynix H9TKNNN4K 512 MB of Mobile DDR2 RAM
-
Texas Instruments 603B107 Fully Integrated Power Management IC with Switch Mode Charger
-
Texas Instruments LVDS83B FlatLink 10-135 MHz Transmitter
-
Jorjin WG7310 WLAN/BT/FM Combo Module
-
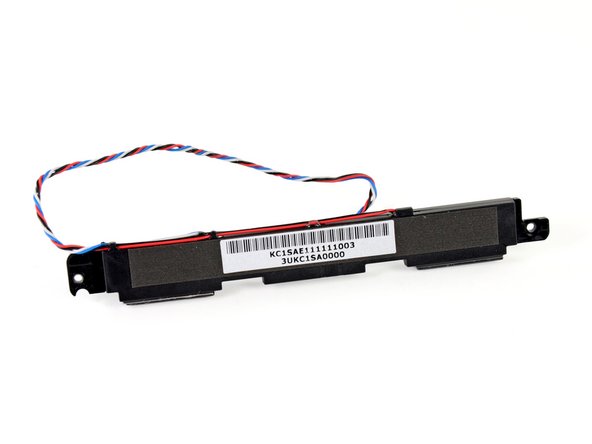
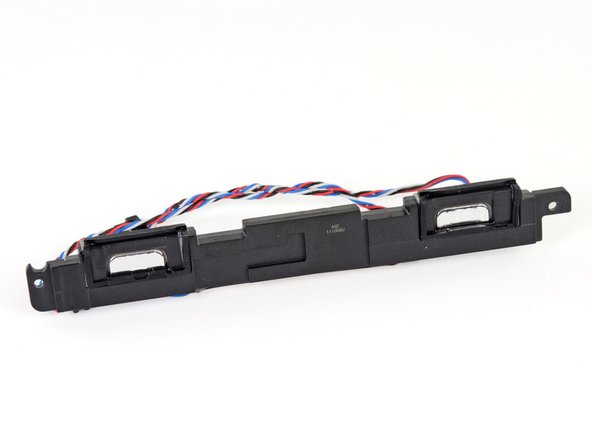
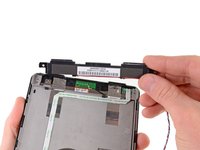
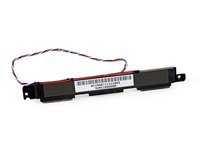
Texas Instruments AIC3110 Low-Power Audio Codec With 1.3W Stereo Class-D Speaker Amplifier
-
Texas Instruments WS245 4-Bit Dual-Supply Bus Transceiver
-
-
-
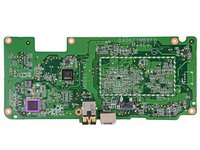
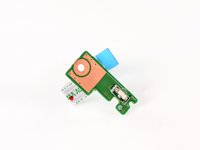
Continuing our IC exploration, we decided to sneak a peak under the Jorjin cover. We uncovered a Texas Instruments WL1270B 802.11 b/g/n Wi-Fi solution.
-
According to Chipworks, the WL1270 is an older chip that was designed to work with the TI OMAP 3530. It's interesting that the Fire has it, given that it's coupled with the newer OMAP 4430.
-
-
-
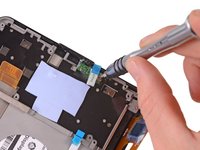
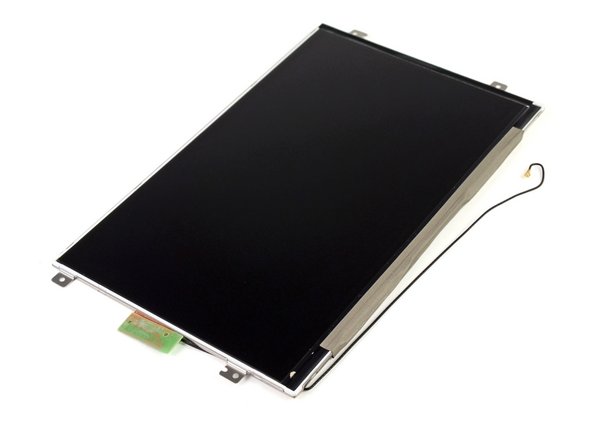
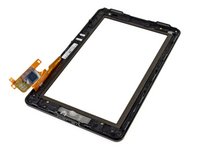
Separating the display from the glass was a breeze, which was a nice departure from the usual fused glass ordeals.
-
Don't be fooled by the display's current state of black lifelessness. When powered on, the LG-manufactured 7" (diagonal) display gives users an eye-pleasing array of 16 million colors at a resolution of 1024 x 600 pixels.
-
Sharing the screen with friends and family is made easy thanks to the application of In-Plane Switching (IPS) which allows for a wider viewing angle.
-
-
-
Kindle Fire Repairability Score: 8 out of 10 (10 is easiest to repair).
-
The rear case is very easy to open, granting trouble-free access to the internals.
-
All the fasteners found inside are Phillips #0 screws—one non-proprietary screwdriver is all you need.
-
The LCD is not fused to the display, making replacement an easy task, if necessary.
-
Simplistic design and limited functionality means fewer components and less headache for disassembly.
-
A decent amount of adhesive is used on the battery and motherboard, meaning some prying and gentle working is required for disassembly.
-
The glass panel is fused to the front plastic frame, meaning a heat gun is required for replacing cracked glass (or you have to replace both components together).
-


35 Guide Comments
Just stumbled on this from the front page of google news, nice work guys!
You know how we do it brah lol =)
Is the power button a solid cylinder, or is it a capped tube? I ask because I'd like to file down the protruding portion of the button. (I keep hitting it inadvertently, and shutting the KF down.) Is it possible to grind away a fraction of the protrusion without wrecking it? Thanks!
You'd be safe - it is just a sprung plastic pusher that contacts a micro switch located 0.7 cm further inside (on the 'mother board').
Dear iFixit,
What is in the upper left hand corner under the bezel. Is it a sensor of some sort ? I tried putting my finger on it, but the display brightness did not change. (the object in question is nearly invisible, but can be seen if you shine a light on it.) Could this even be a camera lens ?