What you need
-
-
Turn your iMac so that it faces away from you and lay it, Display Panel down onto a soft cloth or other soft surface.
-
Your iMac should now look like the picture to the left, with the User Access plate facing you and the Apple logo upside down. This also places the door for the Optical Drive facing down.
-
-
-
Grasp the Bottom Housing by the left and right edges and slowly wiggle it out. There will be some resistance, but it will come. Only pull it out enough, at first, to get a peek inside at the connectors and wire routing. Do not put undue strain on the connectors or you may pull them off the logic board!
-
-
-
-
Open the right side of the Bottom Housing slowly. The idea is to be able to swing the Bottom Housing out of the way to the left, only enough to be able to remove the Drive Carrier that houses the Optical Drive and the Hard Drive.
-
Begin by using a Spudger or your finger to peel back the tape that holds the Optical Drive data cable to the bottom of the Optical Drive.
-
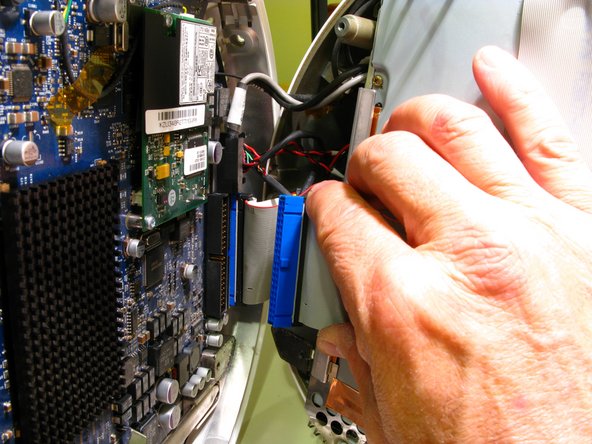
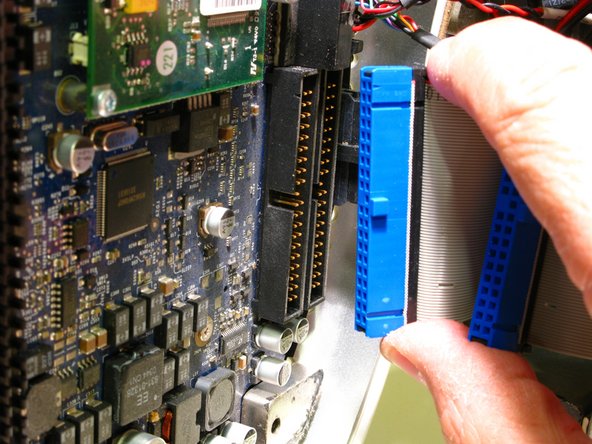
Gently swing the Bottom Housing out a bit farther and remove the Optical Drive data cable connector from the logic board by holding its outer edges and carefully wiggle it out evenly to avoid bending the pins. Do not pull directly on the ribbon cable, only on the blue plastic connector.
-
-
-
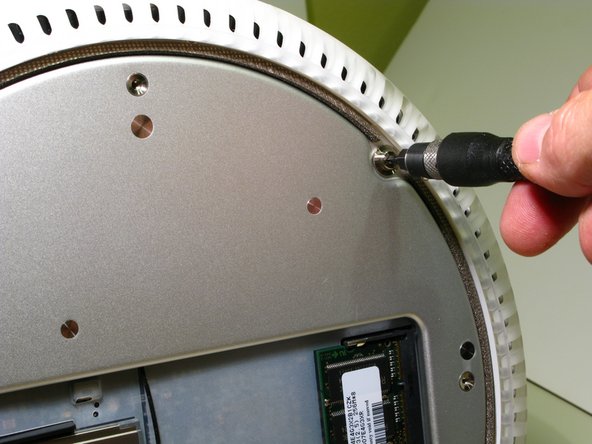
Remove the 22mm power cable ground screw with a T15 Torx screwdriver.
-
You should now be able to swing the Bottom Housing out enough to disconnect the Hard Drive Data Cable. Again, only pull on the blue plastic connector, not the ribbon cable.
-
There is no need to remove the remaining connectors from the logic board.
-
Prop the Bottom Housing up so that it does not put strain on the remaining cables and connectors. Let it rest vertically, perpendicular to the Upper Housing.
-
-
-
Release the Airport and Bluetooth cables from the white plastic clip, mounted to the upper left edge of the Drive Carrier. Just push down on the clip and it will open.
-
Pay very close attention to and make notes of the wire routing through the following steps. It would be easy to inadvertently pinch wires between the drive carrier and the Upper Housing on reassembly.
-
Before proceeding, check once more that there is no strain on cables and connectors.
-
-
-
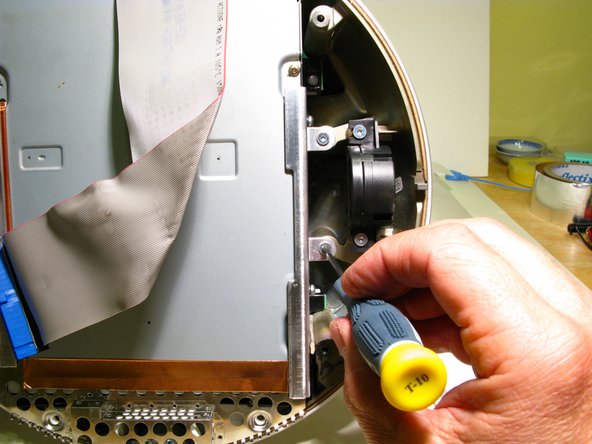
Remove the (2) 9mm Torx screws securing the Faraday cage (looks something like a cheese grater) to the Upper Housing, with a T10 Torxdriver.
-
Then remove the (4) 19mm Torx screws that mount the Drive Carrier to the Upper Housing with a T10 Torxdriver. 2 of the screws are located on the right side of the Drive Carrier near the center and 2 screws are located on left side, near the upper and lower corners.
-
-
-
Before you remove the drive carrier, take note of the wire routing, especially of the red, yellow and black drive power cables. Hold the Drive Carrier from both sides and pull it straight toward you. It is a tight fit and may require some wiggling to get it out.
-
The fan assembly of your iMac is now exposed. This is a great opportunity to blow the dust out of your machine!
-
-
-
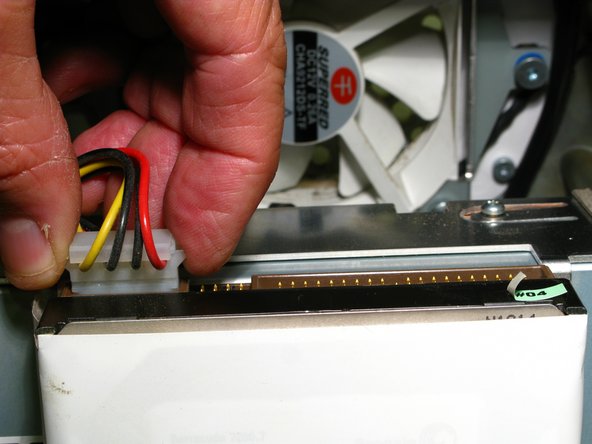
Disconnect the Hard Drive's Data and Power Cables, Pulling the Data Cable connector by its white plastic tab (not the cable itself), and the Power Cable by its outside edges. These connectors can be very tight. Don't get discouraged. Patiently wiggle them back and forth so that they release evenly to avoid bending any pin’s.
-


To reassemble your device, follow these instructions in reverse order.
To reassemble your device, follow these instructions in reverse order.
Cancel: I did not complete this guide.
42 other people completed this guide.
16 Comments
Is the protective film necessary to the function of this iMac? I got one without an HDD/film.
Hi Ethan, I'm so sorry that I didn't see your question until now. It doesn't seem to me that the protective film is highly critical. By now I'm sure your iMac is back up and running. Hope all is well.
Randy
Thank you for creating this. Very helpful!
You're welcome! I'm glad that it is still useful.
Thanks for the guide!
I am putting an ssd with an ide adapter in mine. I am not able to use a standard 2.5 to 3.5 mount because the ide adapter sets off to one side more cause the drives assembly to not fit properly. I think I will forgo the mount and just use double sided foam tape or several strips of velcro to hold the drive in place. It will also need some electrical tape or insulator behind the ide board cause of exposed contacts.
I hope to finish up later today.