Introduction
A broken display is something that every tablet owner has nightmares over. Use this guide to replace a damaged, faulty, or broken display assembly (includes the LCD and digitizer).
What you need
Video Overview
-
-
-
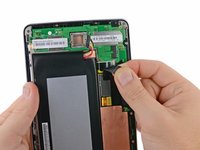
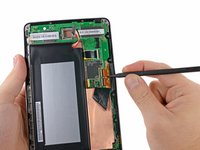
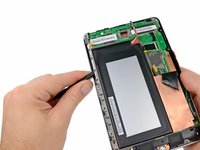
Using the tip of a spudger, push first on one side then the other to "walk" the battery cable straight out of its socket on the motherboard.
-
-
-
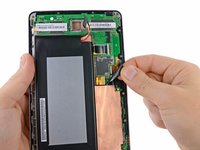
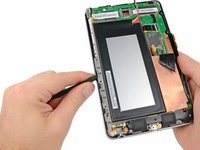
Peel the upper piece of black adhesive tape completely up off the Nexus 7.
-
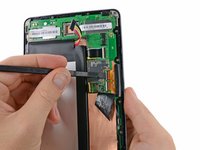
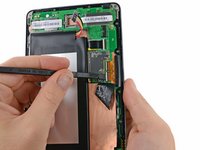
Similarly, peel the lower piece of black adhesive tape, but only as far as the copper strip.
-
-
-
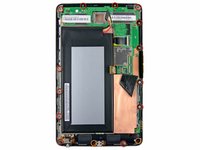
Remove the following screws securing the display assembly to the metal frame:
-
Thirteen 3.2 mm silver Phillips screws
-
Two 4.25 mm black Phillips screws
-
In 3G models, the two top-center Phillips screws are slightly lower and on top of the motherboard.
-
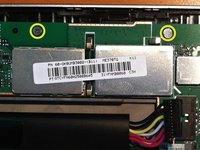
Note that the assembly for the non-3G model will NOT fit the 3G model. When looking for the 3G assembly, look for model 'ME370TG', and note that in pictures of the 3G verison the top 2 phillips screw holes are slightly lower than the upper right and left ones.
-


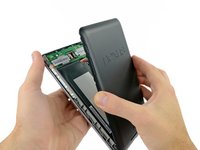


To reassemble your device, follow these instructions in reverse order.
Cancel: I did not complete this guide.
228 other people completed this guide.


43 Guide Comments
great but where can i get nexus 7 digitizer, in stock reasonable price in uk please?
eBay is a good source. I paid £14 for mine and it came with tools.
I don't feel that this guide is complete, how do you separate the display from the frame?
That's because this guide is for the "Display Assembly". I just tried to remove the LCD itself, extremely difficult. I didn't succeed. Now looking for a whole assembly
I've managed to do it using a heat gun. Be careful not to apply to much heat as I warped the frame slightly in one place. Use a prying tool from the top rather than trying to push from the back as the glue is quite tough and peeling it away is easier. You need to reapply heat as you work, it then comes out quite easily. I repurposed the glue strips from the old screen, however taking out bits of glass was a bit tough. The new display fits neatly after that.
Nadim M -