Introduction
Today, we are going where no iPhone teardown has gone before. With the upgrade to a new-fangled Force 3D Touch display, we just couldn't keep our hands off this front panel—so, we're going deeper.
This time, we're breaking down the Retina HD display assembly layer-by-layer to give you the skinny on what makes this year's hardware so unique. This teardown will not feature a repairability score—the process for disassembling and reassembling a fused smartphone display is something best left to the pros and their very specialized (and awesome) tools.
Tag along with all of our technical endeavors by following us on Facebook, Instagram, and Twitter.
What you need
-
-
The freshly released iPhone 6s brought some new features to a familiar package. Following this trend, the screen packs in a few integral changes and features:
-
3D Touch facilitated by a capacitive sensor layer
-
Pliable glass cover made by dual ion‑exchange
-
4.7-inch 1334 × 750 pixels (326 ppi) Retina HD display
-
Integrated touch digitizer
-
-
-
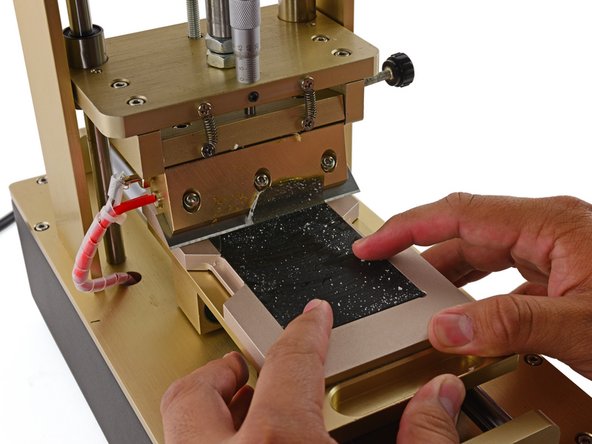
First to fall: The plastic mounting frame containing the clips that secure the display to the body of the iPhone. (Try saying that five times fast.)
-
Today, we've decided to take the scenic route and remove the plastic mounting frame in one solid piece by cutting around the perimeter of the assembly.
-
-
-
After a bit of cutting, some heating and plenty of patience, we manage to remove the mounting frame from the front panel.
-
However, in the recent iPhone 6s teardown, we discovered a new adhesive gasket helping to secure the display to the body. This gasket also has the benefit of improving water resistance in the new iPhone.
-
-
-
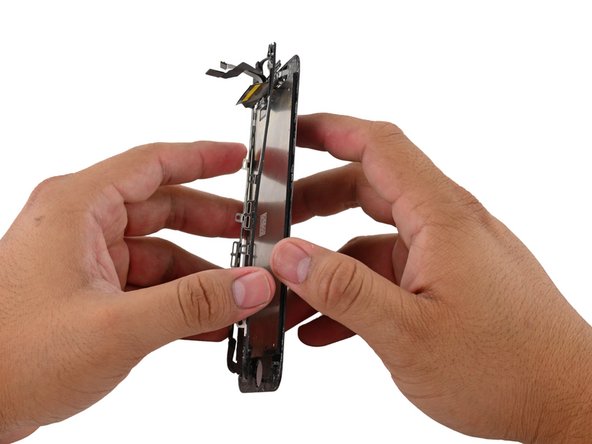
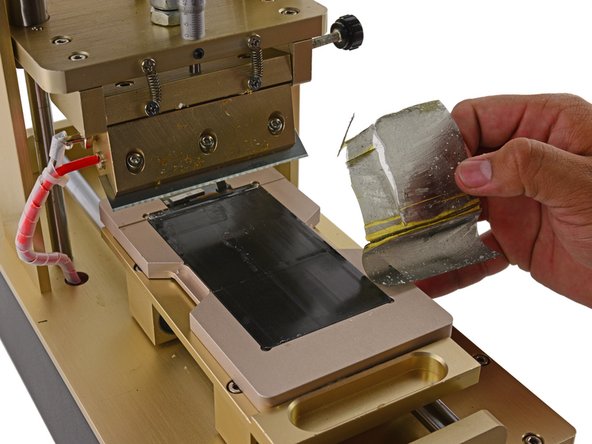
With the easy stuff out of the way, our operation continues by separating the backlight and this metal-backed layer.
-
The display is actually so thin you can see through it—the mylar keeps whatever is hidden under it, well, hidden during normal use.
-
-
-
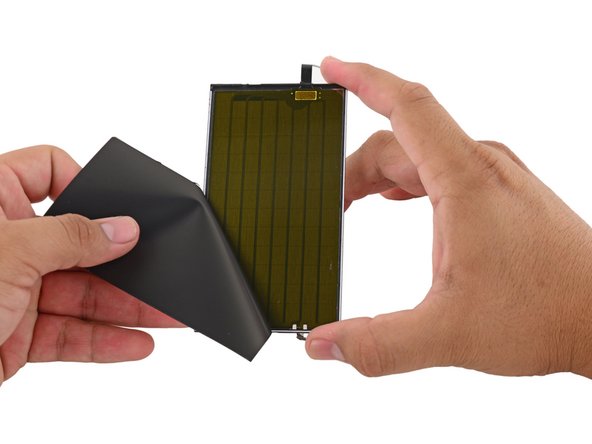
We take a peek below the reflective film and, to our surprise, we find a new, second layer of sensors—likely the capacitive sensors that support 3D Touch.
-
-
-
-
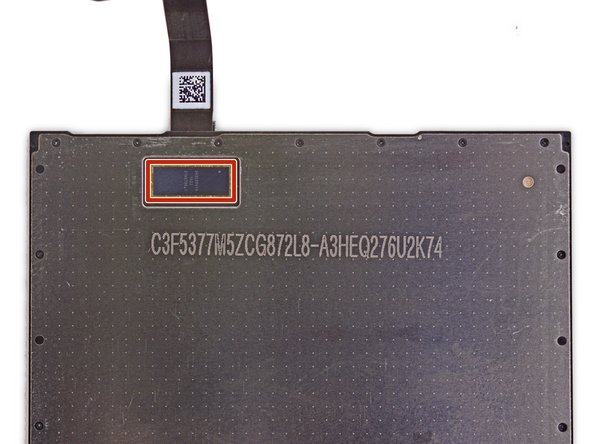
Each of the gold rectangles on this back panel is a single plate of a parallel plate capacitor.
-
Each box has a tiny trace (the dark areas are actually highways of many traces) running back to the control chip. Which...
-
...We find on the backside of the panel, probably. This Apple-custom chip is responsible for wrangling the capacitors—keeping them charged and measuring changes in current to and from each.
-
-
-
Pressing down onto the glass bends the glass very slightly at the point of contact, shortening the distance between your finger and the corresponding capacitor plate in the array beneath the display. This registers a "push" rather than a "touch".
-
The "real" digitizer is still present for precision tracking, these plates only have to detect a flex in the glass—not where it occurs.
-
-
-
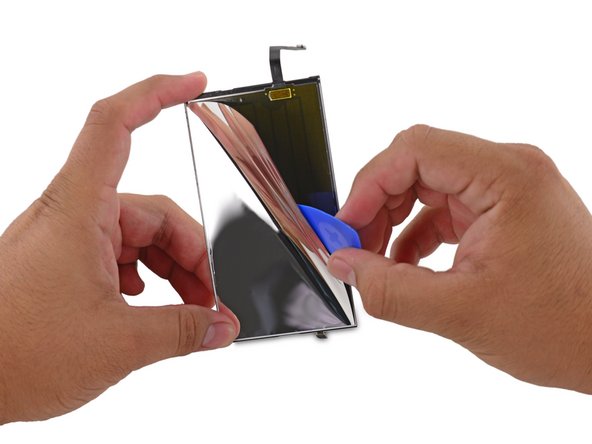
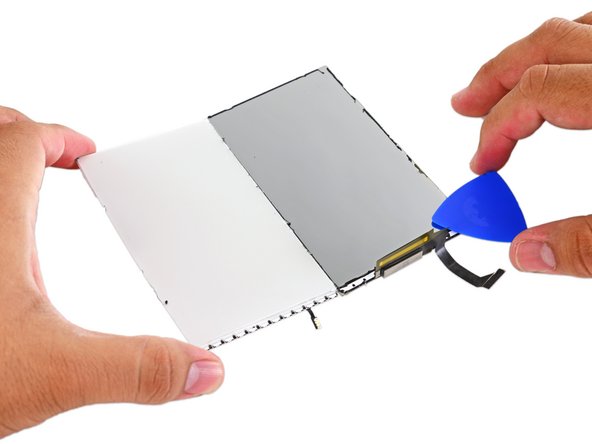
With the back half of the display assembly dispatched, we set to work removing the display from the front glass.
-
Once the OCA had been sapped of its sticky strength, a .08 mm molybdenum wire makes short work of fully separating the LCD from the glass panel.
-
-
-
With the glass removed we are left with a rather messy-looking LCD—removing the glass has really done a number on the polarizing film.
-
Lucky for us, the folks from STS Parts brought their guillotine (also known as a Polarizer Remover Machine) that scrapes it up like gum off a shoe.
-
-
-
First, the backlight shoots light through a thin layer of liquid crystals. As the light passes through it's reflected at different angles by the crystals' orientation.
-
The angle of reflection determines the color of the light we see. In order to change the angle (and by extension, color) the display hardware must apply a voltage across the liquid crystals to change their orientation.
-
In order to produce a wide range of colors, each pixel is broken down into three subpixels: red, green, and blue.
-
Separate voltages are used to adjust the intensity of each subpixel which, when combined, can create millions of different colors.
-
-
-
Well alright, you say, all this pixel and voltage business is very cool, but where does the polarizing film come into play?
-
The polarizing film is what brings it all together. It acts as a filter that only lets the right combination of colors through to make all the pretty pictures on your phone. Thanks, polarizing film!
-
-
-
Last to come off of the display is the edge-lit LED backlight—a common type of backlight found in smartphones.
-
As mentioned earlier, the reflective mylar layer was previously one of the layers of the backlight.
-
In this iteration of the iPhone the mylar layer now serves two purposes; the new use, to obscure the 3D Touch sensors from view, and the traditional use, to reflect diffused light outward instead of wasting light on the internals of the iPhone.
-
-
-
All eight (surviving) layers of the iPhone 6s display laid out for your viewing pleasure.
-
This teardown was quite the endeavor—we definitely do not recommend you attempt this at home without the right tools and experience.
-
Speaking of tools and experience, a huge shoutout to Israel from STS Parts for offering up the equipment and expertise that made this teardown possible!
-